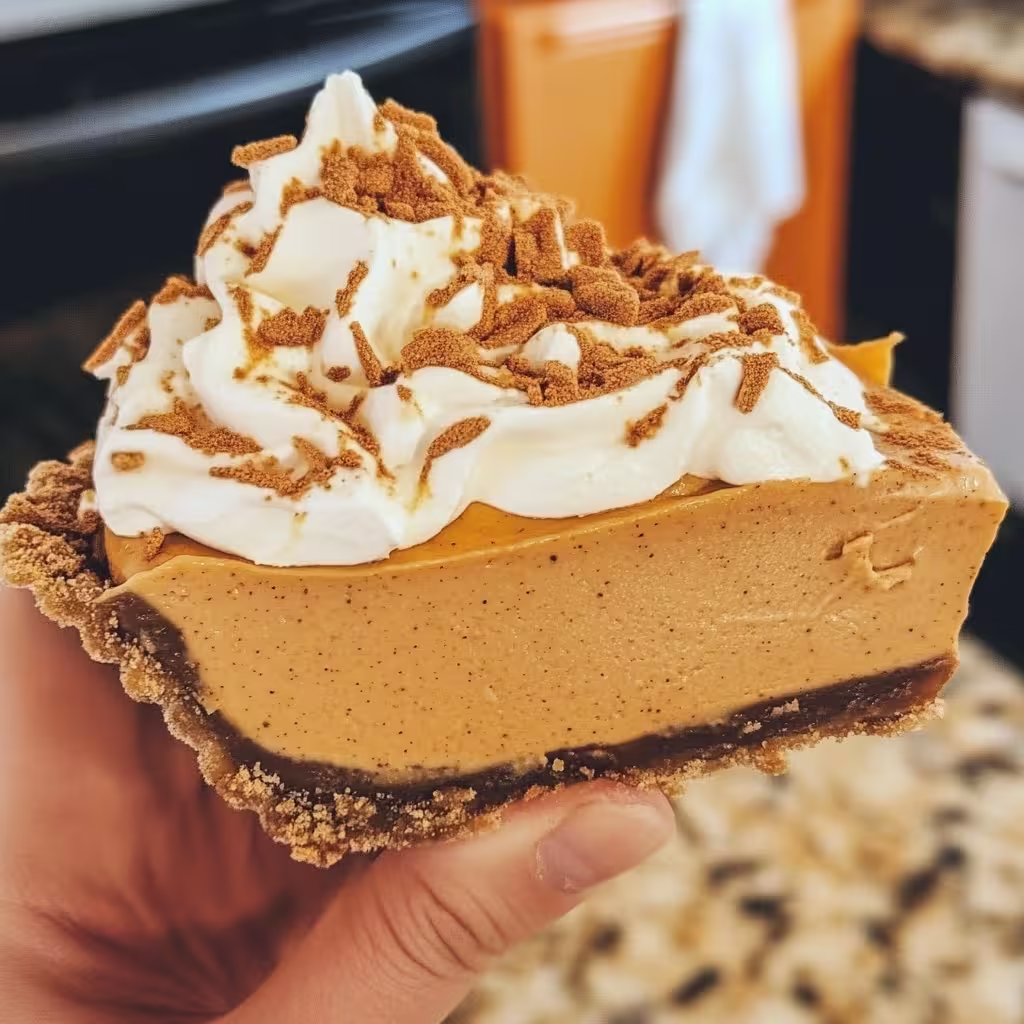
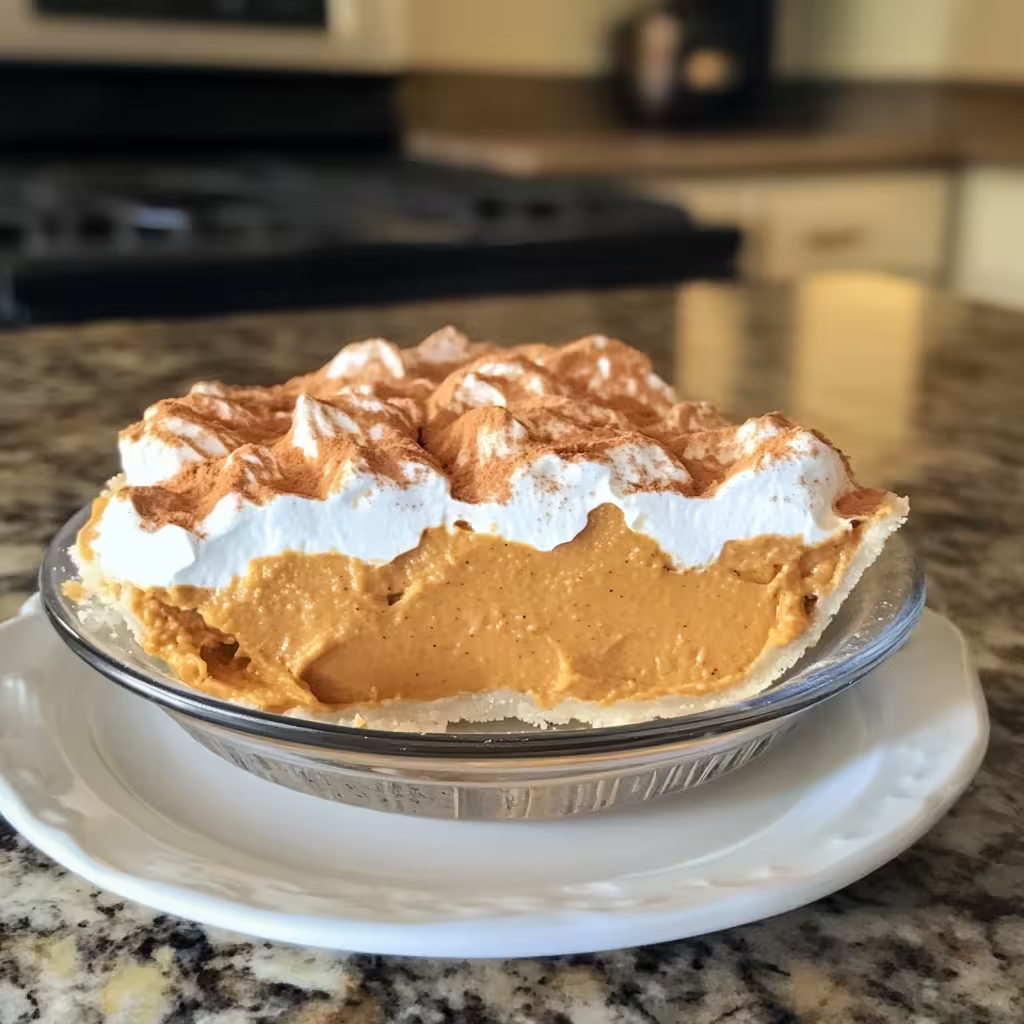
Hey there, dessert lover! If you’ve been searching for the perfect sweet treat that’s both easy and irresistible, look no further than this no-bake pumpkin mousse pie! I’m a huge fan of pumpkin desserts all year round, not just during the fall, and this pie is one of my all-time favorites. It’s fluffy, creamy, and just the right amount of spiced goodness. Plus, the fact that you don’t have to bake it makes it a total win for busy days or last-minute gatherings. Let’s dive into this deliciousness together!
Why You’ll Love No-Bake Pumpkin Mousse Pie:
This pie isn’t just easy to make—it also brings all those cozy fall flavors in a light and airy mousse form. The creamy pumpkin filling mixes beautifully with hints of cinnamon and nutmeg, creating that classic pumpkin flavor we all crave. Plus, the coolness of the mousse makes it especially delightful, perfect for warm weather or anytime you want a refreshing treat!
Nutritional Benefits:
While this pie is definitely a dessert, it has some nice qualities too! Pumpkin is full of vitamins like A and C, and it’s low in calories. The whipped cream adds a touch of indulgence while also being a source of dairy. It’s all about balance—enjoy this pie knowing you’re indulging in some nutritious ingredients!
Fun Variations to Try:
I love getting creative with this no-bake pumpkin mousse pie! Here are a few fun twists you could try:
- Chocolate Lovers: Add a layer of chocolate ganache at the bottom of the crust for a delightful surprise!
- Nutty Crunch: Sprinkle some chopped pecans or walnuts on top before serving for added crunch and flavor that blends beautifully with the pumpkin.
- Spiced Up: If you want a bit more kick, consider adding a pinch of ginger or clove to your mousse mix for a spicier depth of flavor.
Irresistible No-Bake Pumpkin Mousse Pie Recipe
Ingredients:
- 1 pre-made graham cracker pie crust (or any crust you love)
- 1 cup heavy whipping cream
- 1 can (15 oz) pumpkin puree (not pumpkin pie filling)
- 1/2 cup powdered sugar
- 1 teaspoon vanilla extract
- 1 teaspoon pumpkin pie spice (or a mix of cinnamon, ginger, and nutmeg)
- A pinch of salt
Instructions:
- In a mixing bowl, whip the heavy cream until soft peaks form. It should look fluffy and hold its shape—this is where the magic begins!
- In another bowl, mix the pumpkin puree, powdered sugar, vanilla extract, pumpkin pie spice, and salt until combined and smooth.
- Gently fold the whipped cream into the pumpkin mixture, being careful not to deflate it. You want to keep the lightness!
- Once combined, spoon the pumpkin mousse into your graham cracker crust, smoothing the top with a spatula.
- Cover and refrigerate the pie for at least 4 hours, or overnight if you can wait that long (trust me, it’s worth it!).
- Before serving, you can top it with more whipped cream and a sprinkle of cinnamon or some crushed graham crackers for a festive finish!
Serving Suggestions
Here are some fun ways to serve your No-Bake Pumpkin Mousse Pie:
- With Whipped Cream: Top each slice with whipped cream for an extra creamy delight. You can also sprinkle a bit of cinnamon on top for added flavor.
- Garnish with Nuts: Add some chopped pecans or walnuts on top for a nice crunch that complements the creamy pie.
- Pair with Coffee or Tea: Enjoy a slice with a warm cup of coffee or tea. The flavors go perfectly together!
Storage Tips
If you have leftovers or want to make the pie ahead of time, here’s how to store it:
- Refrigerate: Cover the pie with plastic wrap or aluminum foil and keep it in the fridge. It will stay fresh for about 3-4 days.
- Freezing: If you want to freeze it, slice the pie and wrap each piece tightly in plastic wrap, then place it in a freezer-safe bag. It can be frozen for up to 1 month. Just thaw in the fridge before enjoying.
Get Inspired On Pinterest!
I’m so excited for you to try this irresistible no-bake pumpkin mousse pie! It’s bound to become a new favorite in your dessert lineup. Let me know how it turned out and if you tried any fun variations! And if you want more delightful treats like this one, don’t forget to follow me on Pinterest for more inspiration. Happy indulging!
