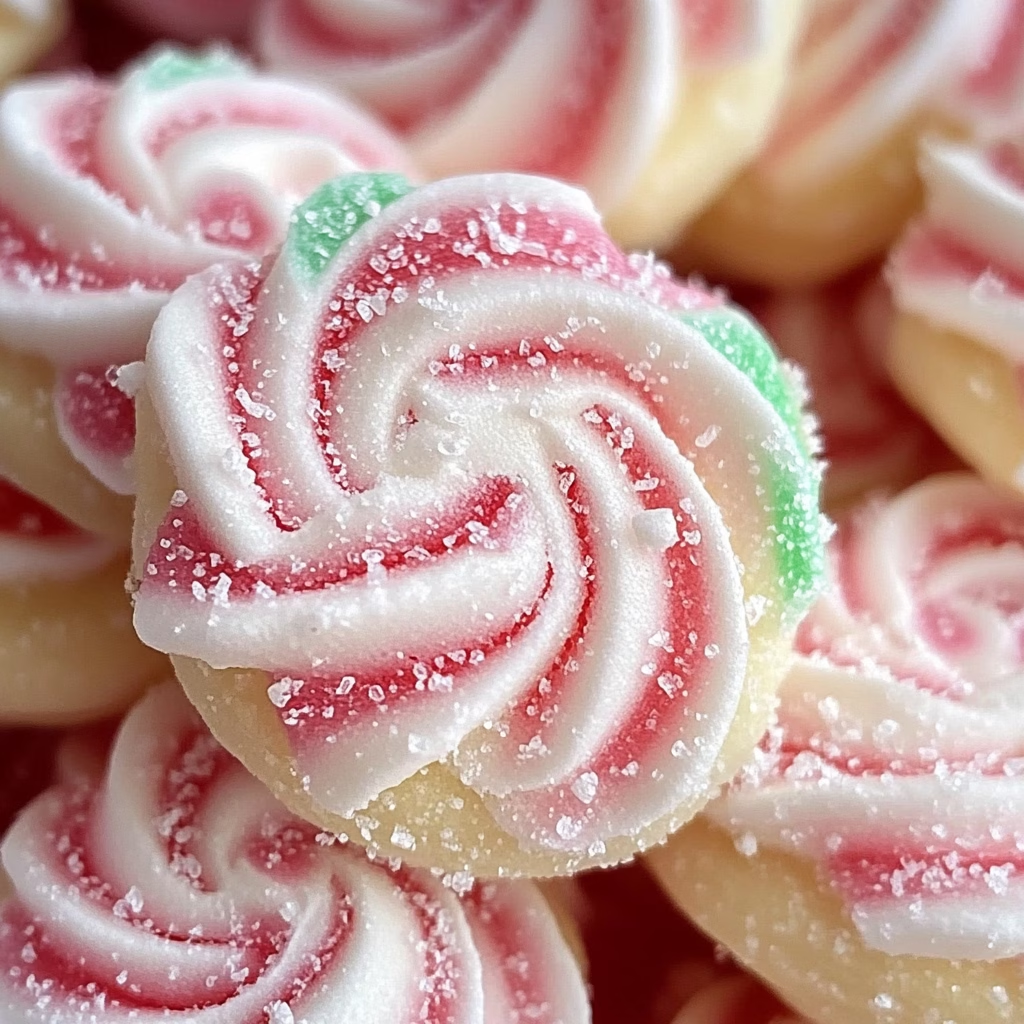
Let me tell you, the holiday season and cookies are an inseparable duet in my kitchen! One recipe that never fails to spread cheer and delight is my beloved Peppermint Meltaways. Just imagine biting into a soft, buttery cookie adorned with a festive touch of crushed peppermint candies and silky white chocolate. It’s like a snowball in your mouth, but a delicious one, of course! Every Christmas, I whip up a batch of these beauties, and they vanish faster than I can say “Merry Christmas.” I can still picture my kids darting around the kitchen, their eyes lighting up at the sight of these delightful treats. Pure joy, I tell you!
What makes these cookies extra special is how they perfectly encapsulate the flavors of the season. The subtle hint of peppermint mixed with the rich buttery goodness is simply divine. Plus, they’re quite a visual treat too—the way the white chocolate glistens with a sprinkle of crushed peppermint is enough to get anyone in the holiday spirit. So, buckle up, friends! Let’s dive into this cookie adventure together!
What’s in Peppermint Meltaways?
- 1 cup unsalted butter: Softened to room temperature, this is the star ingredient. I always opt for Plugra or Kerrygold for that rich flavor!
- 1/2 cup powdered sugar: For sweetness without the graininess of granulated sugar, making the dough melt-in-your-mouth.
- 2 1/4 cups all-purpose flour: This provides the structure for our cookies. You can use Cake flour for a softer texture, but all-purpose works beautifully too!
- 1/4 teaspoon salt: Just a pinch elevates all the other flavors. Don’t skip it!
- 1/2 teaspoon peppermint extract: This gives the cookies that classic holiday flavor. Feel free to use Wilton’s Peppermint Extract for excellent quality.
- 1 cup white chocolate chips: The creamy layer that coats our cookies—yum! I prefer Ghirardelli for their smooth melting quality.
- 1 tablespoon vegetable oil: This helps the chocolate dip maintain its smooth consistency.
- 1/4 cup crushed peppermint candies: For that festive crunch! You can use Starlight Mints to crush up, or even Andes Peppermint Crunch for a chocolatey spin.
- Additional powdered sugar: Dusting on top adds a touch of sweetness and makes the cookies look extra pretty—totally optional but highly recommended!
Are Peppermint Meltaways Good for You?
Well, let’s be honest—the Peppermint Meltaways are more of a festive indulgence than a health food! But hey, it’s the holidays! The real star here is the joy they bring. These cookies are made with the classic combination of butter and sugar, giving them that melt-in-your-mouth texture that really is irresistible. While you’ll be consuming some calories, the real benefit comes from sharing them with loved ones, creating memories, and enjoying the spirit of the season!
For those mindful of sugar intake, maybe you can sneak in some stevia or coconut sugar to sweeten the dough, but I find that the classic taste is hard to beat. Just remember, moderation is key—because one bite might just lead to another!
Ingredients List
- 1 cup unsalted butter, softened
- 1/2 cup powdered sugar
- 2 1/4 cups all-purpose flour
- 1/4 teaspoon salt
- 1/2 teaspoon peppermint extract
- 1 cup white chocolate chips
- 1 tablespoon vegetable oil
- 1/4 cup crushed peppermint candies (for garnish)
- Additional powdered sugar for dusting (optional)
How to Make Peppermint Meltaways?
- Preheat your oven to 350°F (175°C). Line a baking sheet with parchment paper—trust me, this will save you from the dreaded cookie stickiness!
- In a mixing bowl, cream together the softened butter and powdered sugar until you achieve a light and fluffy texture. It’s like a cloud of sweetness!
- Gradually add in the all-purpose flour and salt, mixing until just combined. No need to overdo it; we want those meltaways to stay tender!
- Add in the peppermint extract and give it a gentle mix to incorporate.
- Scoop tablespoon-sized portions of dough, roll them into balls, and flatten them slightly before placing on the prepared baking sheet. Be sure to leave some space, as they’ll spread a little during baking!
- Bake in the preheated oven for 10-12 minutes, or until the edges are lightly golden. Patience is key here—let them cool on the baking sheet for a few before transferring to a wire rack.
- For the chocolate coating, melt the white chocolate chips and vegetable oil together in a microwave-safe bowl, stirring until smooth and inviting.
- Once the cookies are cool, dip the tops into the melted white chocolate, gently shaking off any excess chocolate (and trying hard not to lick the bowl!). Place them back on the wire rack.
- Before the chocolate sets, sprinkle the tops with crushed peppermint candies for that festive flair.
- Allow the chocolate to set completely before serving. If you’re feeling cheeky, dust with additional powdered sugar for that extra touch of holiday magic!
Tips for Perfect Peppermint Meltaways
- Make sure your butter is truly softened—it should be like a magical consistency that eases well with sugar!
- If you want an even more intense peppermint flavor, feel free to double the extract. Just don’t go overboard; we want it to be refreshing, not overpowering!
- For a decorative twist, you could also drizzle some melted chocolate over the cookies for that wow factor!
- Store your cookies in an airtight container for up to a week, but they won’t last long—they’re that good! You can also freeze them without the chocolate for up to three months for an emergency cookie stash!
If you’ve made it this far, I can already hear your kitchen timer beeping! I encourage you to whip up a batch of these Peppermint Meltaways and share them with friends and family. Trust me, they’ll become your go-to holiday treat! And when you do make them, I’d love to hear how they turned out for you. Share your cookie creations with me—I’m always eager to see how they melt away into smiles! Happy baking!


