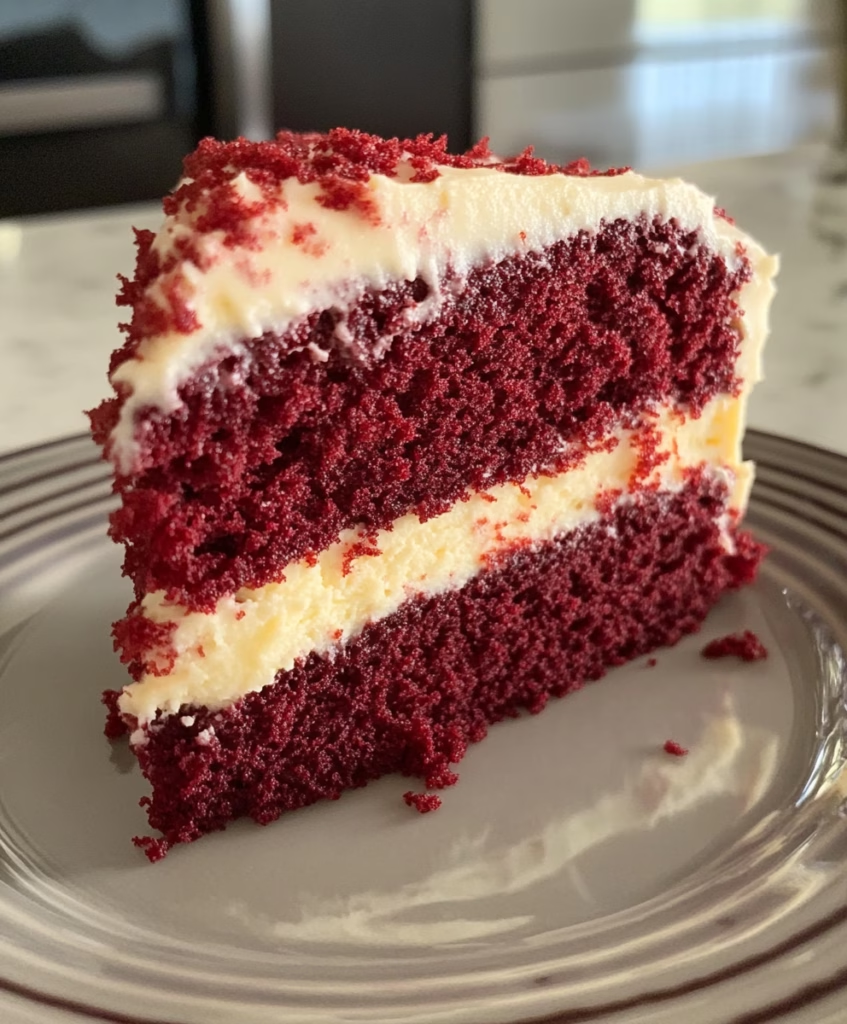
Ah, the iconic Red Velvet Cake! There’s just something magical about its rich color and velvety texture that makes my heart flutter. I still remember the first time I was enchanted by this dessert, standing in a bakery with my best friend who insisted on ordering it. After that first bite, I was hooked! The combination of the subtle cocoa flavor, buttery cream cheese frosting, and that stunning red hue makes it a centerpiece for any occasion—birthdays, anniversaries, or just because you feel like celebrating life!
What I love most about making this cake is the sheer joy it brings; it’s almost like crafting a piece of art. Plus, it’s surprisingly straightforward! Trust me, if I can whip this up without turning my kitchen into a disaster zone, so can you. So, let’s dive into the beautiful world of Red Velvet Cake together!
What’s in Red Velvet Cake?
- All-purpose flour: This is the backbone of our cake, giving it structure. I often use King Arthur Flour for its consistent quality.
- Granulated sugar: Sweetness is key! It not only adds flavor but also helps with the cake’s moisture.
- Baking soda: This is our leavening agent; it helps the cake rise and gives it that light, fluffy texture.
- Salt: Just a pinch brings out all the flavors and balances the sweetness.
- Cocoa powder: You’ll want a high-quality unsweetened cocoa powder. I usually use Hershey’s, which adds a touch of chocolate flavor without overpowering the red velvet essence.
- Vegetable oil: This makes the cake rich and moist. Feel free to swap in canola or sunflower oil if that’s what you have on hand.
- Buttermilk: The secret to tenderness! If you’re out of buttermilk, you can make a substitute by adding a tablespoon of vinegar to regular milk.
- Eggs: Make sure they’re at room temperature for even mixing!
- Red food coloring: The star of the show! Don’t skimp on this; it’s what gives our cake its luxury color.
- Vanilla extract: A splash enhances the overall flavor.
- White vinegar: This may sound odd, but it reacts with the baking soda to help our cake rise beautifully.
Is Red Velvet Cake Good for You?
Well, let’s be real—this isn’t exactly a health food, but hey, it’s cake! The buttermilk adds some calcium, and the eggs provide protein. But let’s face it, we mostly indulge in Red Velvet Cake for its deliciousness, not its health benefits. If you’re watching your sugar or fat intake, you could experiment with using less sugar or opting for a lighter frosting. However, that would be like taking the adventure out of riding a roller coaster! Life is about balance, right?
Ingredients List
- 2 1/2 cups all-purpose flour
- 1 1/2 cups granulated sugar
- 1 teaspoon baking soda
- 1 teaspoon salt
- 1 teaspoon cocoa powder
- 1 1/2 cups vegetable oil
- 1 cup buttermilk, room temperature
- 2 large eggs, room temperature
- 2 tablespoons red food coloring
- 1 teaspoon vanilla extract
- 1 teaspoon white vinegar
How to Make Red Velvet Cake?
- First, let’s preheat your oven to 350°F (175°C) and grease and flour two 9-inch round cake pans. You want them ready for the magic!
- In a large mixing bowl, sift together the flour, granulated sugar, baking soda, salt, and cocoa powder. This makes sure everything is evenly distributed.
- In another bowl, mix the vegetable oil, buttermilk, eggs, red food coloring, vanilla extract, and vinegar. Whisk it together until it’s a vibrant mixture.
- Now, gradually add the wet ingredients to the dry ingredients. Mix until just combined—don’t overmix, or we’ll lose that fluffiness!
- Divide the batter evenly between the prepared cake pans. Give the tops a little smoothing with a spatula.
- Bake in the preheated oven for 25-30 minutes. Check for doneness with a toothpick; it should come out clean. Let those beauties cool in the pans for about 10 minutes before transferring them to wire racks to cool completely.
- While the cakes cool, let’s whip up some cream cheese frosting! In a medium bowl, beat together the softened cream cheese and butter until creamy—trust me, it’s heavenly!
- Gradually add in the powdered sugar and vanilla extract. If it’s too thick, just add a little bit of milk—start with a tablespoon and adjust until you get that dreamy spreadable consistency.
- Once your cakes are completely cool, place one layer on a serving plate. Spread a generous layer of frosting over the top.
- Top it with the second layer and frost the top and sides of the cake with the remaining frosting. You deserve to be generous with that glorious cream cheese frosting!
- For a fun touch, crumble any excess cake scraps (if you have any) and sprinkle them over the top of the cake for a cute decoration.
- Finally, slice and serve with a big smile on your face!
Sprinkling Magic on Your Red Velvet Cake
- For a richer flavor, feel free to increase the cocoa powder to 2 teaspoons for a little more chocolaty goodness.
- Let the cake chill in the fridge for about an hour before serving; this allows the frosting to set beautifully.
- This cake can be stored in the refrigerator for up to 5 days, although I doubt it’ll last that long. It’s just too delicious!
So there you have it—my go-to recipe for a show-stopping Red Velvet Cake! I can’t wait for you to try it out and see the delight on your loved ones’ faces when you serve it up. Please let me know how it turns out, and don’t forget to share your baking adventures! Happy baking!


