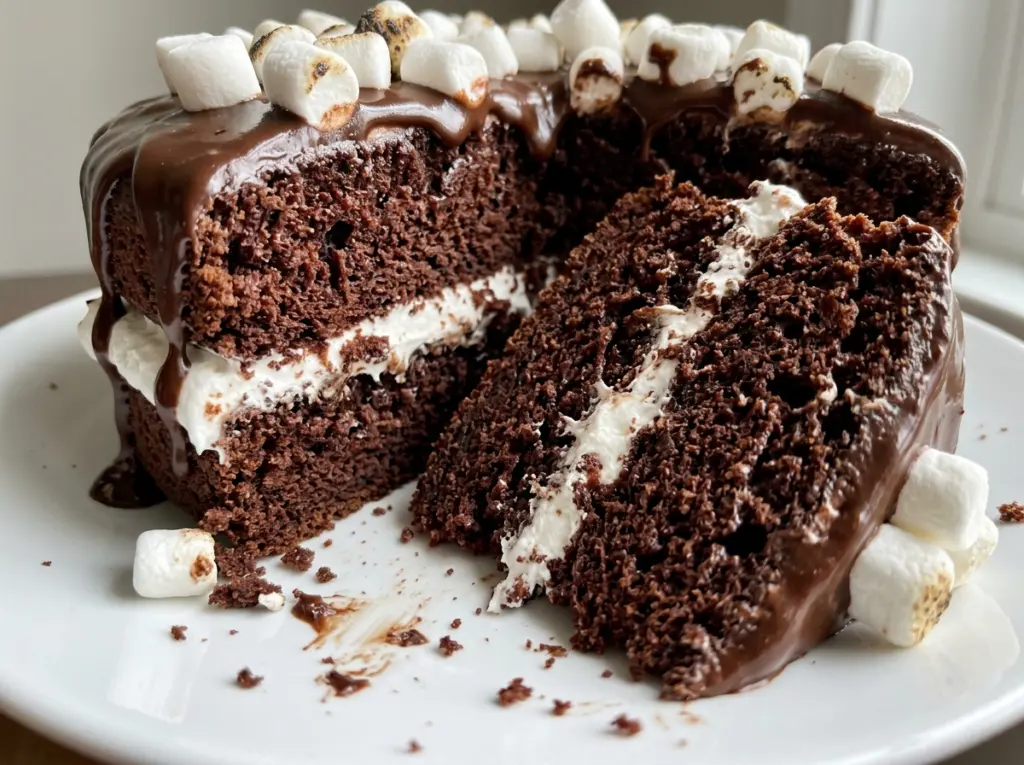
When the boiling water goes into the bowl, the batter suddenly turns loose and pourable. The first time I made this Hot Chocolate Cake, that thin texture made me want to reach for more flour. Resist that urge: the batter is meant to look much thinner than a typical cake batter, and it bakes into a soft, moist crumb.
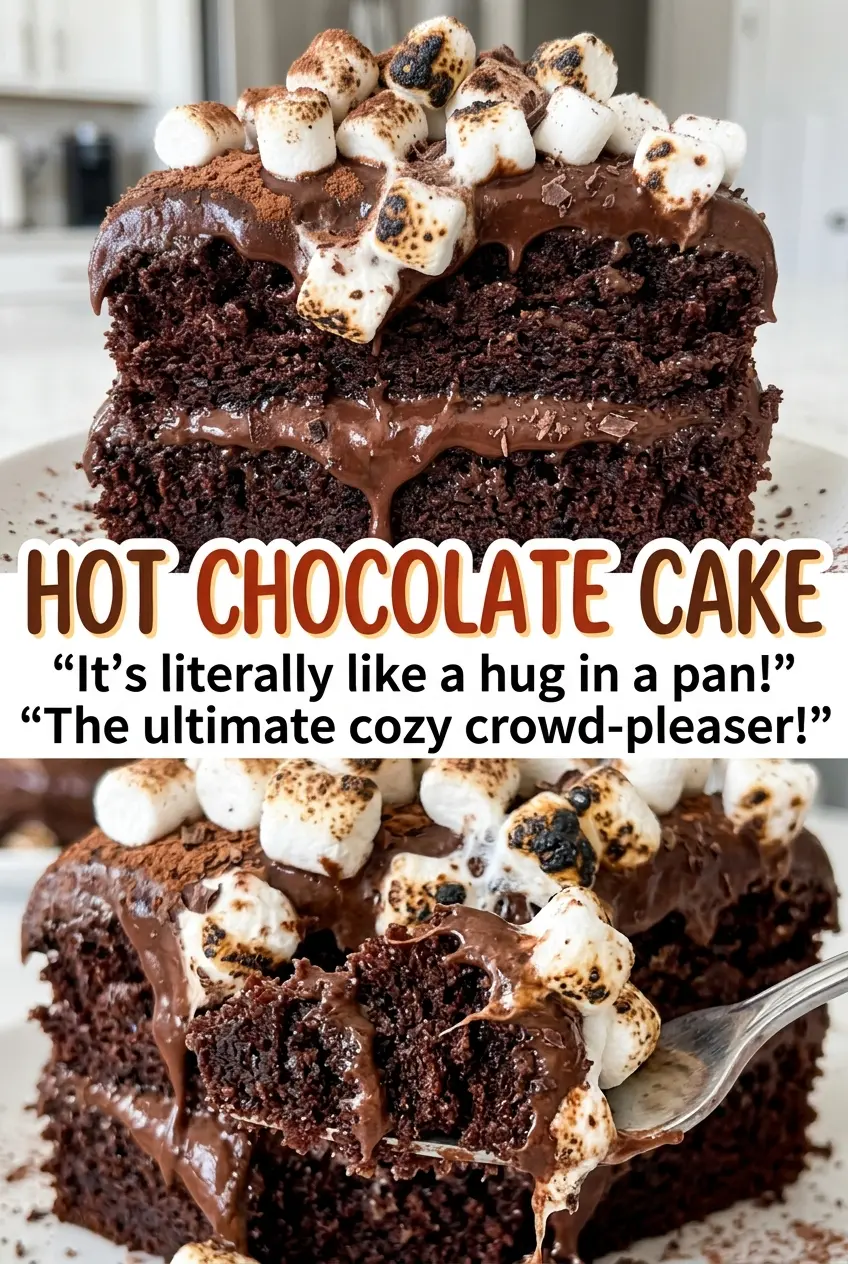
The cake gets its hot-cocoa character from natural cocoa and sweetened hot cocoa mix, then a fluffy marshmallow frosting goes over the top once the cake is completely cool. I like that everything bakes in one 9×13-inch pan, so there’s no turning a tender cake out or stacking layers. Each slice has a deep chocolate crumb under a soft, sweet topping.
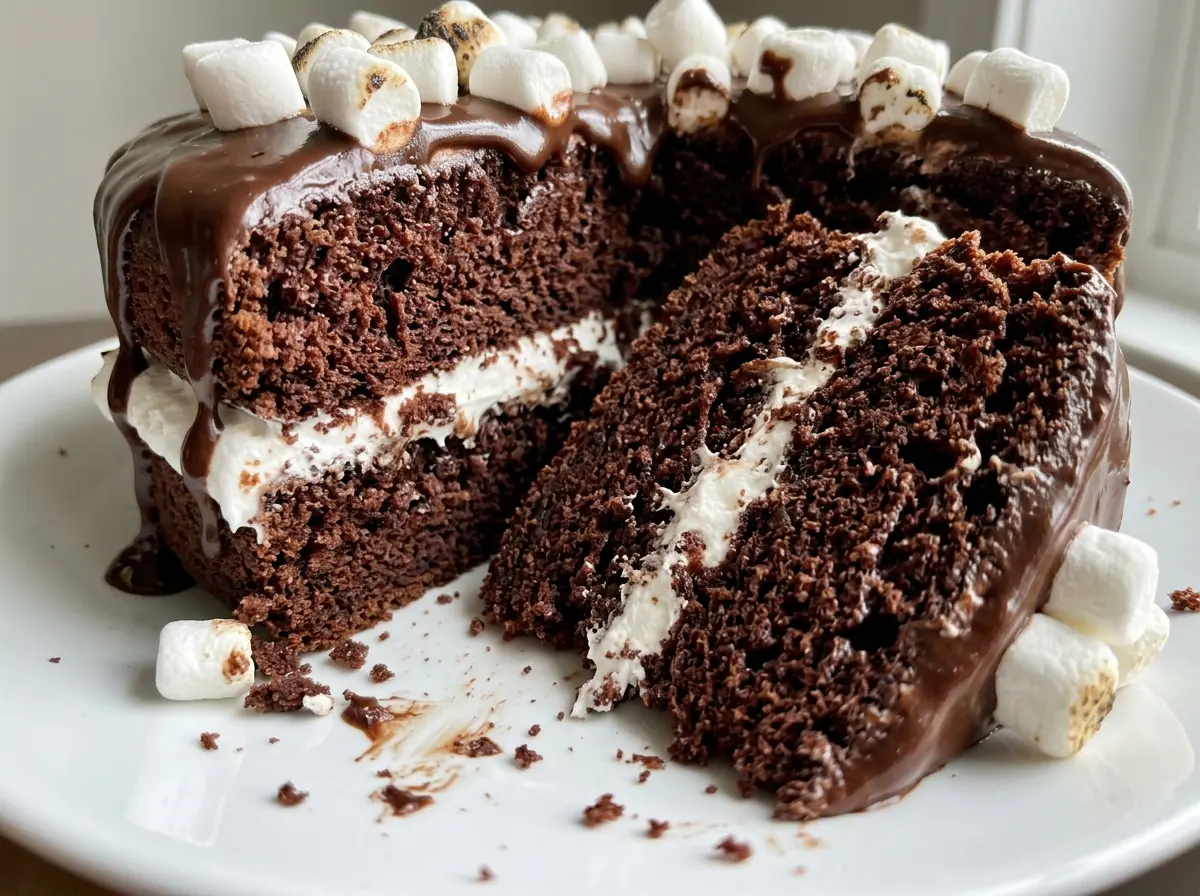
Kitchen Note
Once the flour goes in, I stop whisking as soon as everything is combined. A few extra seconds of mixing can make the crumb tighter than I want.
Save this Hot Chocolate Cake for a chocolate craving that calls for a soft cake crumb and fluffy marshmallow frosting.
Why the Batter Should Look Much Thinner Than Cake Batter Usually Does
After the eggs, milk, oil, vanilla, and dry ingredients are combined, boiling water goes in last. It loosens the cocoa-rich mixture into a smooth, thin batter. That can feel like a mistake if you’re used to cake batter that falls from a spoon in a thick ribbon, but adding flour to thicken it throws off the balance of the cake.
Pour the batter carefully into the pan rather than trying to make it scoopable. Its thin consistency is part of what gives the baked cake a moist, tender texture instead of a dense one. Scrape the bowl so the cocoa mixture is evenly distributed, then get the pan into the oven. You’re looking for a toothpick with a few moist crumbs, not a completely dry center.
The Cocoa and Frosting Choices Behind This Hot-Chocolate Cake
- Natural unsweetened cocoa powder — It brings the darker chocolate flavor that keeps the cake from tasting like sweet cocoa mix alone. Stick with natural cocoa rather than Dutch-process cocoa; the recipe’s baking soda is balanced for natural cocoa’s acidity.
- Sweetened hot cocoa mix — This adds the familiar milky sweetness that makes the cake taste like hot chocolate. Choose a plain sweetened mix rather than swapping in more unsweetened cocoa; the latter won’t bring the same sweetness or cocoa-drink character.
- All-purpose flour — Regular all-purpose flour gives the cake enough structure for a generous layer of frosting without making it heavy. For a gluten-free version, use a cup-for-cup baking blend that includes xanthan gum; see the variation below for what to expect from the crumb.
- Whole milk and neutral oil — Whole milk adds richness, while oil keeps the cake tender after it cools. Canola or vegetable oil works in place of another neutral oil. Unsweetened oat milk is a practical swap for the milk if you’re adapting the cake for dairy-free eating.
- Marshmallow creme — The creme blends smoothly with softened butter and gives the topping its light, marshmallow texture. Mini marshmallows aren’t a like-for-like replacement; they won’t beat into the same smooth frosting.
- Unsalted butter and powdered sugar — Softened butter gives the frosting body, and powdered sugar helps it hold its shape on the cake. A dairy-free baking stick can replace the butter for a dairy-free version; avoid soft tub spreads, which can leave frosting loose.
Mixing, Baking, and Frosting Without Guesswork
Get the dry ingredients evenly mixed
Heat the oven to 350°F and coat a 9×13-inch baking pan with nonstick cooking spray. Whisk the flour, granulated sugar, natural cocoa, hot cocoa mix, baking powder, baking soda, and salt together in a large bowl. Break up any visible cocoa lumps as you whisk so you don’t find pockets of dry cocoa in the finished cake. An even dry mixture helps the cake rise consistently.
Combine the wet ingredients, then add the boiling water
In a separate bowl, whisk the eggs, whole milk, oil, and vanilla until combined. Whisk in the dry ingredients just until the mixture comes together, then stir in the boiling water until the batter is smooth. The finished batter will be thin and pourable; don’t correct it with extra flour. Pour it into the prepared pan while it’s smooth and evenly mixed.
Bake until the center gives a moist-crumb test
Bake for 32–38 minutes, checking the center with a toothpick. It’s ready when the toothpick comes out with a few moist crumbs; wet batter means it needs more time, while a completely clean toothpick can mean the cake has gone a little too far. Let the cake cool completely in the pan, about 2 hours. Frosting a warm cake makes the topping soften and slide instead of spreading in a fluffy layer.
Beat the frosting until fluffy, then spread
Beat the softened butter and marshmallow creme together in a medium bowl with an electric mixer until smooth. Add the powdered sugar gradually, beating as you go, until the frosting looks fluffy and holds together. If you add all the sugar at once, it’s harder to incorporate neatly. Spread the finished frosting over the completely cooled cake.
Two Smart Ways to Adapt Hot Chocolate Cake
Make the cake gluten-free
Replace the all-purpose flour with a cup-for-cup gluten-free baking blend that contains xanthan gum, keeping the same measure. The chocolate cake will still bake in the same pan, though its crumb may be a little more delicate when sliced.
Make a dairy-free version
Use unsweetened oat milk instead of whole milk and a dairy-free baking stick instead of butter, measuring each replacement in the same amount as the original. Use dairy-free marshmallow creme as well. The cake and frosting will still be soft and sweet, though the topping may have a slightly different texture depending on the plant-based butter.
Storage and Reheating
- Refrigerator: Cover and refrigerate the frosted cake for up to 4 days. The frosting will firm up, and the cake will be less soft straight from the fridge.
- Freezer: For the best texture, freeze the unfrosted, cooled cake. Wrap it tightly and freeze for up to 2 months; thaw it before making the frosting and finishing the cake.
- Reheating: Don’t microwave frosted slices, since the topping softens before the cake warms evenly. Let a refrigerated slice sit at room temperature for about 20 minutes before serving.
Questions That Come Up While Making Hot Chocolate Cake
Hot Chocolate Cake
Ingredients
Equipment
Method
- Heat the oven to 350°F and grease a 9x13-inch baking pan with nonstick cooking spray.
- Whisk together the all-purpose flour, granulated sugar, natural unsweetened cocoa powder, sweetened hot cocoa mix, baking powder, baking soda, and salt in a large bowl.
- Whisk the eggs, whole milk, neutral oil, and vanilla extract in a separate bowl.
- Whisk the wet ingredients into the dry ingredients until combined.
- Stir in the boiling water until the batter is smooth and thin.
- Pour the batter into the prepared pan and bake for 32–38 minutes, until a toothpick inserted in the center comes out with a few moist crumbs.
- Cool the cake completely in the pan, about 2 hours.
- Beat the softened unsalted butter and marshmallow creme in a medium bowl with an electric mixer until smooth.
- Gradually beat in the powdered sugar until fluffy.
- Spread the frosting over the completely cooled cake.


