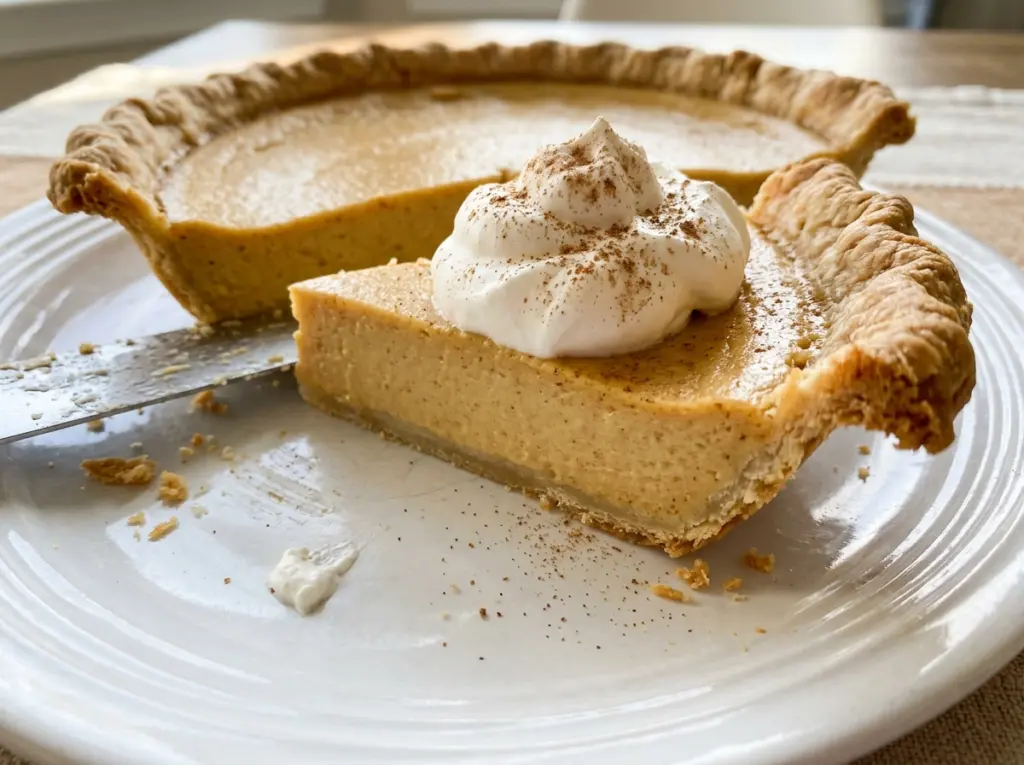
The puree can look smooth when it comes out of the food processor, then turn loose and watery while it waits. That’s why I let it drain before it goes anywhere near the crust. With that small pause, this White Pumpkin Pie bakes into a smooth, gently spiced custard instead of a filling that struggles to set.
White pumpkin gives the pie a softer, paler look than the orange pies you may be used to, but it still pairs beautifully with cinnamon, ginger, nutmeg, and cloves. I roast the pumpkin until a fork slips through the flesh easily, then puree it and let the sieve do the work. The finished puree should be thick enough to measure cleanly.
The filling comes together with a whisk, and the oven temperature changes partway through baking. That gives the custard time to set without asking the edges to take the full heat for the whole bake. Once cooled, each slice has a tender center and a warm, familiar spice aroma.
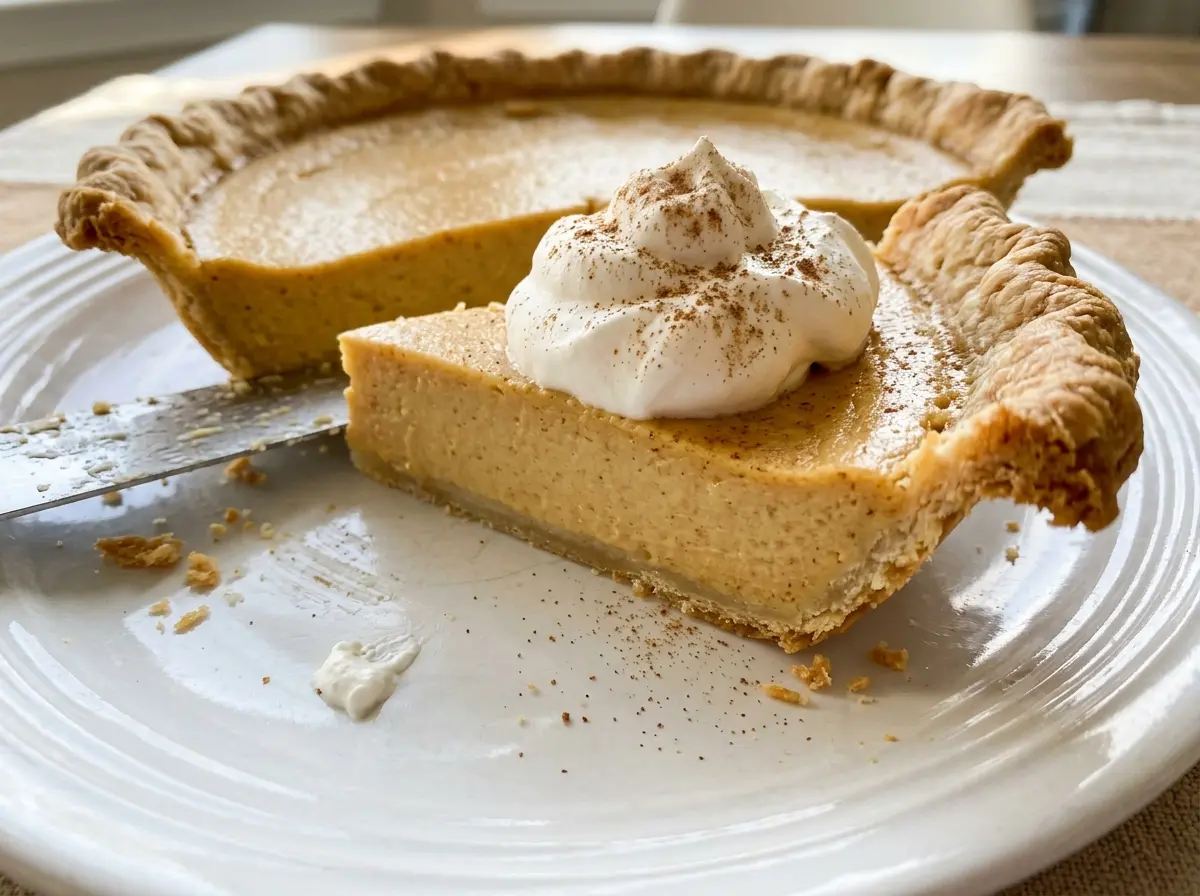
Kitchen Note
Give the baked pie its full cooling rest before you slice it. The custard keeps settling as it cools, and cutting too soon can leave the first slice slumped on the plate.
Save this White Pumpkin Pie for its smooth, gently spiced custard and tender homemade pumpkin filling.
Why the Oven Temperature Drops Before the Custard Is Done
The pie starts at 425°F, then the oven drops to 350°F for the longer part of the bake. That change is deliberate. Custard pies need enough heat to begin setting, but sustained high heat can make the outer filling cook much faster than the middle. Lowering the temperature gives the center time to catch up while the edges finish gently.
Think of the first 15 minutes as a head start, not the whole bake. Once the oven is lowered, keep an eye on the filling rather than relying on color alone. The edges should look set, while the center should still move with a slight jiggle; the thermometer provides a useful check when that visual cue is hard to judge. A crack-free pie isn’t the goal at the expense of a dry center. Gentle heat and a little movement in the middle are what keep the custard tender.
What White Pumpkin Needs Before It Goes Into a Pie

- White pumpkin — Choose a sound, firm pumpkin and roast it until the flesh is very tender. The puree is the main source of body in the filling, so its consistency matters more than its appearance; white pumpkin can look different from one variety to another. Homemade puree has a fresher, less uniform texture than a canned product, which is why it gets processed smooth and drained before measuring.
- Refrigerated pie crust — A ready-made refrigerated crust keeps the work focused on the filling. Choose one that fits a 9-inch pie plate and can be shaped and crimped; there’s no need to buy a premium crust for this custard. For a gluten-free version, use a refrigerated gluten-free crust sized for the same plate.
- Light brown sugar — The mild molasses note rounds out the spices without taking over the pumpkin. Dark brown sugar works in the same amount if that’s what you have, though it makes the filling taste a little deeper and more caramel-like.
- Ground spices — Cinnamon, ginger, nutmeg, and cloves give the filling its familiar warmth. Fresh, fragrant spices make a difference here because the pumpkin itself is mild; if a jar smells dusty instead of aromatic, replacing it will do more than adding extra.
- Eggs and evaporated milk — Together, they create the custard structure and creamy texture. Use evaporated milk rather than sweetened condensed milk: the latter is already sweetened and would change both the sweetness and consistency of the filling.
- Vanilla extract — It softens the sharper edges of the spices. A basic pure or imitation vanilla works; there’s no need to use an expensive bottle in a baked custard.
Roast, Drain, and Bake the Pie in Four Stages
Roast the Halves Until Fork-Tender
Heat the oven to 400°F and line a rimmed baking sheet with parchment paper. Put the pumpkin halves cut side down and roast them for 45–60 minutes. A fork should pierce the flesh easily when it’s ready; if it still feels firm, give it more time rather than trying to puree it early. Let the pumpkin cool until it’s easy to handle, about 20 minutes.
Puree and Drain Until Thick
Scoop the cooled flesh into a food processor and puree until smooth. Set a fine-mesh sieve over a bowl, transfer the puree into it, and let it drain for 30–60 minutes. The goal is a thick puree, not a loose mixture with liquid collecting underneath. Measure 2 cups for the pie filling.
Whisk the Spiced Custard
Reduce the oven temperature to 425°F and fit the refrigerated crust into a 9-inch pie plate, crimping the edges. In a large bowl, whisk the brown sugar with the cinnamon, ginger, nutmeg, cloves, and kosher salt. Whisk in the eggs, evaporated milk, and vanilla until smooth, then whisk in the measured pumpkin puree so there are no streaks of plain puree left.
Bake Until the Center Still Moves
Pour the filling into the crust and bake at 425°F for 15 minutes. Reduce the oven to 350°F and continue baking for 40–50 minutes, until the edges are set, the center still jiggles slightly, and a thermometer inserted in the center reads at least 160°F. If the crust edges brown too quickly, cover them with foil. Transfer the pie to a wire rack to cool before slicing.
Two Practical Ways to Adapt This White Pumpkin Pie
Make It Gluten-Free With a Refrigerated Gluten-Free Crust
Use a refrigerated gluten-free pie crust that fits a 9-inch plate, then fill and bake it the same way. The custard remains naturally gluten-free, while the crust may have a slightly different texture from a wheat-based one; handle it gently when fitting and crimping.
Use an Orange Sugar Pumpkin
If white pumpkin isn’t available, roast a sugar pumpkin and prepare its puree the same way. The pie will have a familiar orange color and a slightly different pumpkin flavor, but the cinnamon, ginger, nutmeg, and cloves still suit it well. Drain the puree until thick before measuring it for the filling.
Storage and Reheating
- Refrigerator: Cover the cooled pie and refrigerate it for 3–4 days. The custard firms up further when cold.
- Freezer: Freeze the fully chilled pie whole or in tightly wrapped slices for up to 1 month for the best texture. Thaw in the refrigerator; the custard may be a little softer afterward.
- Reheating: This pie is good chilled, so reheating isn’t necessary. If you prefer a slice less cold, let just that slice sit out briefly, and don’t leave it at room temperature for more than 2 hours.
Questions That Come Up When Making White Pumpkin Pie
White Pumpkin Pie
Ingredients
Equipment
Method
- Heat the oven to 400°F and line a rimmed baking sheet with parchment paper.
- Set the pumpkin halves cut side down on the sheet and roast for 45–60 minutes, until the flesh is very tender when pierced with a fork.
- Cool the pumpkin until easy to handle, about 20 minutes.
- Scoop out the flesh and puree it in a food processor until smooth.
- Transfer the puree to a fine-mesh sieve set over a bowl and drain for 30–60 minutes, until thick.
- Measure 2 cups of puree for the pie.
- Reduce the oven temperature to 425°F.
- Fit the pie crust into a 9-inch pie plate and crimp the edges.
- Whisk together the brown sugar, cinnamon, ginger, nutmeg, cloves, and salt in a large bowl.
- Whisk in the eggs, evaporated milk, and vanilla until smooth.
- Whisk the 2 cups pumpkin puree into the egg mixture.
- Pour the filling into the crust.
- Bake at 425°F for 15 minutes.
- Reduce the oven to 350°F and bake for 40–50 minutes, until the edges are set, the center still jiggles slightly, and a thermometer inserted in the center reads at least 160°F.
- Cover the crust edges with foil if they brown too quickly.
- Cool the pie on a wire rack for at least 2 hours before slicing.


