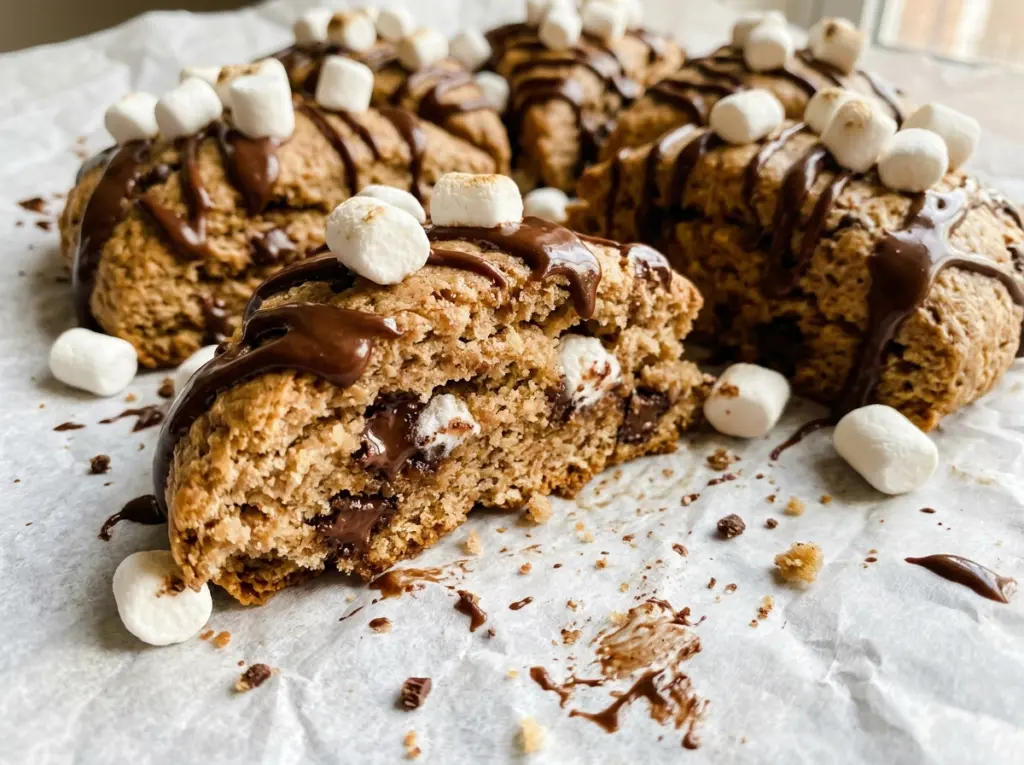
When the baking sheet comes out of the oven, these wedges don’t turn golden the way plain scones do. The cocoa keeps them dark, so I look for dry-looking tops and edges that have set instead of waiting for a deep brown color. That cue matters with hot chocolate scones: a few extra minutes can take them from tender to crumbly before the color gives anything away.
I keep the dough simple and handle it gently. Cold butter and cream go into the dry ingredients, and I stop mixing as soon as the dough comes together in shaggy clumps. Semisweet chocolate chips add little pockets of melted chocolate, while the marshmallow glaze brings the familiar hot-cocoa finish. The scones are rich without being heavy, with a soft center and a thin, sweet drizzle on top.
Kitchen Note
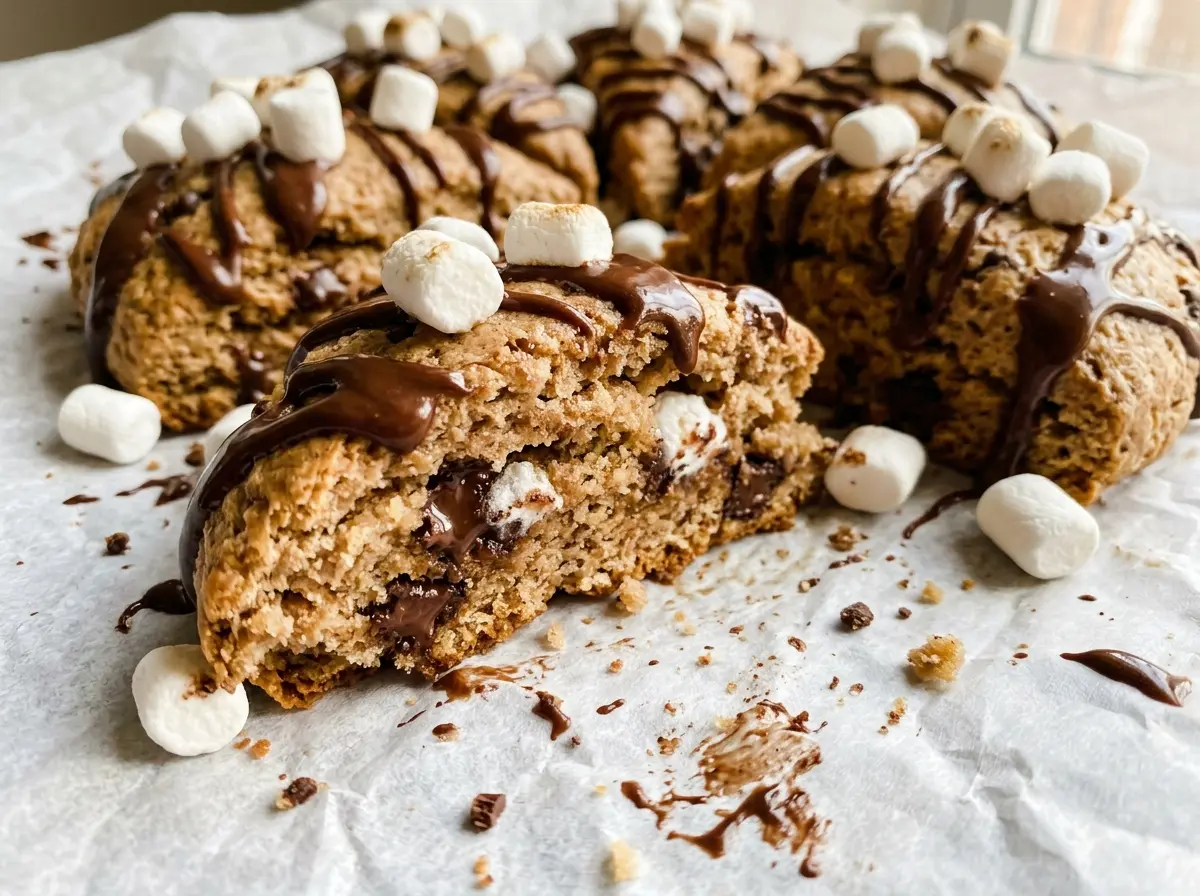
Stop stirring when the dough is shaggy, even if a few floury bits are still visible. They’ll come together when you press the dough into a round, and less handling keeps the scones from turning tough.
Save these Hot Chocolate Scones for a cozy bake: cocoa-rich wedges, semisweet chocolate chips, and a marshmallow glaze.
Why You Can’t Wait for These Cocoa Scones to Turn Golden
Cocoa changes the usual visual test for scones. With a plain dough, golden tops can help signal that the outside is baked; here, the cocoa makes the wedges dark before they go into the oven. Waiting for a familiar golden-brown finish can leave them in too long, drying the crumb while you’re looking for a color that won’t appear.
Instead, check the surface and edges. The tops should look dry rather than shiny, and the edges should feel set. The center can still be soft when the tray comes out, so don’t keep baking just to make the middle look firm. The scones spend another 10 minutes on the baking sheet before they move to a rack, giving their structure a chance to settle without extra oven time.
This is also why an exact bake-time range is more useful than color alone. Start checking at 16 minutes, then use the dry top and set edge as your guide through the 16–20 minute window. An oven can run a little differently, but those cues tell you more than the cocoa-dark surface ever will.
What Gives These Scones Their Hot-Chocolate Character

- Unsweetened cocoa powder — It brings the chocolate flavor without adding sweetness, so the dough stays balanced with the sugar and glaze. Use cocoa you enjoy drinking or baking with; a fresh, fragrant tin makes a noticeable difference. Keep it unsweetened, since sweetened cocoa mix changes both the flavor and the sugar balance.
- Cold unsalted butter — Small cold pieces help keep the crumb tender. Cut the butter into small cubes before working it into the flour mixture, and don’t let it soften on the counter while you prepare the other ingredients.
- Semisweet chocolate chips — The chips make the chocolate flavor more pronounced and give the baked wedges distinct pockets of chocolate. A standard bag works well; there’s no need for premium chips here. Chopped semisweet chocolate is a useful swap, though it will distribute in a less uniform way.
- Heavy cream and egg — Together, they bring the dry ingredients into a rich dough that can be pressed and cut into wedges. Keep both cold as you mix. Milk isn’t a direct stand-in for heavy cream if you want the same tender, rich crumb.
- Marshmallow creme — This gives the glaze its recognizable marshmallow flavor and soft, glossy texture. Powdered sugar thickens it, while milk loosens it until it can be drizzled. The creme is the ingredient that makes this topping taste like hot chocolate rather than a plain sugar glaze.
- Vanilla extract — It rounds out the cocoa and chocolate. If you leave it out, the scones will still bake, but their flavor will be a little less warm and full.
From Cold Butter to Set Marshmallow Drizzle
Work the butter into the cocoa mixture
Heat the oven to 400°F and line a large baking sheet with parchment paper. Whisk the flour, cocoa powder, sugar, baking powder, and kosher salt in a large bowl so the cocoa is evenly distributed. Cut in the cold butter until the largest pieces are about the size of peas, then stir in the semisweet chocolate chips. If the butter starts to feel soft, pause and work efficiently rather than letting it melt into the flour.
Bring the dough together without overmixing
Whisk the egg, cold heavy cream, and vanilla in a small bowl, then pour that mixture into the dry ingredients. Stir just until you have shaggy clumps; the dough doesn’t need to look smooth in the bowl. If you keep stirring until every bit of flour disappears, the finished scones can turn dense. The remaining loose bits come together as you press the dough on the work surface.
Cut eight wedges and bake by appearance
Turn the dough onto a lightly floured surface and gently press it into an 8-inch round. Cut the round into 8 wedges and transfer them to the prepared baking sheet. Bake for 16–20 minutes, until the tops look dry and the edges are set. Cool the scones on the baking sheet for 10 minutes, then transfer them to a wire rack to cool completely.
Stir the glaze smooth and drizzle
Stir the marshmallow creme and powdered sugar together in a small bowl, then stir in the milk until the glaze is smooth. If it looks thick at first, keep stirring until the sugar is incorporated and the mixture is easy to drizzle. Wait until the scones are completely cool before topping them, or the glaze will soften and slide rather than setting on the surface. Let the drizzle set before serving.
Easy Changes for a Different Batch
Use milk chocolate for a sweeter bite
Swap the semisweet chocolate chips for milk chocolate chips. The scones will taste sweeter and creamier, which pairs nicely with the cocoa, though the chocolate flavor will be less bittersweet.
Make a gluten-free batch
Replace the all-purpose flour with a cup-for-cup gluten-free baking blend intended to replace wheat flour in baking. The dough may feel more delicate, so press it gently into its round and use a broad spatula to move the wedges to the pan. The crumb may be a little more tender and less chewy than the original.
Storage and Reheating
- Refrigerator: Store the glazed scones in an airtight container for up to 3 days. The crumb will firm up in the refrigerator, so let a scone sit at room temperature briefly before eating.
- Freezer: Freeze the scones without glaze, wrapped individually and packed in an airtight container, for up to 2 months. Thaw at room temperature, then add freshly made glaze.
- Reheating: Warm an unglazed scone in the microwave in 10-second bursts, then glaze it. Avoid heating a glazed scone; the topping can melt and turn sticky.
Questions That Come Up While Baking Hot Chocolate Scones
Hot Chocolate Scones
Ingredients
Equipment
Method
- Heat the oven to 400°F.
- Line a large baking sheet with parchment paper.
- Whisk the flour, cocoa powder, sugar, baking powder, and salt in a large bowl.
- Cut in the cold butter until the largest pieces are pea-size.
- Stir in the chocolate chips.
- Whisk the egg, heavy cream, and vanilla in a small bowl.
- Pour the egg mixture into the flour mixture and stir just until a shaggy dough forms.
- Turn the dough onto a lightly floured surface and gently press it into an 8-inch round.
- Cut the dough into 8 wedges.
- Transfer the wedges to the prepared baking sheet.
- Bake for 16–20 minutes, until the tops look dry and the edges are set.
- Cool on the baking sheet for 10 minutes before transferring to a wire rack to cool completely.
- Stir the marshmallow creme and powdered sugar together in a small bowl.
- Stir in the milk until smooth.
- Drizzle the glaze over the cooled scones.
- Let the glaze set before serving.


