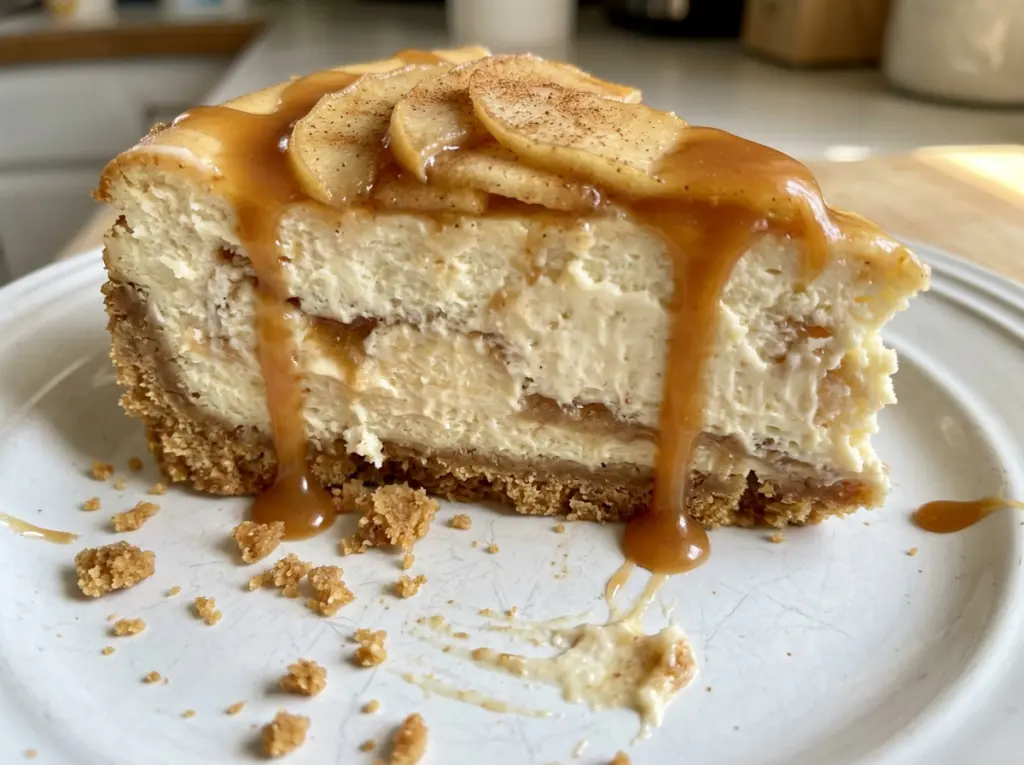
As apple cider bubbles down on the stove, its fresh, tart smell turns sweet and concentrated. That reduction is what gives this apple cider cheesecake a clear apple flavor without pouring extra liquid into the filling. The first time I made it, I kept checking the saucepan because the cider seemed to take forever; the volume change is worth watching, since you want it reduced to exactly 1/2 cup.
The filling is rich from cream cheese and sour cream, with a little flour to help it set. I mix the eggs in one at a time on low speed, then use a water bath and a slow oven cool so the surface stays smooth instead of cracking as it cools.
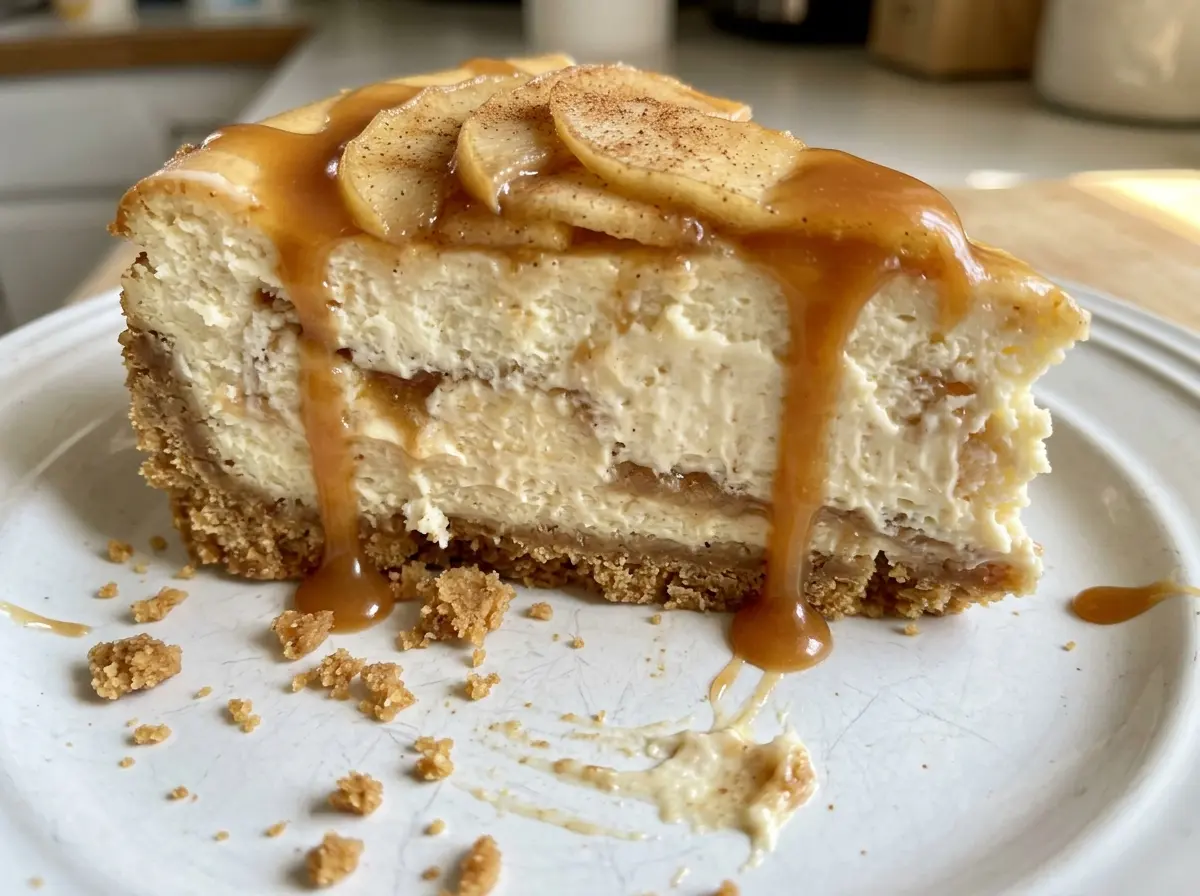
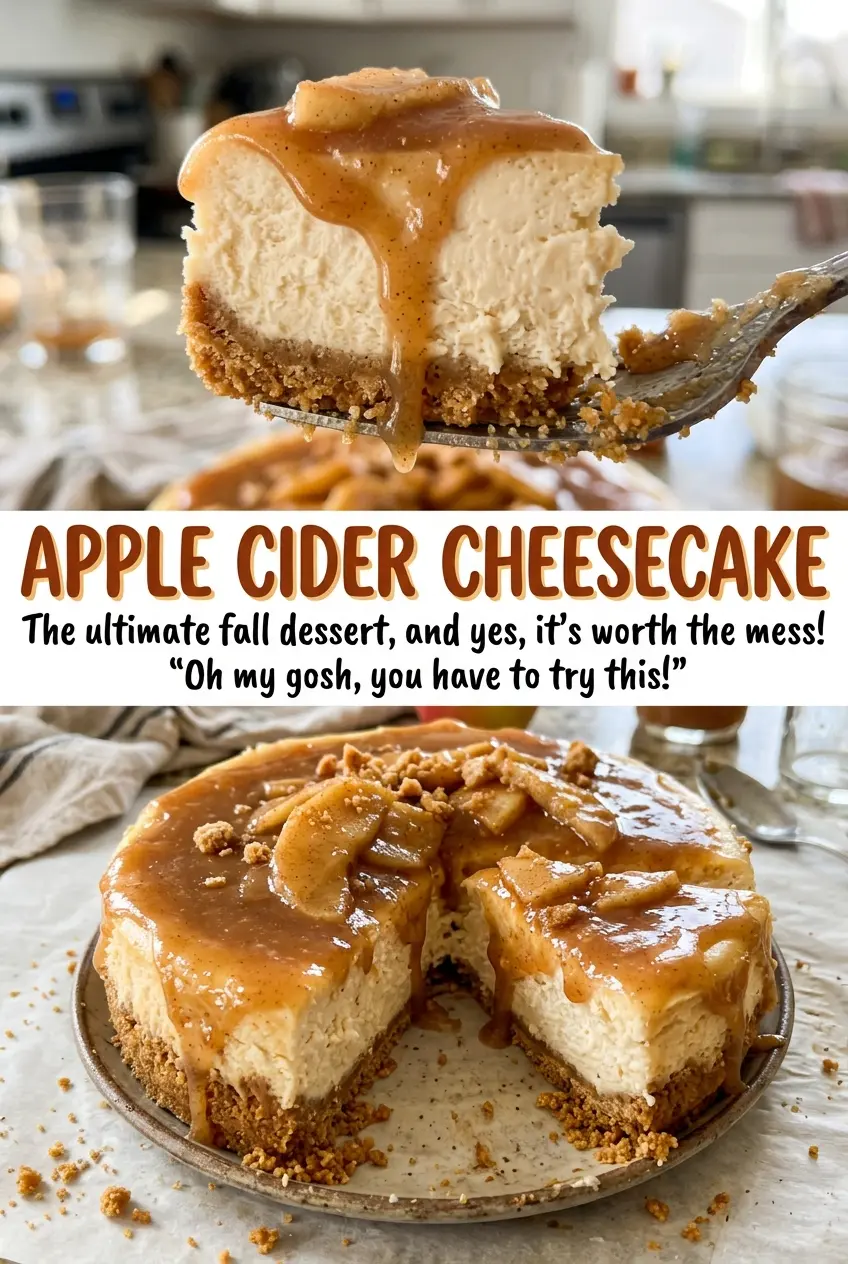
After a long chill, the cheesecake is cool and creamy beneath tender cinnamon apples. Each slice has a crisp graham cracker base and just enough tart apple on top to balance the filling.
Kitchen Note
Add the eggs one at a time on low speed, and stop mixing as soon as each one disappears into the filling. Beating the batter more than it needs can add air that expands in the oven and leaves the cheesecake more likely to sink as it cools.
Save this apple cider cheesecake for its concentrated cider filling, cool creamy center, and cinnamon apples layered on top.
Why Reducing the Cider Matters More Than Adding More Apple Flavor
Apple cider brings plenty of flavor, but it also brings water. Pouring it straight into cheesecake batter would add liquid that the cream cheese filling doesn’t need, making it harder to get a neat, sliceable set. Simmering the cider concentrates its apple character while reducing the amount of liquid that goes into the pan.
That reduction gives the filling a gentle apple taste without turning it into a loose custard. It also lets the topping do a different job: the Granny Smith apples add bright, tart bites and a little cinnamon, rather than carrying all the apple flavor themselves. The two layers taste related but don’t compete.
Keep an eye on the cider as it simmers rather than relying on the clock alone. The finish line is 1/2 cup, not a particular shade or thickness; reducing it too far leaves less cider to flavor the filling. Let it cool completely before mixing it in, so it blends smoothly into the cream cheese base.
What the Cider, Cream Cheese, and Apples Each Bring to the Slice
- Apple cider — Choose cider you’d enjoy drinking; its character remains noticeable after reduction. Apple cider vinegar isn’t a substitute, and apple juice makes a sweeter, less rounded filling. Reduce the cider before it goes near the batter, then cool it completely.
- Cream cheese — This is the structure and richness of the filling, so use block cream cheese rather than a whipped spread. Let it soften before mixing; cold cream cheese leaves lumps that are hard to beat out once the other ingredients are in.
- Sour cream — It loosens the cream cheese mixture and gives the filling a mild tang. Bring it to room temperature with the eggs so it blends without leaving cool streaks. Plain Greek yogurt can stand in, though the filling will taste a little tangier and may be slightly firmer.
- Eggs — Room-temperature eggs incorporate more evenly into the filling. Add them individually on low speed instead of tipping them all in at once.
- Granny Smith apples — Their tartness balances the sweet filling, and their firm flesh holds its shape as it cooks. Peel, core, and cut them into even 1/4-inch slices so they soften at the same pace.
- Graham cracker crumbs — The crumbs make a buttery, crisp base that contrasts with the soft filling. Store-bought crumbs are convenient; if crushing crackers yourself, aim for fine, even crumbs so the crust presses together cleanly.
Building the Crust and Filling Before the Slow Bake
Bake a Firm Graham Cracker Base
Heat the oven to 350°F and lightly grease the bottom and sides of a 9-inch springform pan with the reserved teaspoon of butter. Stir the crumbs with melted butter, sugar, and salt until the mixture looks evenly moistened, then press it firmly over the bottom of the pan. Bake for 9 to 11 minutes, until fragrant and set. Cool the crust, then lower the oven temperature to 325°F before baking the cheesecake.
Reduce the Cider and Mix a Smooth Filling
Simmer the cider in a small saucepan over medium heat for 20 to 30 minutes, until only 1/2 cup remains, then let it cool completely. Beat the softened cream cheese with the sugar on medium-low, scraping down the bowl when needed, until smooth. Mix in the sour cream, flour, and vanilla, then add the eggs one at a time on low speed. Stir in the cooled cider and stop when it is incorporated.
Seal the Pan for Its Water Bath
Pour the filling onto the cooled crust and wrap the outside of the springform pan in two layers of heavy-duty foil. Set the pan in a roasting pan, then pour in hot water until it reaches halfway up the springform pan’s sides. Take care not to splash water over the foil or into the filling. The snug foil layers help keep water from seeping into the crust.
Bake Until the Center Still Has a Gentle Wobble
Bake at 325°F for 70 to 85 minutes. The edges should look set, while the center 2 inches should wobble gently when the pan is nudged; a fully firm center in the oven is likely to become overbaked. Turn off the oven, prop the door open about 1 inch, and leave the cheesecake in its water bath for 1 hour. Lift the springform pan out, remove the foil, and cool it on a rack to room temperature before covering and refrigerating it for at least 6 hours.
Cook the Apples Until Tender, Not Collapsed
Melt the reserved butter in a 10-inch skillet over medium heat, then add the apple slices, brown sugar, and cinnamon. Cook for 6 to 8 minutes, stirring gently, until the apples are tender but still hold their shape. Stirring roughly can break up the slices, so turn them carefully as they soften. Cool the topping completely, then arrange it over the chilled cheesecake just before serving.
Two Easy Ways to Adapt the Apple Topping and Crust
Make the Crust Gluten-Free
Use gluten-free graham-style crumbs in place of the regular crumbs, keeping the same volume, and replace the all-purpose flour with a cup-for-cup gluten-free flour blend in the same amount. The crust may have a slightly different crunch depending on the brand, but the buttery base and creamy filling remain.
Use Honeycrisp Apples for a Sweeter Finish
Swap the Granny Smith apples for Honeycrisp if you want a sweeter, less tart topping. Keep the slices the same thickness and watch the skillet closely, since a softer apple can become tender sooner. The topping will have less of the sharp contrast that Granny Smith brings.
Make-Ahead and Storage
- Refrigerator: Cover and refrigerate the cheesecake for 3 to 4 days. The crust will soften a little as it sits, and the apple topping is best kept separate until serving.
- Freezer: Freeze the cheesecake without the topping, wrapped tightly, for up to 2 months. Thaw it in the refrigerator, then prepare and add the cooled topping before serving.
- Reheating: This cheesecake is served cold, so don’t reheat it. Let slices sit briefly at room temperature if you prefer a softer texture, rather than microwaving them and warming the filling unevenly.
Questions That Come Up When Baking Apple Cider Cheesecake
Apple Cider Cheesecake
Ingredients
Equipment
Method
- Heat the oven to 350°F.
- Use 1 teaspoon of the butter to lightly grease the bottom and sides of a 9-inch springform pan.
- Mix the graham cracker crumbs, 6 tablespoons melted butter, 1/4 cup granulated sugar, and fine salt until evenly moistened.
- Press the mixture firmly over the bottom of the pan.
- Bake for 9 to 11 minutes, until fragrant and set.
- Cool the crust and reduce the oven temperature to 325°F.
- Simmer the apple cider in a small saucepan over medium heat for 20 to 30 minutes, until reduced to 1/2 cup.
- Let the cider cool completely.
- Beat the cream cheese and remaining 1 cup granulated sugar on medium-low until smooth, scraping down the bowl as needed.
- Beat in the sour cream, flour, and vanilla.
- Add the eggs one at a time on low speed.
- Mix in the cooled cider.
- Pour the filling over the cooled crust.
- Wrap the outside of the springform pan in two layers of heavy-duty foil.
- Set the wrapped springform pan in a roasting pan.
- Pour hot water into the roasting pan until it reaches halfway up the sides of the springform pan.
- Bake at 325°F for 70 to 85 minutes, until the edges are set and the center 2 inches still wobble gently.
- Turn off the oven.
- Prop the door open about 1 inch.
- Leave the cheesecake in the water bath for 1 hour.
- Lift the springform pan out of the water bath and remove the foil.
- Cool the cheesecake on a rack until it reaches room temperature.
- Cover and refrigerate for at least 6 hours.
- Melt the reserved 2 tablespoons butter in a 10-inch skillet over medium heat.
- Add the apples, brown sugar, and cinnamon.
- Cook for 6 to 8 minutes, stirring gently, until the apples are tender but still hold their shape.
- Cool the topping completely.
- Arrange the topping over the chilled cheesecake before serving.


