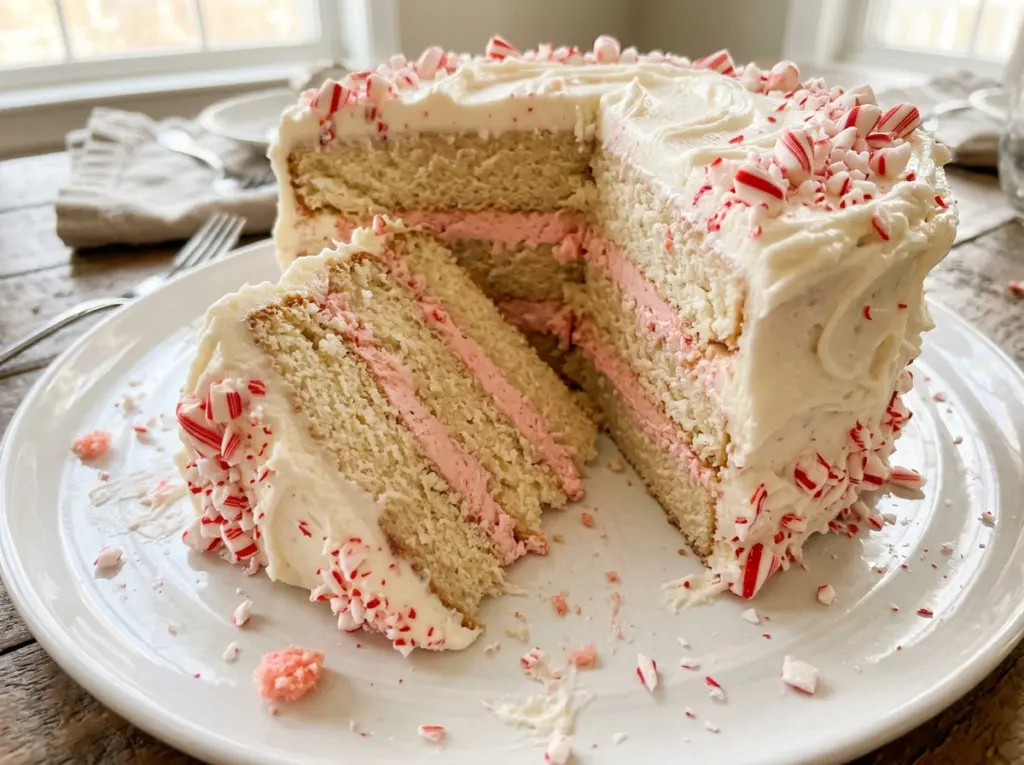
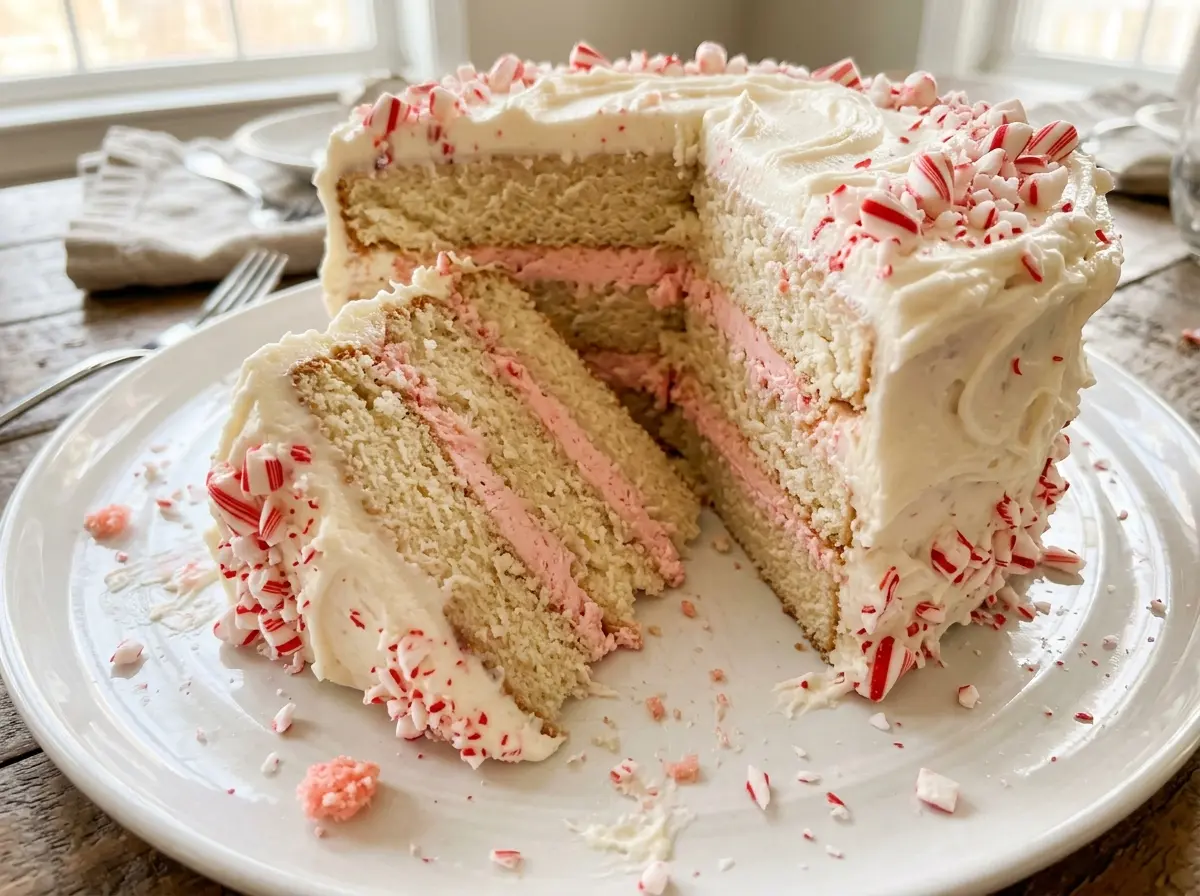
The butter and sugar turn pale and billowy before the flour ever touches the bowl, and that’s the first sign these layers are headed in the right direction. I give them the full few minutes, then add the eggs one at a time so the batter stays smooth. This Holiday Peppermint Cake has a gentle mint flavor in the cake, a peppermint buttercream between the layers, and a crisp candy finish on top.
What makes it feel festive without turning every bite into a mouthful of mint is the way the flavor is spread through the cake and frosting. The cake layers are soft and tender, while the buttercream gives you a clearer peppermint note and the crushed candies bring a little crunch. It’s a pretty centerpiece, but the process is straightforward: bake two round layers, let them cool fully, then stack and frost them.
Kitchen Note
Wait until both layers are completely cool before you reach for the frosting. Even a little warmth can soften the buttercream and make the top layer slide as you spread it.
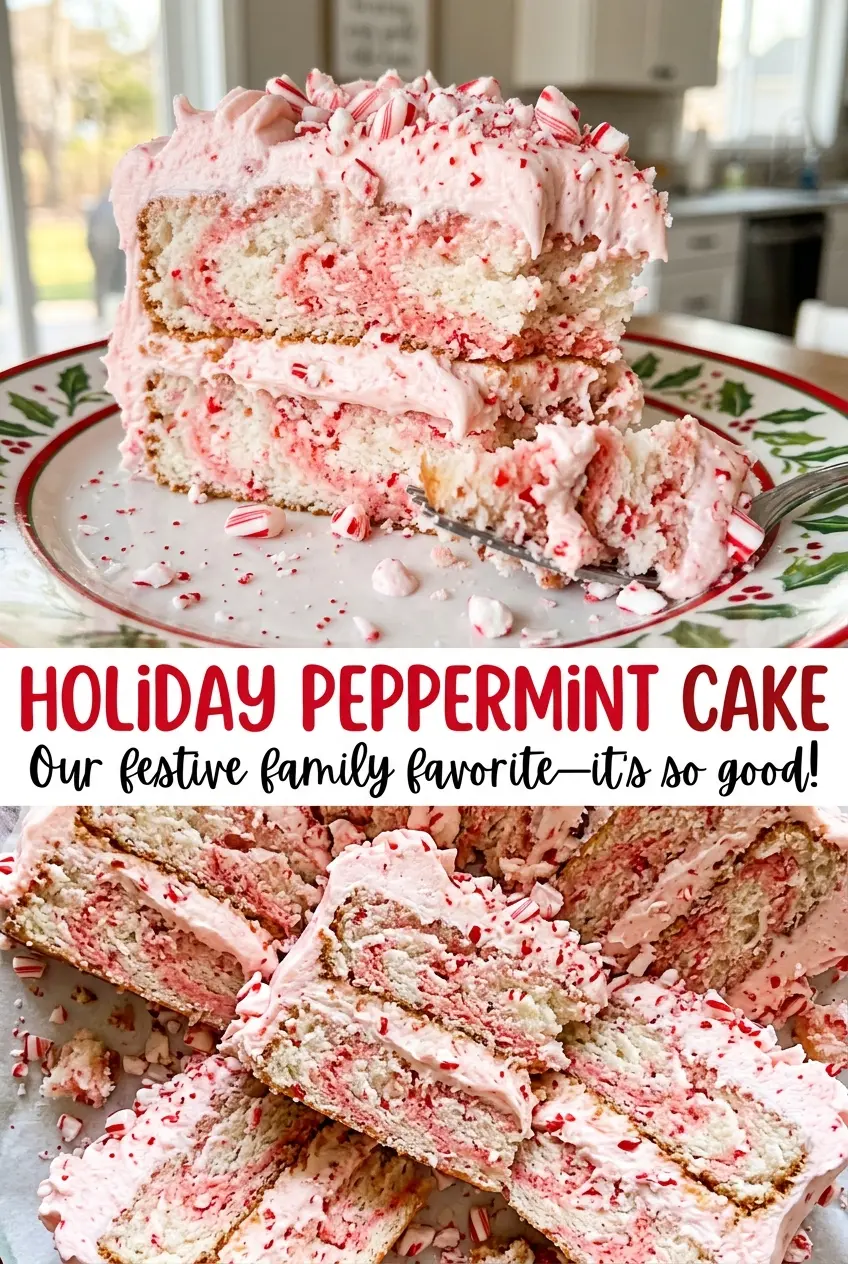
Save this Holiday Peppermint Cake for a celebration that calls for soft minty layers, fluffy buttercream, and a candy-cane crunch on top.
Why Alternating Flour and Milk Helps Keep These Layers Tender
A cake batter can turn tough when flour gets overworked. Once flour is mixed with liquid, gluten starts to develop, and extra mixing makes the crumb firmer. This batter keeps that in check by adding the flour mixture in three additions and the milk in two, rather than adding all the dry ingredients and liquid at once.
Starting and finishing with flour also gives the batter a steadier texture as you mix. Keep the mixer on low for these additions and stop as soon as the ingredients come together. The batter should look even, without visible flour streaks, but it doesn’t need a long beating to become perfectly silky. That light touch matters more than trying to smooth out every small variation in the batter; the layers bake up soft rather than dense.
What the Peppermint, Butter, and Milk Each Bring to the Cake
- All-purpose flour and baking powder — All-purpose flour gives the layers enough structure to hold their shape once stacked, while baking powder lifts the batter. Regular supermarket flour works well here; cake flour isn’t a direct swap because its lower protein can leave the layers more delicate and harder to handle.
- Unsalted butter — Softened butter creams with the sugar and builds the cake’s tender, rich crumb. A standard grocery-store butter is fine; the useful detail is its texture, which should be soft enough to beat but not melted. Keeping it unsalted lets the listed salt do its job without adding an unknown amount.
- Eggs — Room-temperature eggs blend more evenly into the creamed butter and sugar than cold eggs straight from the refrigerator. Large eggs are the right size for this batter, and there’s no need for a specialty brand.
- Whole milk — Whole milk supports a moist, tender crumb and brings more richness than lower-fat milk. If whole milk isn’t available, 2% milk works in the same measure, though the cake will be a little less rich.
- Peppermint and vanilla extracts — Both extracts matter: peppermint gives the cake and frosting their mint character, while vanilla rounds it out. Use peppermint extract rather than peppermint oil; oil is much more concentrated and isn’t a direct, equal-measure substitute.
- Crushed peppermint candies or candy canes — Either option gives the smooth buttercream a crisp finish. Choose whichever you have on hand, and crush it into small pieces so it’s easy to scatter across the top and eat with a forkful of cake.
From Even Layers to Fluffy Peppermint Buttercream
Set Up the Pans and Dry Mix
Heat the oven to 350°F and grease two 8-inch round cake pans. Line the bottoms with parchment paper, then grease the parchment so the layers release cleanly. Whisk the flour, baking powder, and salt together in a medium bowl until evenly combined. Having the dry mixture ready before you start creaming keeps the mixing focused and orderly.
Cream the Butter, Sugar, and Eggs
Beat the softened butter and granulated sugar in a large bowl with an electric mixer on medium-high until light and fluffy, about 3 to 4 minutes. The mixture should look paler and feel airy, not like a dense paste. Beat in the eggs one at a time, then mix in the vanilla and peppermint extracts. Adding each egg separately helps it blend into the butter mixture before the next goes in.
Finish the Batter and Bake the Layers
Add the flour mixture in three additions, alternating with the milk in two additions, beginning and ending with flour. Mix on low just until combined; prolonged mixing at this point is what can make the cake less tender. Divide the batter evenly between the prepared pans and bake for 28 to 33 minutes. The tops should spring back lightly, and a toothpick in the center should come out clean or with a few moist crumbs.
Cool the Cakes and Beat the Frosting
Let the cakes cool in their pans for 10 minutes, then loosen the edges and turn them out onto wire racks. Remove the parchment and cool the layers completely before frosting. For the buttercream, beat the softened butter until creamy, about 2 minutes, then gradually beat in the powdered sugar on low. Add the heavy cream, peppermint extract, vanilla extract, and salt, then beat on medium-high until fluffy, about 2 minutes.
Stack, Frost, and Add the Candy
Place one cooled layer on a serving plate and spread it with about 1 cup of buttercream. Set the second layer on top, then frost the top and sides with the remaining buttercream. Spread gently so you don’t pull crumbs into the finished surface. Sprinkle the crushed peppermint candies over the top just before serving.
Three Simple Ways to Shift the Peppermint Cake
Keep the cake more vanilla-forward
Leave the peppermint extract out of the cake batter but keep the vanilla and peppermint buttercream. The layers will taste less minty on their own, while the frosting still gives the finished cake a clear peppermint note.
Make the frosting vanilla-only
Omit the peppermint extract from the buttercream and keep the peppermint in the cake. You’ll get a gentler mint flavor overall, with the vanilla frosting letting the cake’s peppermint come through more clearly.
Skip the candy topping
Leave off the crushed peppermint candies for a smooth buttercream finish. You’ll lose the crunchy contrast, but the cake and frosting still carry the peppermint flavor.
Storage and Reheating
- Refrigerator: Keep the covered cake refrigerated for up to 4 days. The buttercream will firm up, so the cake is best served after it has softened briefly at room temperature.
- Freezer: Freeze slices without the candy topping. Wrap them airtight and freeze for up to 2 months; thaw in the refrigerator before serving.
- Reheating: No reheating is needed. Let a refrigerated slice stand at room temperature for 20 to 30 minutes; microwaving can soften the buttercream unevenly and make it greasy.
Questions That Come Up When Baking Holiday Peppermint Cake
Holiday Peppermint Cake
Ingredients
Equipment
Method
- Heat the oven to 350°F.
- Grease two 8-inch round cake pans, line the bottoms with parchment paper, and grease the parchment.
- Whisk together the flour, baking powder, and salt in a medium bowl.
- Beat the softened butter and granulated sugar in a large bowl with an electric mixer on medium-high until light and fluffy, 3 to 4 minutes.
- Beat in the eggs one at a time.
- Mix in the vanilla and peppermint extracts.
- Add the flour mixture in three additions, alternating with the milk in two additions and beginning and ending with the flour; mix on low just until combined.
- Divide the batter evenly between the pans.
- Bake for 28 to 33 minutes, until the tops spring back lightly and a toothpick inserted in the center comes out clean or with a few moist crumbs.
- Cool the cakes in the pans for 10 minutes.
- Loosen the edges, turn the cakes out onto wire racks, and remove the parchment.
- Cool completely.
- Beat the softened butter in a large bowl until creamy, about 2 minutes.
- Gradually beat in the powdered sugar on low.
- Add the heavy cream, peppermint extract, vanilla extract, and salt, then beat on medium-high until fluffy, about 2 minutes.
- Place one cooled cake layer on a serving plate and spread with about 1 cup of buttercream.
- Set the second layer on top and frost the top and sides with the remaining buttercream.
- Sprinkle the top evenly with the crushed peppermint candies just before serving.


