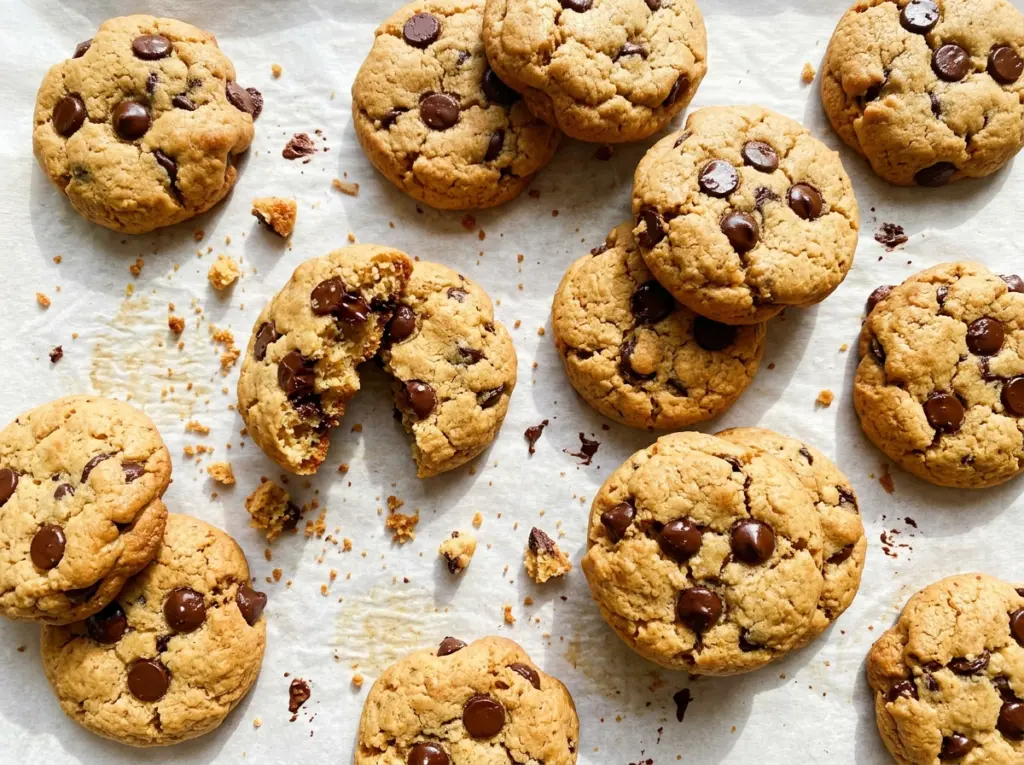
When the processor turns the chickpeas and oats into a thick, smooth dough, it looks more like a truffle mixture than classic cookie dough. That’s normal. These Chickpea Chocolate Chip Cookies don’t start with butter and flour, so the texture comes from blending the beans with finely ground oats and creamy peanut butter. Once the chocolate chips go in, the dough is sturdy enough to scoop and shape.
I pat the chickpeas very dry before they go into the processor; extra moisture can leave the dough looser than it should be. The oats do more than stand in for flour, too. Processed until fine, they give the chickpeas a soft, cohesive base without leaving big flakes in every bite. After baking, the edges feel set and the bottoms turn lightly golden, while the centers stay tender. Each cookie gets a little chocolate in the middle of that soft, oat-and-peanut-butter crumb.
Kitchen Note
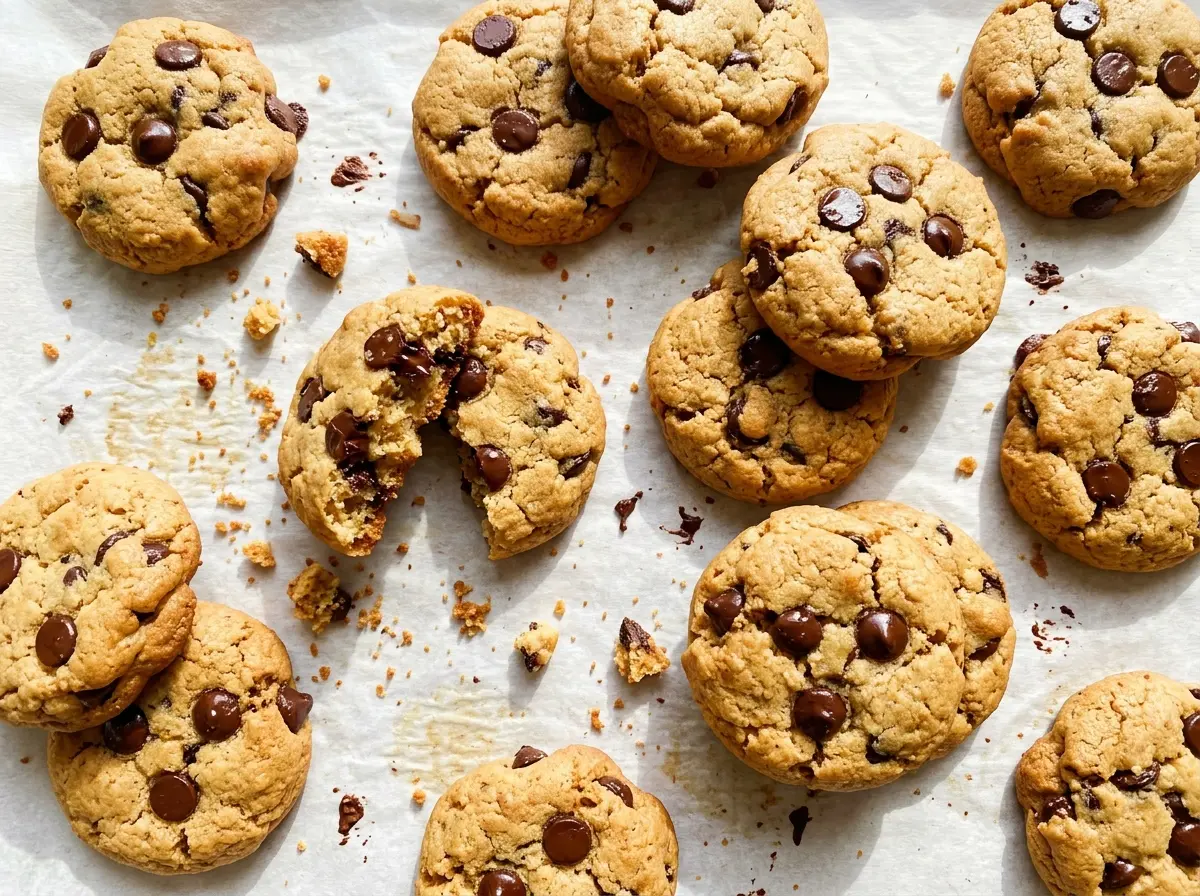
These cookies need their shape before they go into the oven. Flatten each scoop to a 1/2-inch-thick round; don’t count on the dough to spread into a cookie on its own.
Save these Chickpea Chocolate Chip Cookies for a soft, chocolate-studded bake made with pantry-friendly ingredients.
Why the Chickpeas Go Into the Processor Before the Oats
It’s worth keeping the two processing stages in order. Chickpeas are firm and a little irregular straight from the can, so pulsing them first breaks them into smaller pieces. The oats go in next and have room to grind down around those pieces before the wetter ingredients turn everything into dough.
If you add all the ingredients at once, the peanut butter and maple syrup can coat the chickpeas before the oats have had a chance to break down. That makes it harder to get an even texture, and you may be left with noticeable oat flakes or chickpea bits. Processing in stages gives the machine a clearer job each time: chop, grind, then blend. It’s a small change in order, but it’s what helps these cookies hold together without flour or eggs. The finished mixture should look smooth and thick, not like loose hummus or a bowl of dry crumbs.
What Each Ingredient Brings to These Chickpea Cookies
- Chickpeas — They make up the soft, substantial base of the dough. Canned chickpeas are convenient and work well; drain and rinse them, then pat them very dry so their canning liquid doesn’t thin the mixture. Don’t swap in hummus, which has a different moisture level and may contain added oil or seasoning.
- Old-fashioned rolled oats — Once finely ground, they give the dough structure and a gentle oat flavor. A basic store-brand rolled oat works just as well as a pricier one here. The old-fashioned texture is useful because it can be ground in the processor without starting out as a powder.
- Creamy peanut butter — This adds richness and helps the blended ingredients come together. A smooth, evenly mixed peanut butter is the easiest to process; a separated jar with a layer of oil can make the dough inconsistent if it hasn’t been stirred thoroughly.
- Pure maple syrup — It sweetens the dough and provides moisture for blending the oats and chickpeas. Use pure maple syrup rather than pancake syrup, which has a different sweetness and ingredient makeup. Honey is a workable swap in the same amount, though it brings a more noticeable honey flavor.
- Vanilla, baking powder, and salt — Vanilla rounds out the peanut butter and chocolate, while baking powder gives the cookies a little lift. Fine salt distributes evenly through the dough. These ingredients don’t need to be premium; fresh baking powder matters more than a particular brand.
- Semisweet chocolate chips — Their sweetness balances the mild chickpea base, and chips hold their shape better than finely chopped chocolate. Standard semisweet chips are a good fit; dairy-free chips also work if you need that adaptation.
From Chickpeas to Cookies: The Four Stages That Matter
Prepare the pan and grind the oats
Heat the oven to 350°F and line a large rimmed baking sheet with parchment paper. Add the drained, rinsed, very dry chickpeas to a food processor and pulse until they’re roughly chopped. Add the rolled oats and process until finely ground. If larger oat flakes are still visible, keep processing before moving on to the wet ingredients.
Blend the thick cookie dough
Add the peanut butter, maple syrup, vanilla, baking powder, and salt to the processor. Blend until the mixture looks smooth and thick, scraping down the bowl as needed so bits along the sides get incorporated. It should hold together when scooped rather than pour like batter. If the processor seems to stall, stop and scrape the sides before continuing.
Fold in the chocolate and shape
Fold the chocolate chips into the blended dough so they stay whole instead of breaking down in the processor. Scoop the dough into 16 portions on the lined baking sheet. Flatten each portion into a 1/2-inch-thick round; keeping the rounds similar in thickness helps them bake at the same pace. The dough is soft, so use the back of a spoon or your fingers to shape any uneven edges.
Bake until set, then let them cool
Bake for 12 to 15 minutes, until the edges feel set and the bottoms are lightly golden. The centers won’t look like a crisp, browned cookie, so use the edges and bottoms as your cues instead of waiting for deep color on top. Leave the cookies on the baking sheet for 10 minutes, then transfer them to a rack to cool completely. They’re delicate while warm, so move them gently.
Simple Swaps for Different Diets and Chocolate Preferences
Make Them Nut-Free with Sunflower Seed Butter
Replace the peanut butter with the same amount of creamy sunflower seed butter. It keeps the dough rich and cohesive, with a more earthy, seed-forward flavor. Choose a smooth variety and stir it well before measuring so the dough blends evenly.
Make the Batch Dairy-Free
Use dairy-free semisweet chocolate chips in place of standard semisweet chips. The dough and baking method stay the same, while the cookies keep their chocolate pockets and familiar sweetness.
Choose Oats for a Gluten-Free Kitchen
Use rolled oats labeled gluten-free if you’re avoiding gluten, since oats can be exposed to gluten-containing grains during processing. The cookies keep the same soft, oat-based texture, and you can process the oats just as finely.
Storage and Reheating
- Refrigerator: Keep the fully cooled cookies in an airtight container for up to 5 days. They’ll firm up as they chill.
- Freezer: Freeze fully cooled cookies in an airtight container with parchment between layers for up to 2 months. Thaw at room temperature.
- Reheating: Warm an individual cookie in the microwave for about 8 seconds, just until the chocolate softens. Longer heating can make the cookie tough.
Questions That Come Up When Making Chickpea Cookies
Chickpea Chocolate Chip Cookies
Ingredients
Equipment
Method
- Heat the oven to 350°F.
- Line a large rimmed baking sheet with parchment paper.
- Add the chickpeas to a food processor and pulse until roughly chopped.
- Add the oats and process until finely ground.
- Add the peanut butter, maple syrup, vanilla, baking powder, and salt; process until the mixture is smooth.
- Scrape down the bowl as needed.
- Fold in the chocolate chips.
- Scoop the dough into 16 portions onto the prepared baking sheet.
- Flatten each portion into a 1/2-inch-thick round.
- Bake for 12 to 15 minutes, until the edges feel set and the bottoms are lightly golden.
- Cool the cookies on the baking sheet for 10 minutes.
- Transfer them to a rack to cool completely.


