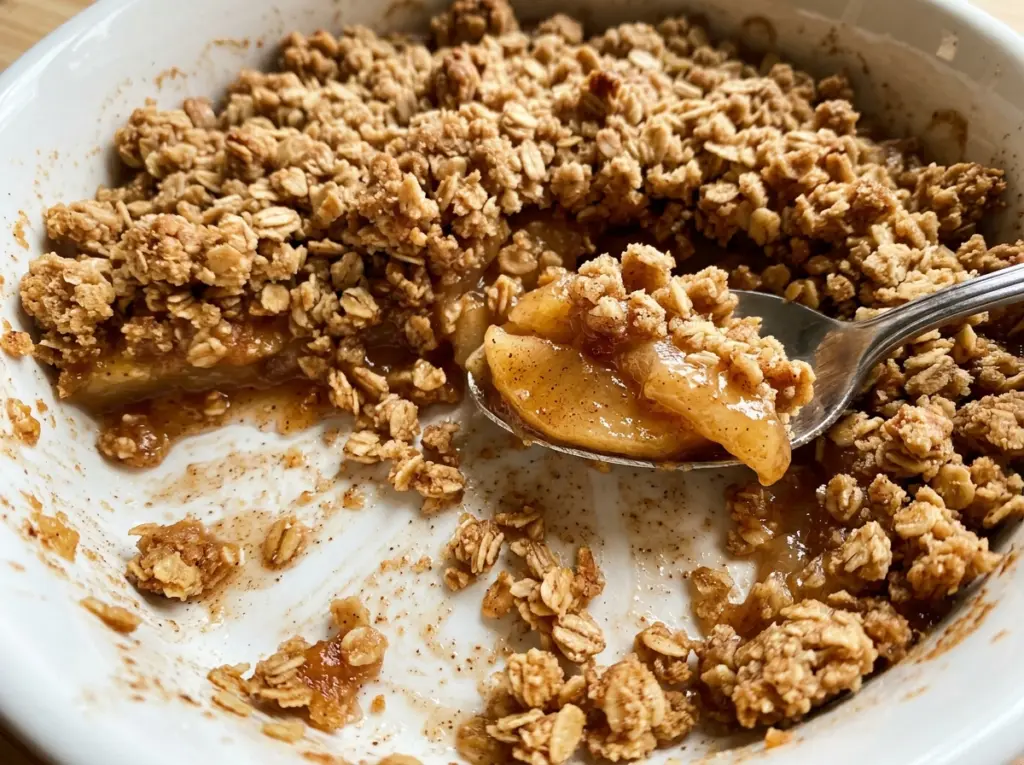
When apple juice starts bubbling around the edges of the dish, the topping is turning golden, and the kitchen smells like cinnamon, this apple crisp is close. I like that it gives you a generous layer of soft fruit under a crumbly oat topping without asking you to fuss over pastry. The apples are sliced evenly, tossed with a little flour and cinnamon, then covered with a simple butter crumb.
The flour in the filling helps thicken the juice the apples release as they bake, so each scoop has syrupy fruit instead of a puddle at the bottom. I cut the apples about 1/4 inch thick so they soften at roughly the same pace. After baking, give the crisp at least 15 minutes to rest; the filling settles while the top stays crisp and golden.
Kitchen Note
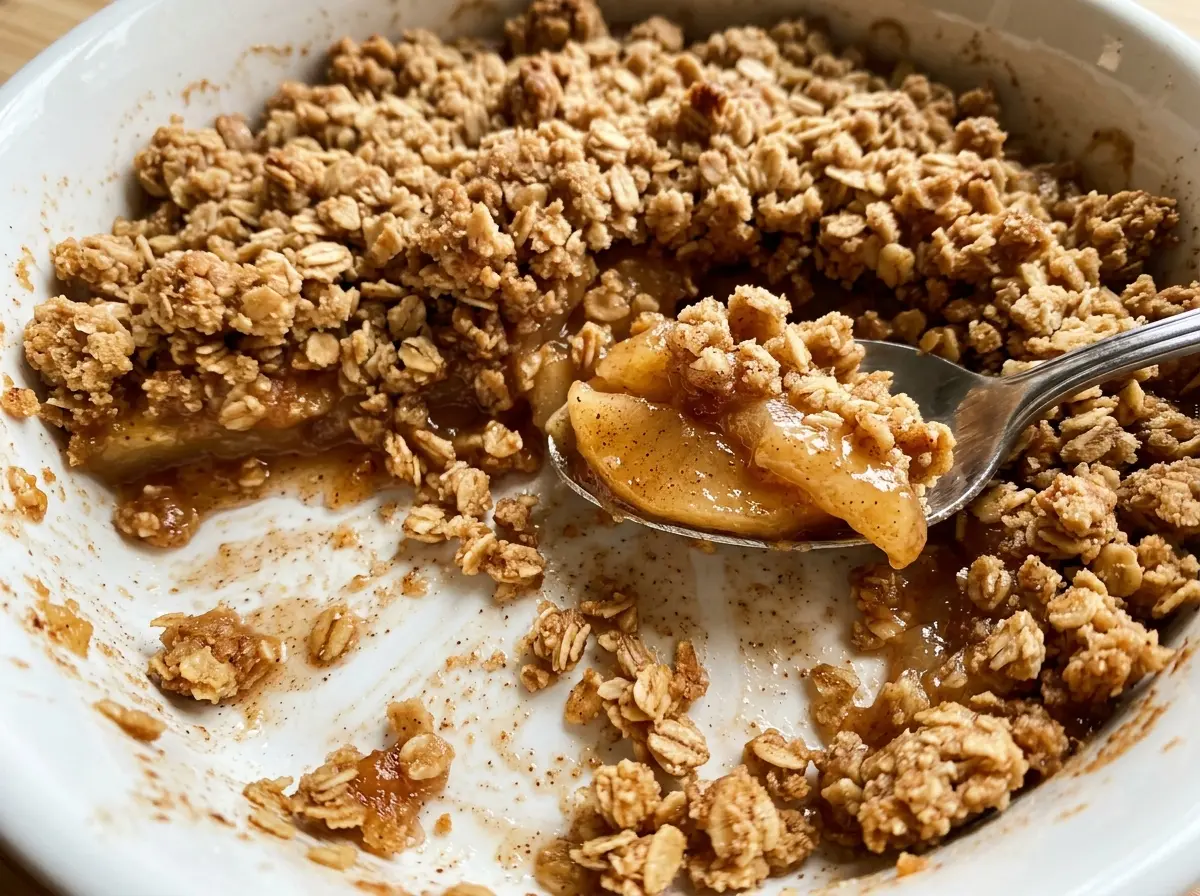
If the butter starts smearing into the flour instead of forming crumbs, pause before the topping turns pasty. Cold butter gives you distinct little bits that bake into a crisp, uneven topping; warm hands can soften it faster than you expect.
Save this apple crisp for its bubbling cinnamon apples and buttery oat topping—a dependable dessert for sharing warm from the dish.
Why the Apples Need a Little Flour Before They Bake
Apples soften and release juice in the oven, and sugar draws out even more of that liquid. Without something to help it thicken, the fruit can be tender while the bottom of the dish stays runny. A small amount of flour tossed directly with the apples catches those juices as they bubble, giving the filling a spoonable consistency rather than a thin pool.
That thickener works best when the apples are sliced evenly. At about 1/4 inch, the pieces have time to turn tender during the bake without some collapsing while thicker pieces stay firm. Toss the fruit thoroughly so the flour and cinnamon coat the slices instead of collecting in dry pockets. The topping then sits on an even bed of apples, and the juices can bubble up at the edges where you can see how the bake is progressing.
Lemon juice brings a little brightness to the sweet filling, which matters once the fruit is warm and soft. It doesn’t need to taste sharply tart; it just keeps the apple flavor lively under the brown-sugar topping. Let the fruit do the work, and resist adding extra liquid to the dish.
What the Apples, Flour, and Oats Each Bring to the Crisp
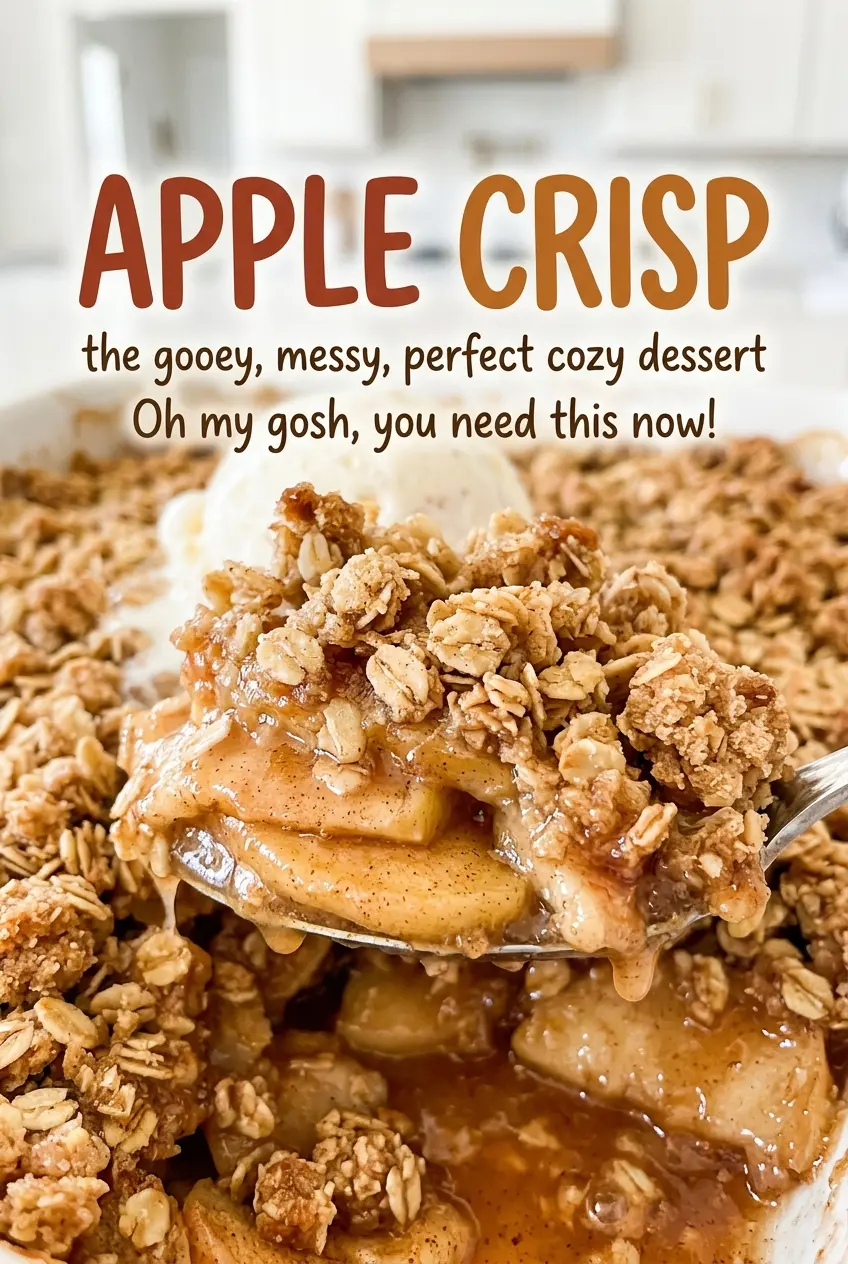
- Apples — Firm apples hold their shape better than softer varieties, which can cook down into a smoother filling. A tart-sweet mix gives the crisp a fuller apple flavor; whichever kind you choose, peel, core, and slice them evenly for consistent tenderness.
- Flour in the filling — All-purpose flour thickens the fruit juices without changing the apple flavor. If you need a gluten-free version, use a 1:1 gluten-free baking blend here and in the topping; a little cornstarch can also replace the filling flour in the same volume, though it gives the juices a clearer, glossier set.
- Lemon juice — Fresh juice has a brighter aroma, but bottled lemon juice works when that’s what you have. Keep the amount steady; extra juice adds liquid the filling doesn’t need.
- Old-fashioned oats — Rolled oats give the topping its distinct, pleasantly chewy crunch. Quick oats work in the same volume, but the crumbs will be smaller and the baked topping less textured.
- Brown sugar and cinnamon — Light brown sugar gives the oat mixture a mellow caramel note. Dark brown sugar is an easy equal-volume swap for a deeper molasses flavor, while the cinnamon ties the topping to the spiced apples.
- Unsalted butter — Cold butter is what turns the dry topping into coarse crumbs instead of a paste. A good-quality butter tastes nice here, but any unsalted butter works; for a dairy-free crisp, use a firm plant-based butter stick rather than a soft tub spread.
Building the Apple Layer and Crumb Without Extra Fuss
Slice and Coat the Apples
Heat the oven to 375°F and lightly butter an 8×8-inch baking dish. Peel, core, and slice the apples about 1/4 inch thick, then toss them in a large bowl with the granulated sugar, lemon juice, flour, cinnamon, and salt. Take a moment to turn the slices through the mixture so they are evenly coated. Spread the apples in the prepared dish without packing them into a mound.
Mix a Crumbly Oat Topping
Stir the topping flour, rolled oats, brown sugar, cinnamon, and salt together in a medium bowl before adding the cold butter. Work the butter through with your fingertips until you see coarse crumbs about the size of peas. Some smaller bits are fine, but don’t keep squeezing once most of the flour is moistened. A uniform paste won’t give you the same craggy, crisp top.
Cover the Fruit Evenly
Scatter the crumb mixture across the apples, spreading it toward the edges so the fruit is covered in an even layer. Don’t press the topping down; loose crumbs leave space for steam to escape and brown around the edges. If you have a few larger clumps, leave them intact for extra texture. The apples should still be in an even layer beneath the topping, not pushed up the sides of the dish.
Bake Until the Edges Bubble
Bake for 40 to 50 minutes, until the topping is golden brown and the apples are tender and bubbling at the edges. If the top looks pale or the fruit hasn’t started bubbling, it needs more oven time; use both cues rather than relying on the clock alone. Set the dish aside to rest for at least 15 minutes before serving. The filling will settle as it cools slightly, so scoops hold together better.
Easy Apple Crisp Variations That Keep the Crumb Right
Make It Gluten-Free
Replace the all-purpose flour in both the filling and topping with a 1:1 gluten-free baking blend, and choose oats labeled gluten-free. The topping may be a little more delicate, but it still bakes into a crisp, crumbly layer over the apples.
Add Pecans to the Oat Crumb
Stir 1/2 cup chopped pecans into the dry topping mixture before working in the butter. The nuts add a toasted, buttery crunch and make the topping a little more substantial without changing the apple layer.
Use a Tart-Sweet Apple Blend
Choose a mix of firm tart apples, such as Granny Smith, and sweeter firm apples, such as Honeycrisp. The tart fruit keeps the filling bright, while the sweeter slices round out the cinnamon and brown sugar. Keep the slices the same thickness so the blend bakes evenly.
Storage and Reheating
- Refrigerator: Cover and refrigerate leftovers for 3 to 4 days. The topping softens as it sits against the fruit.
- Freezer: Freeze the cooled crisp tightly covered for up to 3 months. Thaw it overnight in the refrigerator; the topping may be softer than when freshly baked.
- Reheating: Warm uncovered in a 375°F oven until heated through. The microwave is quick, but it softens the topping rather than bringing back its crisp edges.
Questions That Come Up Before the Crisp Goes in the Oven
Apple Crisp
Ingredients
Equipment
Method
- Heat the oven to 375°F.
- Lightly butter an 8x8-inch baking dish.
- In a large bowl, toss the apples with the granulated sugar, lemon juice, 1 tablespoon flour, 1 teaspoon cinnamon, and 1/4 teaspoon salt.
- Spread the apple mixture evenly in the baking dish.
- In a medium bowl, stir together the 3/4 cup flour, oats, brown sugar, 1/2 teaspoon cinnamon, and 1/4 teaspoon salt.
- Work in the cold butter with your fingertips until the mixture forms coarse, pea-size crumbs.
- Scatter the topping evenly over the apples.
- Bake for 40 to 50 minutes, until the topping is golden brown and the apples are tender and bubbling at the edges.
- Let the crisp rest for at least 15 minutes before serving.


