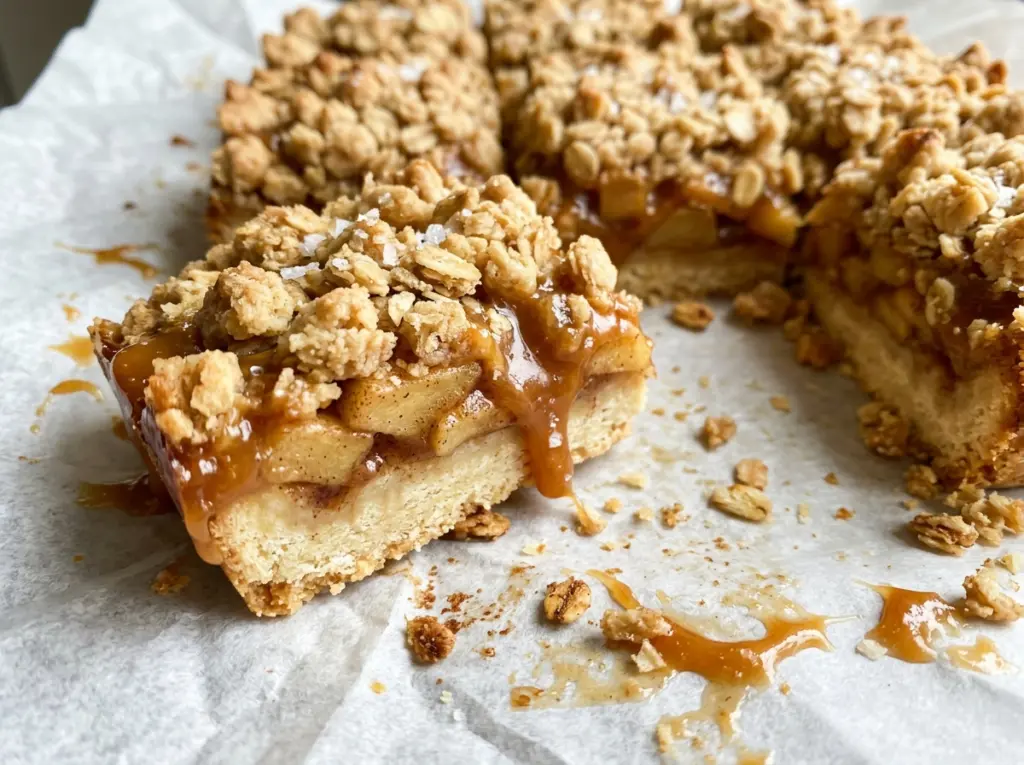
At the first cut, the knife should pass through a crisp oat layer and soft, cinnamon-coated apples before it reaches the buttery base. That balance is what I look for in these salted caramel apple crisp bars: a firm crust underneath, tender fruit in the middle, and a topping that breaks into little golden clumps.
Baking the crust on its own gives it a head start before the apples release their juices. I press it evenly into the pan, bake until the edges are lightly golden, then layer the fruit and topping over the warm base. Tart apples keep the filling from tasting overly sweet, while a little salted caramel on top brings the whole pan together. Let the bars cool completely before cutting, and you’ll get neat squares with all three layers intact.
Kitchen Note
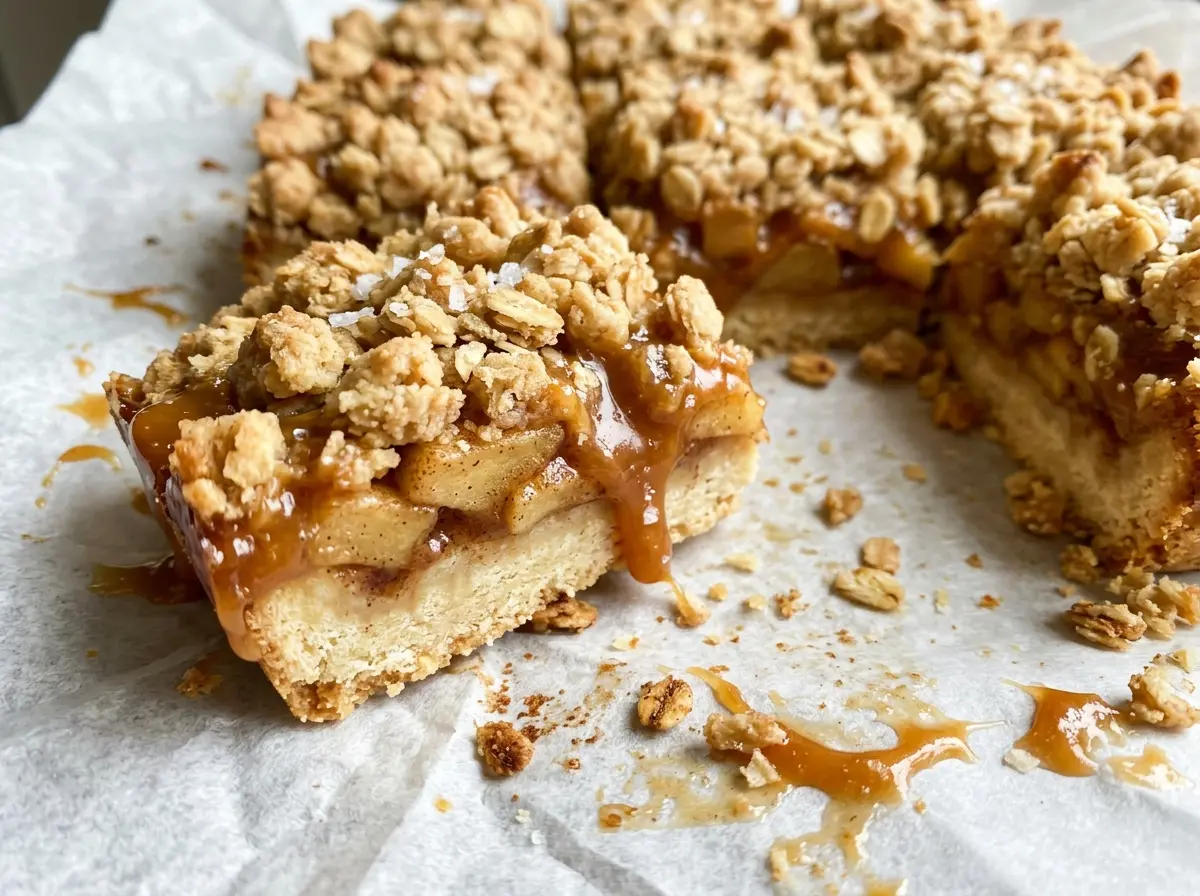
Warm the caramel for just 10 to 15 seconds, then stir in the flaky salt. It should loosen enough to drizzle without getting runny, and adding it after you cut the bars keeps the oat topping visible.
Save these salted caramel apple crisp bars for a bake with tender tart apples, a buttery crust, and a golden oat crumble under a salty caramel drizzle.
Why the crust has to bake before the apples go on
These bars carry more fruit than a thin pastry tart, so the bottom layer needs to be sturdy enough to support it. If the apples go onto raw dough, the crust has to bake through under a layer of fruit and topping, where moisture can keep the base soft. Giving the crust its own turn in the oven lets it set before the filling goes on.
Pressing the dough firmly and evenly matters just as much. A thin spot can bake darker than the rest, while a loose, crumbly patch won’t hold together as neatly beneath the apples. I use the bottom of a measuring cup or my fingertips to work the dough into the corners and smooth the surface. The edges only need to turn lightly golden during this first bake; they’ll continue baking once the bars are assembled.
The apples go on while the crust is still warm, so spread them gently rather than dragging the filling across the surface. Then distribute the topping in loose clumps. Cover the fruit without packing those clumps down, and you’ll keep the contrast between the tender filling and crisp top.
What tart apples and old-fashioned oats contribute to each layer
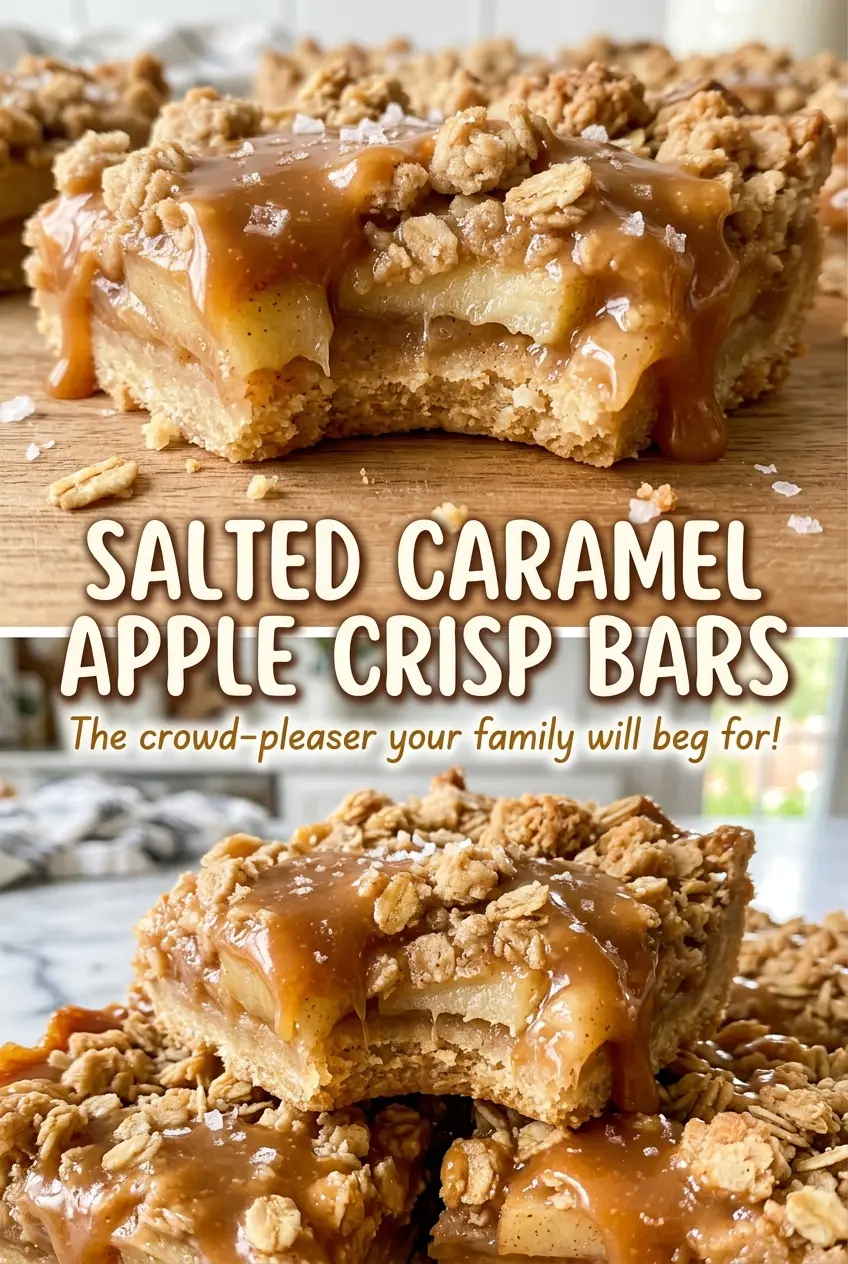
- Tart baking apples — Their bright, tangy taste balances the sweet crust, crumble, and caramel. Granny Smith apples are a reliable choice; another firm, tart baking apple works too. Peeling and cutting the fruit into even slices helps the filling cook at the same pace.
- Unsalted butter — Butter gives the crust its rich, shortbread-like bite and helps the topping form crisp clumps. A standard grocery-store butter works well here; use it softened for the crust and melted for the topping, as those textures are not interchangeable.
- All-purpose flour — Flour binds the crust and topping, and the small amount tossed with the apples helps thicken the fruit juices as the bars bake. A regular all-purpose flour is the dependable choice; spoon it into the measuring cup and level it rather than packing it down.
- Old-fashioned rolled oats — These stay distinct in the topping, giving it a hearty crispness instead of blending into a fine, dense crumb. Choose plain rolled oats rather than flavored packets; the inexpensive pantry kind is exactly right.
- Light brown sugar and cinnamon — Brown sugar gives the topping a soft, caramel-like sweetness, while cinnamon seasons both the fruit and crumble. Pack the brown sugar into the cup so the topping has the right sweetness and clumps.
- Caramel sauce and flaky sea salt — A smooth store-bought caramel keeps the finish quick and easy to drizzle. Flaky salt gives the topping a delicate salty finish; its larger crystals don’t dissolve into the caramel the way fine salt would.
The four stages that keep the crisp top above a tender apple layer
Press and prebake the buttery base
Heat the oven to 350°F, grease a 9×13-inch metal pan, and line it with parchment, leaving an overhang on the long sides. Stir the flour, granulated sugar, and kosher salt together, then work in the softened butter until the dough looks evenly crumbly. Press it firmly into the pan so there aren’t thin patches or loose corners. Bake for 18 to 22 minutes, until the edges are lightly golden.
Coat the apple slices evenly
Toss the peeled, cored, quarter-inch apple slices with the lemon juice, sugar, flour, cinnamon, and kosher salt. Turn them until the coating reaches the cut sides instead of collecting at the bottom of the bowl. Separate any slices that stick together so the fruit can spread into an even layer. The flour should cling lightly to the apples, not sit in dry pockets.
Make clumps for the oat topping
Stir the flour, rolled oats, brown sugar, and cinnamon together before adding the melted butter. Mix until the butter has moistened the dry ingredients and small clumps form. If you stir until the mixture turns into one smooth paste, you’ll lose the crumbly texture on top. Keep the clumps loose enough to scatter over the fruit.
Layer, bake, cool, and finish
Spread the apples over the warm crust, then scatter the oat mixture across the surface. Bake at 350°F for 45 to 55 minutes, until the topping is golden brown and a knife slides easily into the apples. Set the pan on a wire rack and let the bars cool completely, at least 2 hours, before lifting them out by the parchment and cutting 16 bars. Warm the caramel for 10 to 15 seconds, stir in the flaky sea salt, and drizzle it over the cut bars.
Three ways to adjust the sweetness and texture
Choose Granny Smith for a sharper apple bite
Use Granny Smith apples when you want the filling’s tartness to stand out against the sweet topping and caramel. A different firm tart baking apple gives a slightly rounder fruit flavor, while very sweet, soft apples can make the filling taste sweeter and bake down more.
Make a dairy-free batch with baking sticks
Replace the butter with dairy-free baking sticks in both the crust and topping, using the same amounts and keeping the crust portion softened and the topping portion melted. Choose a dairy-free caramel sauce for the drizzle. The bars will still have a crisp base and oat topping, though the buttery flavor will be different.
Leave off the caramel for a less-sweet finish
Skip the caramel sauce and flaky salt if you’d rather let the tart apples and cinnamon lead. The bars still have a sweet oat crumble, but the top tastes less rich and doesn’t have the salty-sweet contrast of the drizzle.
Storage and Reheating
- Refrigerator: Store cooled bars in an airtight container for 3 to 4 days. The topping softens a little as it sits with the apple filling.
- Freezer: Freeze the bars without caramel, separated by parchment in an airtight container, for up to 2 months. Thaw them in the refrigerator, then add the salted caramel drizzle.
- Reheating: These are good chilled or at room temperature. To warm one, microwave it briefly in short bursts and stop as soon as the apple layer is warm; longer heating softens the crisp topping.
Questions that come up before cutting into apple crisp bars
Salted Caramel Apple Crisp Bars
Ingredients
Equipment
Method
- Heat the oven to 350°F.
- Grease a 9x13-inch metal baking pan and line it with parchment paper, leaving an overhang on the long sides.
- Mix the flour, sugar, and kosher salt in a large bowl.
- Work in the softened butter until the mixture forms an even, crumbly dough.
- Press the dough firmly and evenly into the prepared pan.
- Bake for 18 to 22 minutes, until the edges are lightly golden.
- Toss the apples with the lemon juice, sugar, flour, cinnamon, and kosher salt until evenly coated.
- Stir the flour, oats, brown sugar, and cinnamon together.
- Mix in the melted butter until clumps form.
- Spread the apple mixture evenly over the warm crust.
- Scatter the crisp topping over the apples.
- Bake at 350°F for 45 to 55 minutes, until the topping is golden brown and the apples are very tender when pierced with a knife.
- Cool completely in the pan on a wire rack, at least 2 hours.
- Lift the bars out using the parchment and cut into 16 bars.
- Warm the caramel sauce in the microwave for 10 to 15 seconds.
- Stir in the flaky sea salt and drizzle over the bars.


