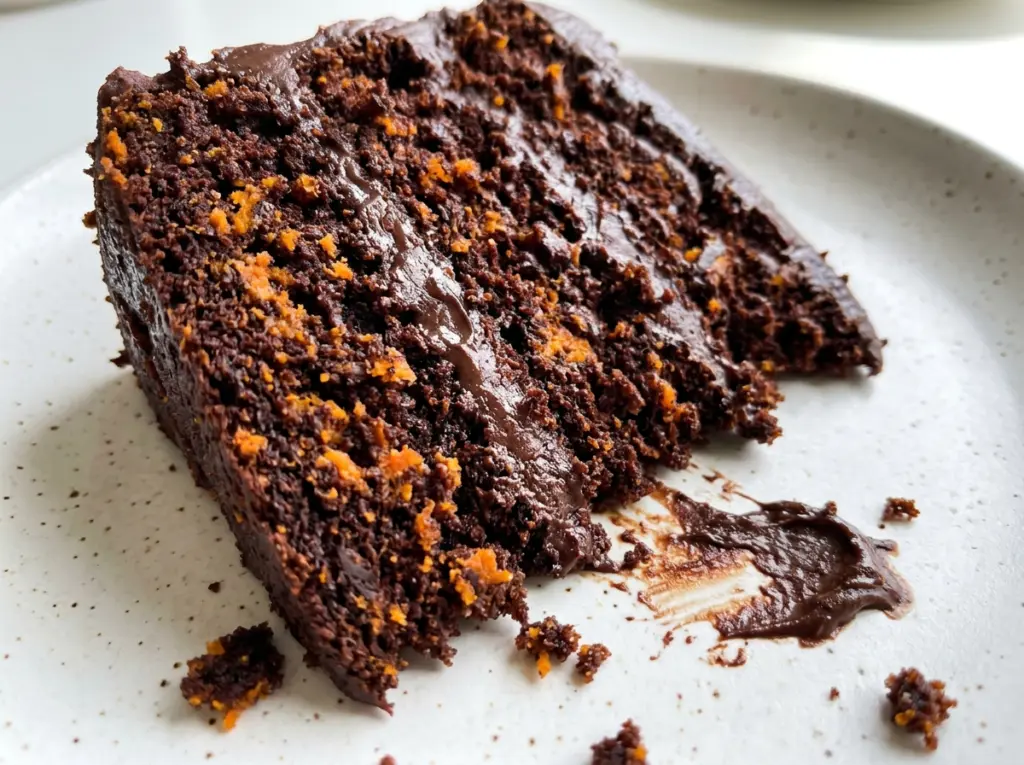
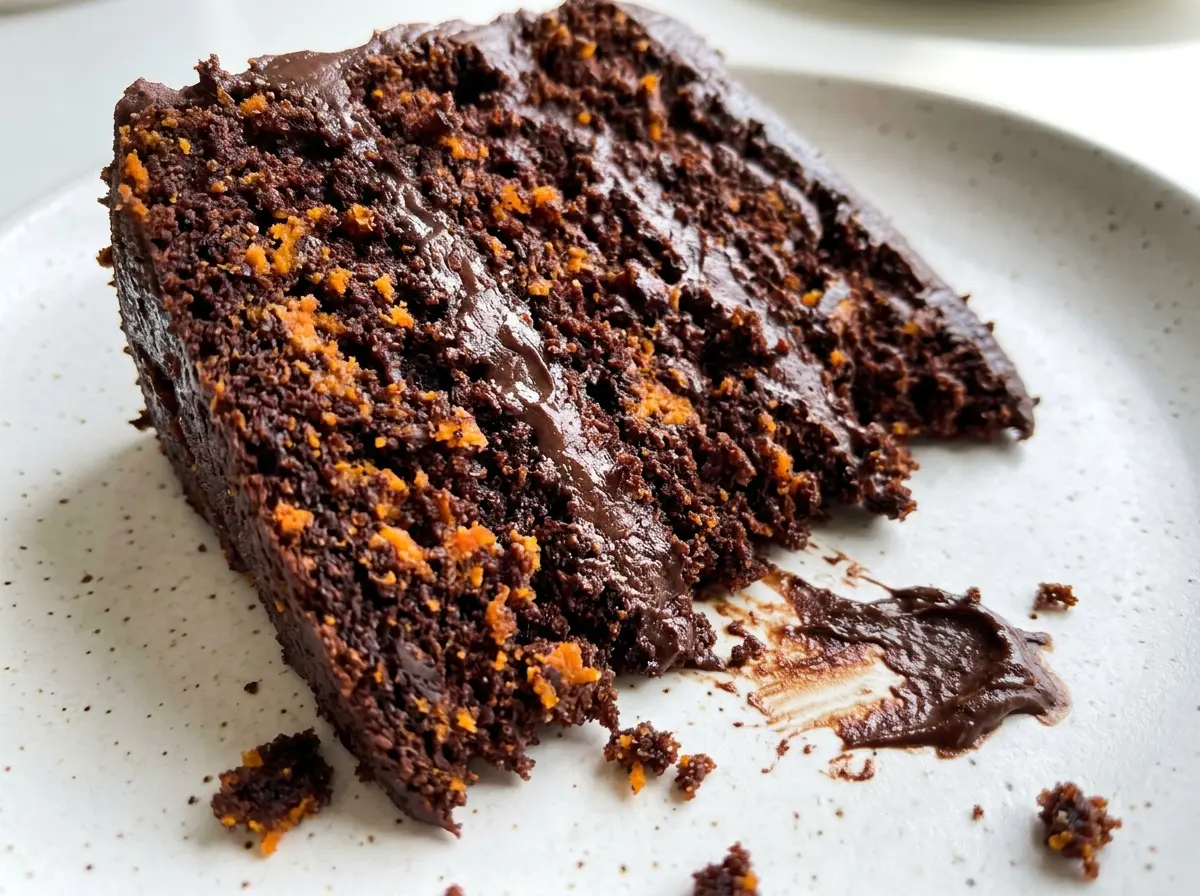
A toothpick pulled from the center should carry a few moist crumbs, not come out perfectly clean. That small detail makes the difference between a soft chocolate cake and one that feels dry around the edges. I like how the mashed sweet potato gives this cake a tender crumb without making the chocolate taste faint or the batter overly sweet.
The potato needs to be smooth before it goes into the wet ingredients; little lumps can leave uneven pockets in the finished cake. I whisk the flour mixture separately, then stir it into the sweet potato mixture only until the dry streaks disappear. The result is a simple, cocoa-rich cake with a close, tender crumb and just enough maple sweetness.
Kitchen Note
Give the dry ingredients a thorough whisk before they meet the wet mixture. Baking soda can clump in cocoa and flour, and a few extra seconds here help keep the cake’s rise even from corner to corner.
Save this healthy sweet potato chocolate cake for a tender, cocoa-rich bake sweetened with maple syrup.
Why One Extra Spoonful of Sweet Potato Can Sink the Crumb
The potato’s weight gets you started, but the amount of smooth mash matters more than the size of the potato. Sweet potatoes vary in moisture, so one medium potato doesn’t always yield the same amount once it’s cooked and peeled. Use one measured cup of mash in the batter. A generous extra scoop adds moisture and fiber, which can leave the center heavy; too little shifts the balance toward a firmer, drier cake.
After mashing until smooth, spoon the puree into a measuring cup and level it rather than pressing it down. The batter should be thick enough to spread across the pan, but not stiff. If the potato has stringy pieces, mash it more thoroughly before measuring; those strands won’t disappear during baking.
This is also why the cake doesn’t need to look dry in the oven to be ready. The sweet potato keeps the crumb tender, so a few moist crumbs on the toothpick are a better cue than waiting for a completely clean pick.
The Ingredients That Keep This Chocolate Cake Tender

- Sweet potato — Choose a firm potato with no soft spots. Its earthy sweetness and naturally soft texture give this cake its character; there isn’t a direct swap that reproduces both. A plain, smooth puree is the useful shortcut if you don’t want to cook a whole potato.
- Unsweetened natural cocoa — A fresh, affordable cocoa works well here, since the maple and potato bring plenty of flavor around it. Natural cocoa gives the cake its familiar chocolate taste; save specialty cocoa for a recipe built around its distinct flavor.
- All-purpose flour — Store-brand flour is fine. It gives the cake enough structure to hold together while the puree keeps the crumb soft. A gluten-free one-to-one baking blend is the most practical alternative; see the variation below.
- Pure maple syrup — Use real maple syrup rather than pancake syrup, which has a different sweetness and flavor. Honey can replace it in an equal volume, though the finished cake will taste more floral.
- Buttermilk — Cultured buttermilk adds a gentle tang and contributes moisture. The dairy-free version below replaces it with a measured plant-milk mixture, rather than leaving it out.
- Canola oil and eggs — The neutral oil lets the cocoa come through, while the eggs help the cake set. A plain vegetable oil works in place of canola without adding a noticeable flavor.
From a Fork-Tender Potato to a Moist Chocolate Crumb
Cook and Mash the Sweet Potato
Pierce the potato several times with a fork and microwave it on HIGH for 5 to 9 minutes, turning it halfway through. It’s ready when very tender all the way through; if the center still feels firm, give it more time. Let it cool, peel it, and mash until smooth. Measure the portion for the batter before you start mixing.
Prepare the Pan and Whisk the Dry Ingredients
Heat the oven to 350°F and grease a 9-inch square baking pan. In a medium bowl, whisk together the flour, cocoa powder, baking powder, baking soda, and kosher salt. Break up any cocoa clumps as you whisk so the mixture looks evenly colored. Set the bowl aside while you combine the wet ingredients.
Make the Wet Base and Stir Gently
In a large bowl, whisk together the mashed sweet potato, eggs, maple syrup, canola oil, buttermilk, and vanilla extract. Keep whisking until the mixture looks cohesive, with no obvious streaks of egg or pockets of oil. Add the flour mixture and stir just until no dry streaks remain. Don’t keep mixing to make the batter perfectly smooth; a few extra turns can make the crumb tougher.
Bake Until the Center Gives a Few Crumbs
Spread the batter evenly in the prepared pan so the corners aren’t left thin. Bake for 30 to 36 minutes, then insert a toothpick in the center; it should come out with a few moist crumbs rather than wet batter. Cool the cake in the pan for 20 minutes, then transfer it to a wire rack and let it cool completely before slicing.
Swaps That Change the Cake Without Losing Its Tender Crumb
Make It Dairy-Free with a Tangy Soy-Milk Swap
Stir 1½ teaspoons of lemon juice into ½ cup of unsweetened plain soy milk and let it stand for 5 minutes, then use it in place of the buttermilk. Soy milk’s body helps keep the batter tender, while the lemon brings back some of buttermilk’s tang. The crumb may be a little less rich.
Use a Gluten-Free One-to-One Baking Blend
Replace the all-purpose flour with the same volume of a gluten-free one-to-one baking blend that includes xanthan gum. Choose a blend made for baking, not a single-ingredient flour such as almond or coconut flour. The cake’s crumb will be a little more delicate, so cool it fully before cutting.
Trade Maple for Honey
Use the same volume of honey as maple syrup if that’s what you have. Honey makes the sweetness more pronounced and adds a floral note that comes through alongside the cocoa. The batter method stays the same.
Storage and Reheating
- Refrigerator: Keep the cooled cake covered in an airtight container for up to 4 days. The crumb firms up when cold, so let a piece sit out briefly before eating.
- Freezer: Freeze individual slices wrapped tightly, then place them in a freezer-safe bag for up to 2 months. Thaw a slice while still wrapped to keep it from drying out.
- Reheating: Warm a slice in the microwave in short 10-second bursts, stopping as soon as it’s warm. Longer heating can dry the edges before the middle warms through.
Questions That Come Up Before the First Slice
Healthy Sweet Potato Chocolate Cake
Ingredients
Equipment
Method
- Pierce the sweet potato several times with a fork.
- Microwave on HIGH for 5 to 9 minutes, turning it halfway through, until very tender.
- Cool and peel the sweet potato.
- Mash until smooth, then measure 1 cup.
- Heat the oven to 350°F.
- Grease a 9-inch square baking pan.
- In a medium bowl, whisk together the flour, cocoa powder, baking powder, baking soda, and salt.
- In a large bowl, whisk together 1 cup mashed sweet potato, the eggs, maple syrup, canola oil, buttermilk, and vanilla extract.
- Add the flour mixture to the sweet potato mixture and stir just until no dry streaks remain.
- Spread the batter evenly in the prepared pan.
- Bake for 30 to 36 minutes, until a toothpick inserted in the center comes out with a few moist crumbs.
- Cool the cake in the pan for 20 minutes.
- Transfer it to a wire rack and cool completely.


