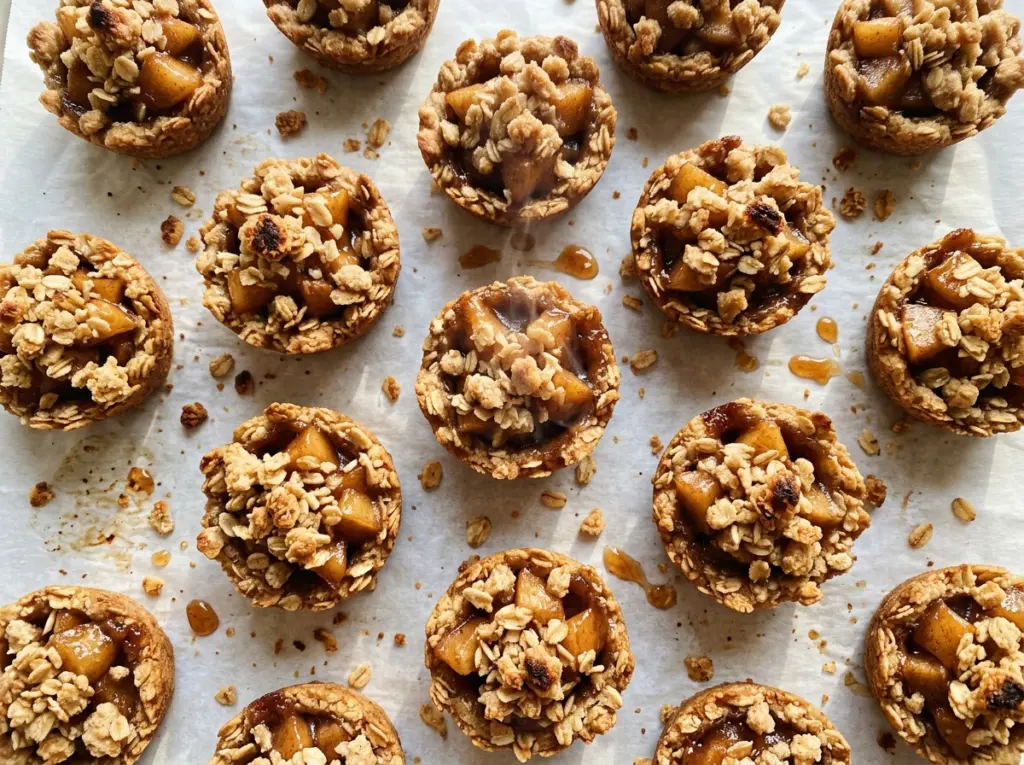
The oat mixture looks like loose crumbs until you press it into the muffin cups; then it starts to feel like a little crust, with just enough height around the edge to hold the apples. These Apple Crisp Bites bake in two rounds, which gives the oat base a head start before the fruit goes in.
I like how the individual portions make the crisp easy to lift and serve, but they need a little care coming out of the pan. The apples should be cut into small, even pieces so they soften on time, and the bites need to cool before you loosen them. Once the tops are golden and the cinnamon-scented apples are tender, you get a crisp edge, a soft center, and plenty of oat topping in every bite.
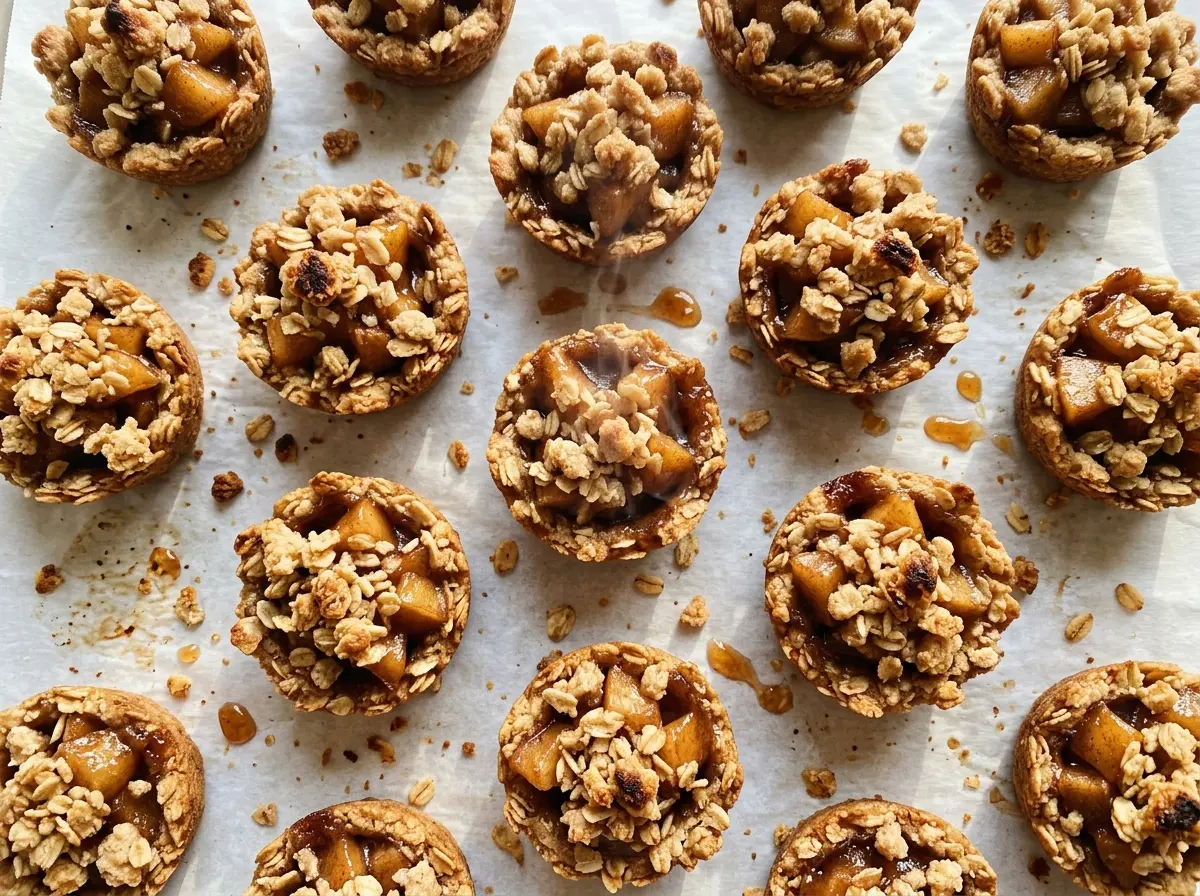
Kitchen Note
Cut the apples into even 1/4-inch pieces. That small size helps them turn tender in the time it takes the oat topping to become golden.
Save these Apple Crisp Bites for a batch of individual oat-topped treats, with tender cinnamon apples tucked inside each little crust.
Why the Oat Cups Need a Head Start Before the Apples Go In
Raw apple filling brings moisture into the muffin cups as it bakes. If it goes straight onto an uncooked oat mixture, the bottom has to set while it’s also absorbing juice from the fruit. Giving the crusts a short bake first helps them firm up before they meet the filling, so the finished bites have a base you can lift rather than a damp layer that gives way.
The first bake is brief: the crusts should look lightly set, not deeply browned. They’ll finish baking after you add the apples and topping. Pressing the oat mixture into the bottom and partway up the sides creates a small wall for the fruit, while leaving enough mixture aside for a crumbly top. Keep that topping loose when you scatter it over the apples; pressing it down would make it more like a lid than a crisp topping.
This two-part bake also makes the timing easier to read. The crust gets its own visual cue first, then the filled bites stay in the oven until the apples are tender and the top is golden.
What the Oats, Butter, and Cornstarch Each Bring to These Bites

- Old-fashioned rolled oats — Their broad flakes give the crust and topping a distinct, hearty bite. Quick oats break down more readily, so they won’t give you the same defined texture; old-fashioned oats are the better choice here.
- All-purpose flour — Flour helps the oat mixture hold together around the apples. A standard all-purpose flour is a good fit; there’s no need to seek out a specialty brand for this small-batch crust.
- Brown sugar — Packed light brown sugar sweetens both the crust and the apple filling while helping the oat mixture form clumps when the melted butter is stirred in. Keep the portions divided so the crust and fruit each get their share.
- Unsalted butter — Melted butter coats the oats and flour, helping them clump into a pressable crust and a crumbly topping. Unsalted butter keeps the salt level predictable; if you use salted butter instead, the bites will taste a little saltier.
- Apples — Choose apples that feel firm, since they need to hold their shape as they soften in the oven. A tart baking apple makes the filling less sweet, while a naturally sweeter apple gives a softer, sweeter contrast to the oat crust.
- Cornstarch — This thickens the juice released by the apples so it doesn’t run freely into the crust. Toss it thoroughly with the fruit rather than sprinkling it onto the crust, where it wouldn’t coat the filling evenly.
- Lemon juice and cinnamon — Lemon juice brightens the sweet apple filling, and cinnamon seasons both the fruit and the oat mixture. Dividing the cinnamon gives each part its own gentle warmth instead of leaving all of it in one layer.
Build the Oat Shells Before Adding the Apple Filling
Mix and Press the Oat Mixture
Heat the oven to 350°F and generously grease a 12-cup standard muffin pan. Stir the oats, flour, part of the brown sugar, part of the cinnamon, and salt together, then mix in the melted butter until clumps form. Press 2 tablespoons firmly into the bottom of each cup and about 1/2 inch up the sides. Set the remaining oat mixture aside for the topping.
Give the Crusts Their First Bake
Bake the empty oat shells for 10 minutes. They should look lightly set rather than wet and loose, but they don’t need to look fully baked or deeply browned. This is a short bake to give the bases structure before the apples go in. Keep the reserved mixture out of the oven for now.
Toss the Apples and Fill the Cups
Toss the prepared apples with the remaining brown sugar and cinnamon, the lemon juice, and cornstarch. Stir until the pieces are evenly coated, with no pockets of dry starch visible. Divide the filling among the warm crusts, then scatter the reserved oat mixture over the fruit. Leave the topping in small clumps so it bakes into a crisp rather than a solid layer.
Bake Until the Fruit Gives Easily
Return the filled cups to the oven and bake for 20 to 25 minutes. Check an apple piece with a paring knife: it should feel tender when pierced, and the topping should be golden. If the top is colored but an apple piece still feels firm, give the bites more time within the baking range and check again. Cool the bites in the pan for 30 minutes, then gently loosen the edges and lift them out.
Three Simple Ways to Adapt the Apple Crisp Bites
Choose a tarter or sweeter apple
Use a firm, tart baking apple for a sharper contrast with the brown sugar, or choose a firm, sweeter variety for a mellower filling. Keep the pieces cut to the same small size so they soften at a similar pace; softer apples may break down more as they bake.
Make the bites gluten-free
Use certified gluten-free old-fashioned oats and replace the all-purpose flour with a cup-for-cup gluten-free baking flour blend. The texture may be a little more delicate, so press the mixture firmly into the cups and let the baked bites cool fully before lifting them out.
Use dairy-free stick butter
For a dairy-free version, use the same amount of melted dairy-free stick butter in place of the unsalted butter. Choose a stick-style baking alternative rather than a soft tub spread, which can have a different water content and leave the oat mixture too loose to press neatly.
Storage and Reheating
- Refrigerator: Store cooled bites in an airtight container for 3 to 4 days. The oat topping softens somewhat as it sits beside the apple filling.
- Freezer: Freeze cooled bites in a single layer until firm, then transfer them to an airtight freezer container for up to 2 months. Thaw overnight in the refrigerator before reheating.
- Reheating: Warm refrigerated or thawed bites on a baking sheet in a 300°F oven until heated through. The microwave is quick, but it softens the oat topping instead of bringing back its crisp texture.
Questions That Come Up When Baking Apple Crisp Bites
Apple Crisp Bites
Ingredients
Equipment
Method
- Preheat the oven to 350°F.
- Generously grease a 12-cup standard muffin pan.
- Stir together the oats, flour, 1/2 cup brown sugar, 1/2 teaspoon cinnamon, and salt.
- Mix in the melted butter until clumps form.
- Press 2 tablespoons of the mixture firmly into the bottom and about 1/2 inch up the sides of each muffin cup.
- Reserve the remaining mixture for the topping.
- Bake for 10 minutes, until the crusts look lightly set.
- Toss the apples with the remaining 1/4 cup brown sugar, remaining 1/2 teaspoon cinnamon, lemon juice, and cornstarch.
- Divide the apple filling among the crusts.
- Sprinkle the reserved oat mixture over the apples.
- Bake for 20 to 25 minutes, until the apples are tender when pierced with a paring knife and the topping is golden.
- Cool in the pan for 30 minutes.
- Gently loosen the edges and lift the bites out.


