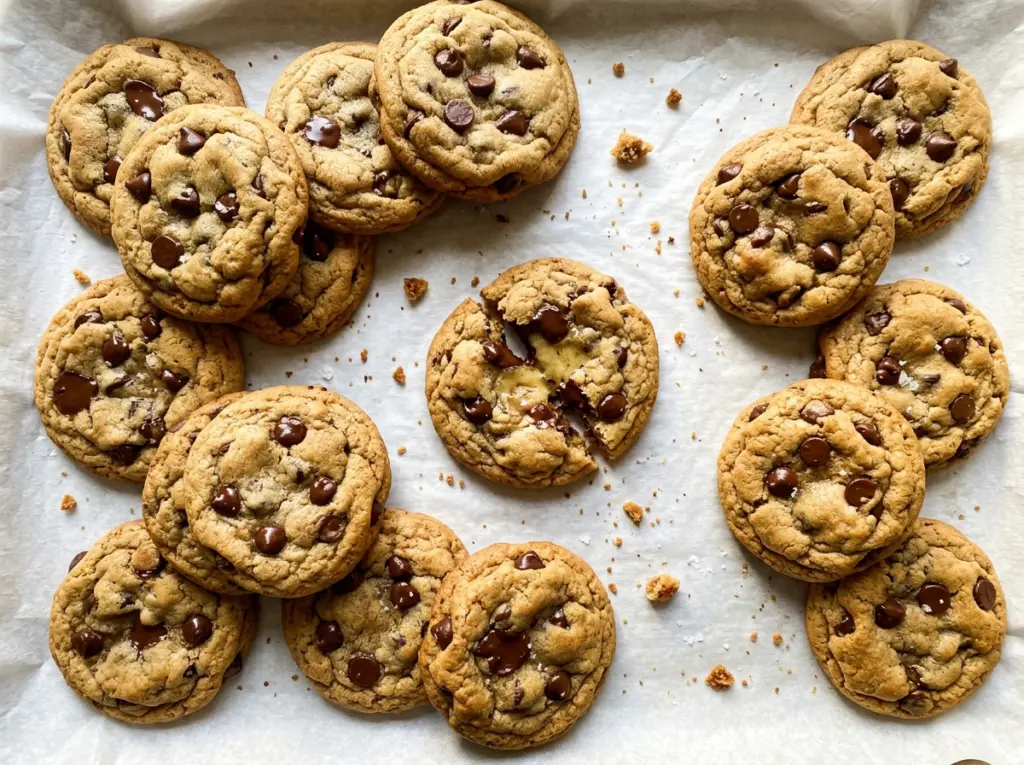
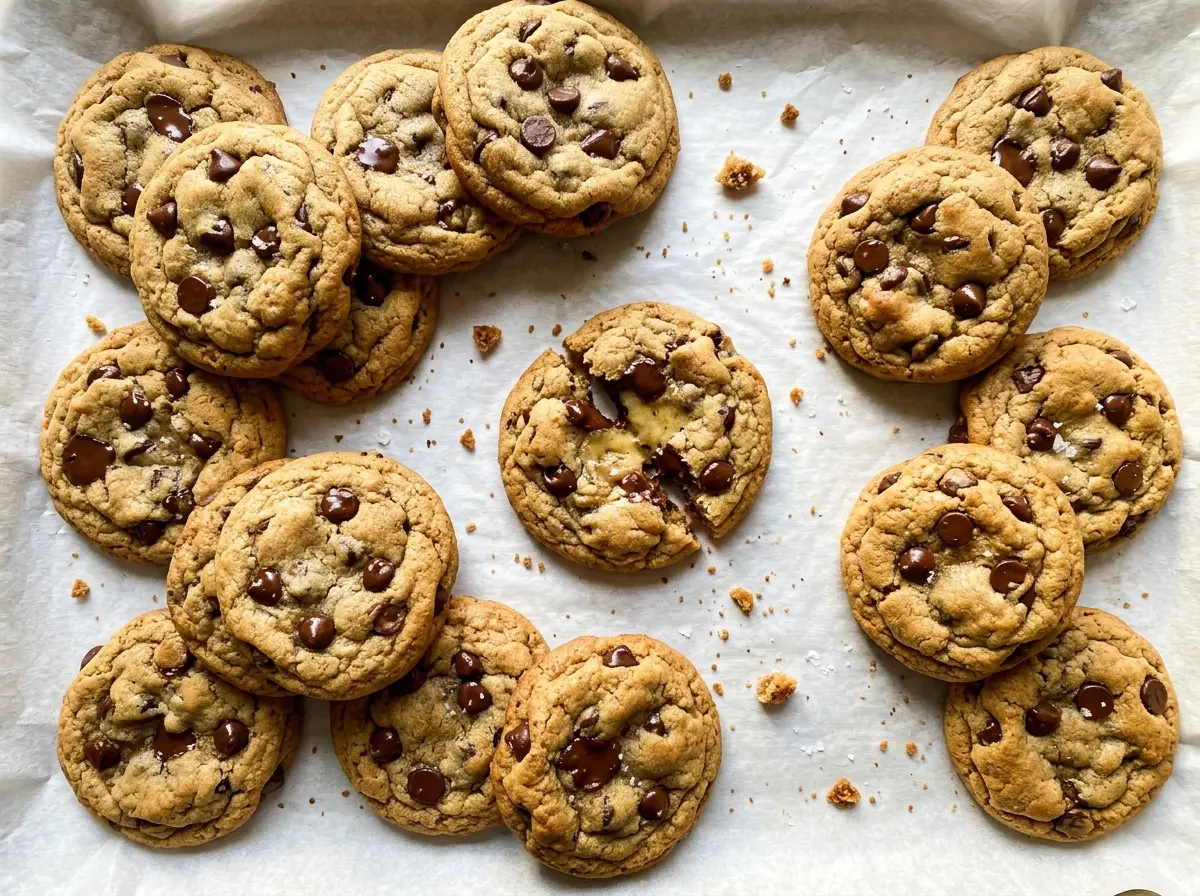
The first sign these cookies are on track is the way the dough holds a rounded scoop instead of slumping across the tray. I used to think bakery-style chocolate chip cookies needed a special pan, but the generous portions and a good chill do the work here. Each cookie gets about a quarter cup of dough, enough to bake up with a substantial center and golden edges.
The dough rests in the refrigerator for at least two hours before it goes into the oven. That pause fits easily into a baking day, and it means you can get the dough ready ahead of time. Once baked, the centers should still look a little soft when the edges turn golden; they settle as the cookies cool on the sheet, leaving you with thick cookies and plenty of semisweet chocolate in every bite.
Kitchen Note
Stop mixing as soon as the dry flour disappears. A few little streaks of dough are fine before the chocolate chips go in; working the flour too long can make the cookies firm instead of tender.
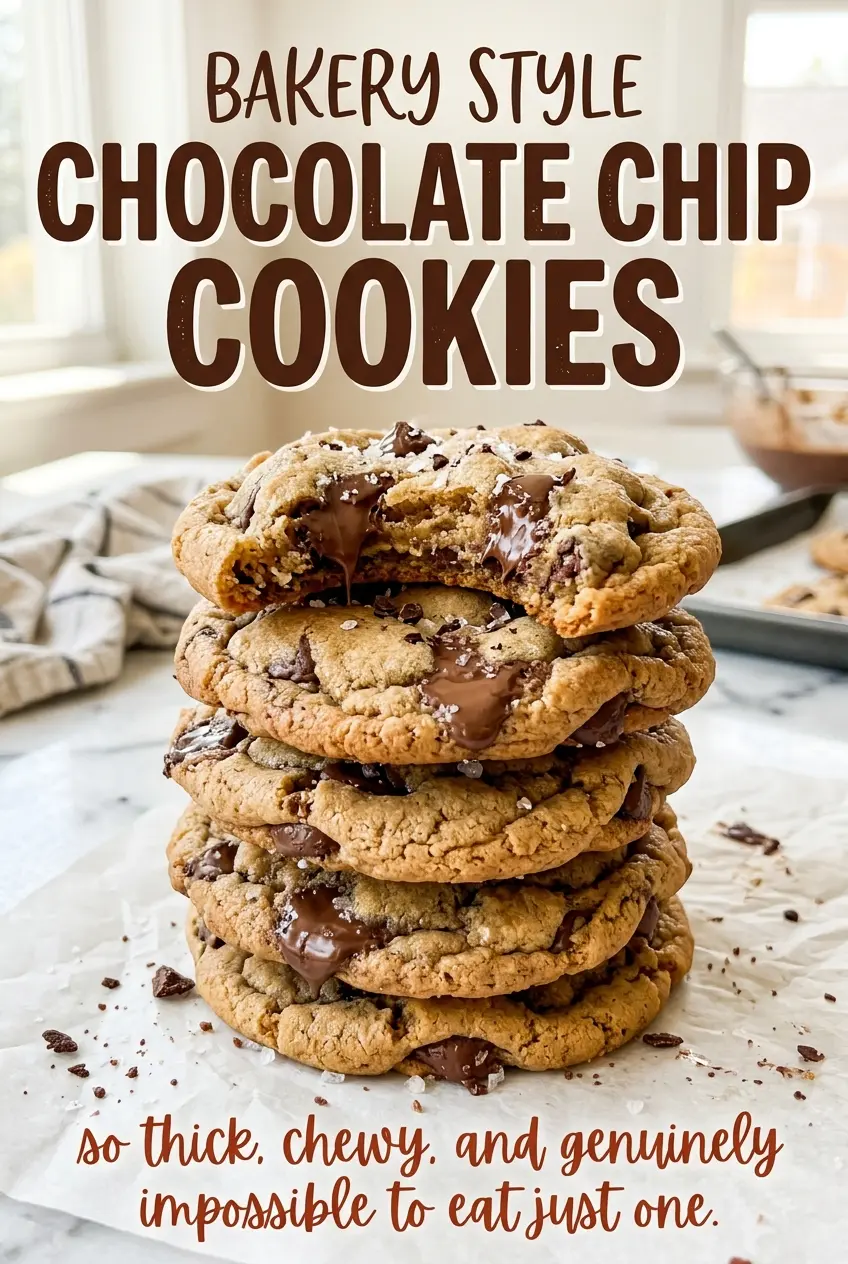
Save these Bakery Style Chocolate Chip Cookies for a bake day when you want big, golden cookies with soft centers and generous chocolate in every bite.
Why These Big Cookies Need a Two-Hour Chill
Chilling isn’t just a way to make the dough easier to handle. While it rests, the flour has time to absorb moisture from the eggs, and the butter firms up again after mixing. That gives the dough a steadier shape in the oven, which matters when each cookie starts as a generous scoop. Skip the rest and the cookies are more likely to spread before their centers have time to set.
Cover the bowl so the dough doesn’t dry out or pick up refrigerator odors. The minimum rest is two hours, but the dough can stay covered in the refrigerator overnight if you want to split the work across two days. It will be firmer when cold, which is useful when dividing it into even portions. Give yourself enough room on the pans, too: six portions on each sheet with about three inches between them leaves space for the cookies to spread without touching.
That bit of planning also makes the bake more consistent. The dough goes into the oven cold, the portions are large enough to keep a soft middle, and each cookie has room around it for hot air to circulate. You get a bakery-style shape without needing a special pan or a complicated shaping trick.
What Gives These Cookies Their Bakery-Style Texture
- All-purpose flour — It gives the dough enough structure to hold those large portions while keeping the centers tender. Spoon flour into the measuring cup and level it rather than packing it down; too much flour can leave the cookies dry and heavy. A cup-for-cup gluten-free baking blend is the most practical swap, though the cookies may be a little more delicate.
- Softened unsalted butter — Butter carries the rich flavor and helps the sugar beat into a creamy base. It should give slightly when pressed but not look oily or melted; melted butter changes how the dough behaves. Unsalted butter also lets the fine salt stay in control of the seasoning.
- Light brown and granulated sugar — The brown sugar brings moisture and a mellow molasses note, while granulated sugar helps the cookies spread and gives the edges a little crispness. Dark brown sugar works in place of light brown sugar for a deeper molasses flavor, with a slightly richer taste.
- Room-temperature eggs — They blend into the creamed butter and sugars more smoothly than cold eggs, helping the dough stay cohesive. Set them out while you gather the other ingredients; don’t use eggs straight from the refrigerator if you can avoid it.
- Semisweet chocolate chips — Their sweetness balances the brown sugar without making each bite overly sugary. Bittersweet chips work in the same quantity for a less-sweet cookie; milk chocolate chips make the result sweeter. Choose chips you enjoy eating on their own, since their flavor comes through in every bite.
Mix, Chill, Portion, and Bake Without Guesswork
Start with the dry mix and creamy base
Heat the oven to 350°F and line two 18×13-inch rimmed baking sheets with parchment paper. Whisk the flour, baking soda, and fine salt together in a medium bowl so the leavening is distributed before it meets the wet ingredients. In a large bowl, beat the softened butter with both sugars on medium speed until creamy, about two minutes. If the butter is too cold, it won’t blend evenly; if it’s melted, the dough won’t have the same starting texture.
Bring the dough together and let it rest
Beat in the eggs one at a time, then mix in the vanilla until combined. Add the flour mixture and mix on low just until no dry flour remains, then fold in the chocolate chips so they stay evenly distributed. Cover the bowl and refrigerate the dough for at least two hours. The dough should feel firm enough to scoop cleanly after its rest.
Make twelve generous portions
Divide the chilled dough into twelve portions, about a quarter cup each. Arrange six portions on each prepared sheet, leaving about three inches between them rather than squeezing in extra dough. Even portions help the cookies bake at the same pace, so check the scoops before they go in the oven. If one portion is noticeably larger, adjust it now instead of having one cookie finish well ahead of the others.
Watch the edges, then let the pans do their work
Bake for 13–16 minutes, switching the sheets between racks and rotating them front to back halfway through. Pull the cookies when the edges are golden and the centers still look slightly soft; a fully firm center in the oven is likely to turn dry as it cools. Leave them on the baking sheets for 10 minutes before moving them to a wire rack. They’re delicate right out of the oven, and that short rest lets them set without losing their soft centers.
Easy Changes for Different Chocolate and Flour Preferences
Use bittersweet chips for a darker cookie
Replace the semisweet chips with the same amount of bittersweet chips. The cookie will taste less sweet, and the chocolate’s sharper, more intense flavor will stand out against the brown sugar.
Make them with milk chocolate
Swap in milk chocolate chips for a sweeter, creamier bite. Keep the rest of the dough the same; the change is all about the chocolate, so the cookies retain the same shape and texture.
Make a gluten-free batch
Use a cup-for-cup gluten-free baking flour blend in place of the all-purpose flour, and choose semisweet chocolate chips made without gluten-containing ingredients. The cookies may be a little more delicate, so let them rest on the baking sheet before transferring them.
Storage and Reheating
- Room temperature: Keep cooled cookies in an airtight container for up to 4 days. The edges soften gradually, but the centers stay tender.
- Freezer: Freeze completely cooled cookies in an airtight freezer-safe container for up to 2 months. Thaw at room temperature before serving.
- Reheating: Warm a cookie in a 300°F oven for a few minutes until just heated through. Don’t leave it in until the center feels hot; that can dry out the cookie.
Questions About Bakery Style Chocolate Chip Cookies
Bakery Style Chocolate Chip Cookies
Ingredients
Equipment
Method
- Heat the oven to 350°F.
- Line two 18x13-inch rimmed baking sheets with parchment paper.
- In a medium bowl, whisk together the flour, baking soda, and salt.
- In a large bowl, beat the butter, brown sugar, and granulated sugar with an electric mixer on medium speed until creamy, about 2 minutes.
- Beat in the eggs one at a time, then beat in the vanilla until combined.
- Add the flour mixture and mix on low just until no dry flour remains.
- Fold in the chocolate chips.
- Cover the bowl and refrigerate the dough for at least 2 hours.
- Divide the dough into 12 portions, about 1/4 cup each.
- Arrange 6 portions on each prepared baking sheet, leaving about 3 inches between them.
- Bake for 13–16 minutes, switching the sheets between racks and rotating them front to back halfway through, until the edges are golden and the centers still look slightly soft.
- Let the cookies cool on the baking sheets for 10 minutes.
- Transfer the cookies to a wire rack to cool completely.


