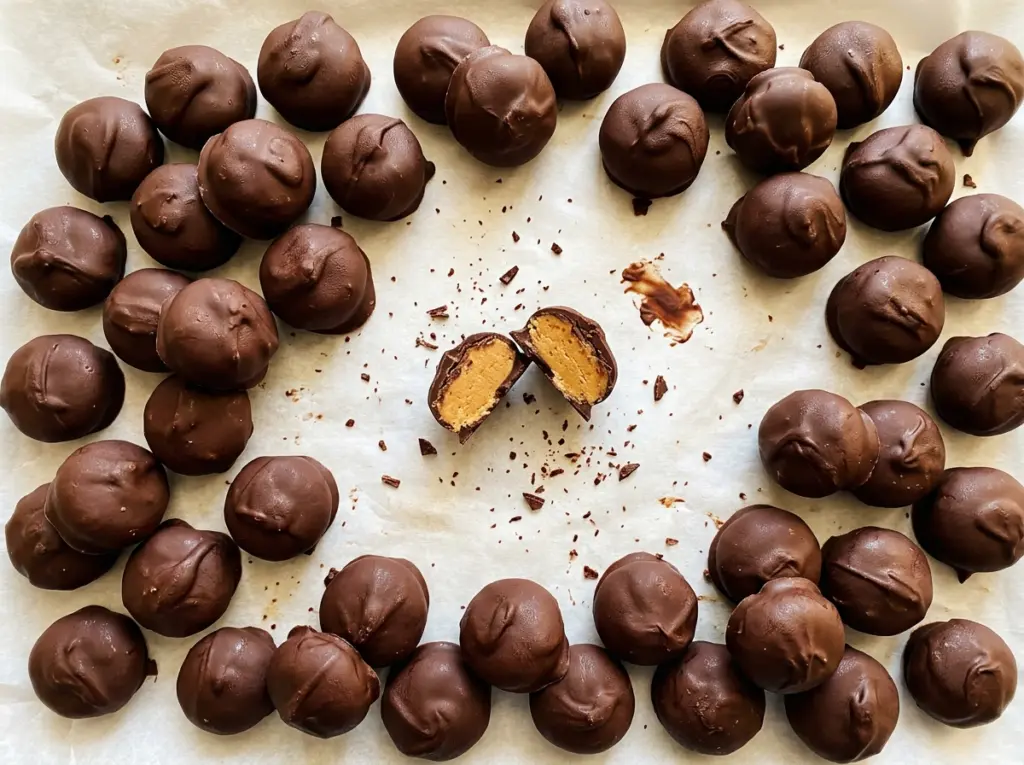
Powdered sugar disappears into the peanut butter and softened butter, then the mixture changes from a soft smear into a dough that holds a clean round shape. That’s when these Chocolate Peanut Butter Candies stop feeling like a bowl of filling and start behaving like something you can dip. There’s no baking involved, but the short rests in the refrigerator give each part time to firm up.
I like the contrast here: a smooth, sweet peanut butter center under a coat of semisweet chocolate. The chocolate keeps the candy from tasting too sugary, while the creamy center stays tender once you bite through the shell. A little salt and vanilla round out the peanut butter without taking over.
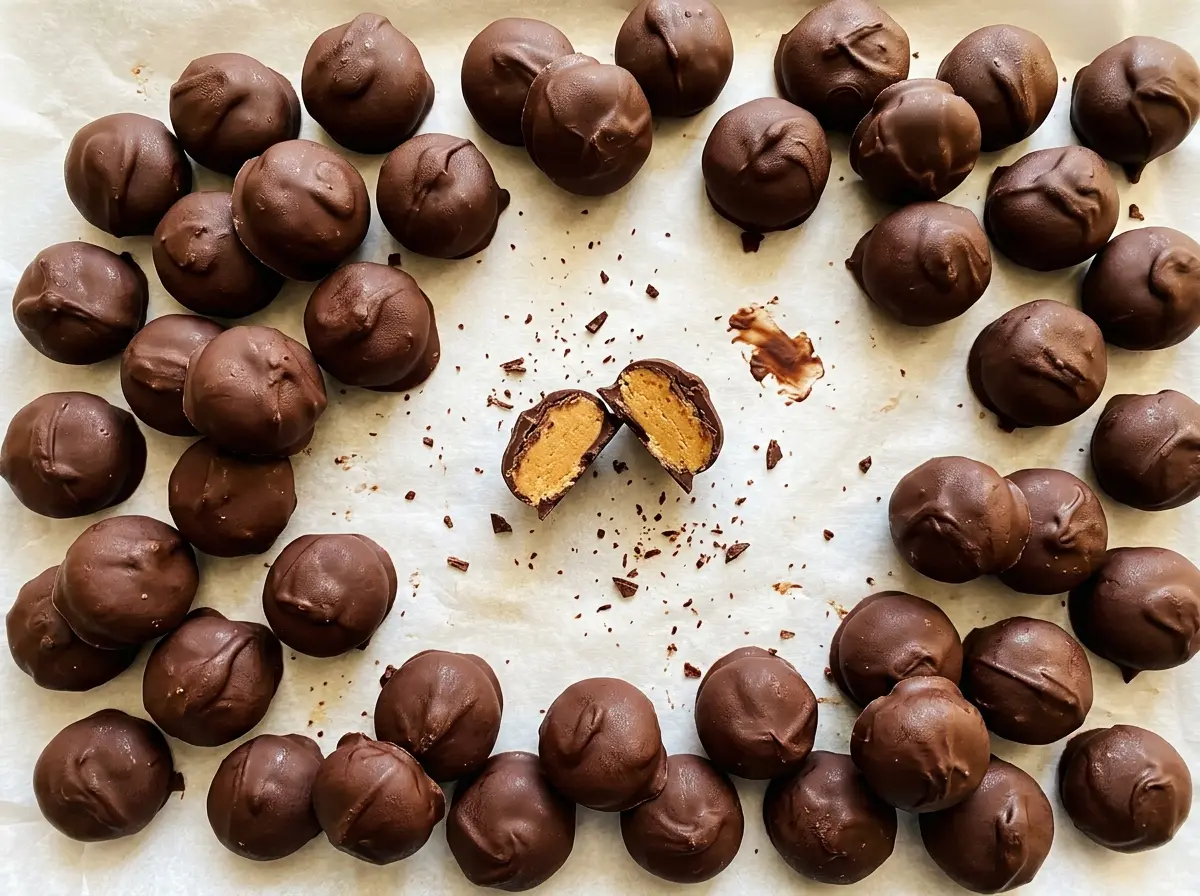
They’re small, familiar candies made with a short ingredient list, and each one has that satisfying chocolate-covered finish. Give the centers and coating their separate chill times, and you’ll have 36 neat little bites ready to share—or keep in the refrigerator for later.
Kitchen Note
I line the rimmed sheet pan with parchment before mixing, not after. The same pan carries the centers into the refrigerator and takes the dipped candies afterward, so there’s no need to move soft pieces between trays.
Save these Chocolate Peanut Butter Candies for a make-ahead treat: creamy peanut butter centers, semisweet chocolate shells, and no oven required.
Why Microwaving Chocolate at Full Power Makes Dipping Harder
Chocolate chips don’t all melt at the same speed. At full microwave power, the outsides can get too hot while a few stubborn chips still hold their shape, leaving you with a bowl that looks both melted and lumpy. More heat isn’t the fix; it can scorch the chocolate and make it thick or grainy.
Using 50% power gives the chips time to soften without heating them as aggressively. Stirring after each short interval matters just as much as the power setting: the warm chocolate moves through the bowl and helps soften the chips that haven’t melted yet. Keep going in 30-second rounds until stirring leaves you with a smooth coating. If the bowl still has a few solid pieces, stir before deciding it needs another interval; residual warmth may finish melting them.
This slower approach gives you chocolate that flows around each chilled center and lets excess coating drip back into the bowl. That makes dipping easier to control, especially near the end when there’s less chocolate left to work with.
Why Creamy Peanut Butter and Powdered Sugar Need to Stay in Balance

- Creamy peanut butter — It gives the centers their smooth, unmistakable texture. A familiar creamy variety is a dependable choice; natural peanut butter that has separated can bring extra oil and make the mixture harder to shape consistently. Crunchy peanut butter works if you want pieces of peanut in the center, but the surface won’t be as smooth.
- Softened unsalted butter — Softened butter blends evenly with the peanut butter and helps the center feel rich rather than dry. It doesn’t need to be a premium brand, but it should be softened, not melted; melted butter makes the mixture looser. Unsalted butter also lets the measured salt stay in control.
- Powdered sugar — This is what turns the peanut butter mixture into a firm, rollable dough while keeping the centers smooth. Granulated sugar isn’t a direct substitute: its crystals won’t dissolve into the same soft texture. Add the powdered sugar in batches so you can see when the dough has come together.
- Vanilla extract and salt — Vanilla adds warmth, and salt keeps the center from tasting flat or one-note. Imitation vanilla extract is a workable swap for pure vanilla extract in the same quantity, though the aroma is a little less rounded. Keep the salt in the mixture even if your peanut butter tastes salty.
- Semisweet chocolate chips and vegetable shortening — Semisweet chips give the coating a balanced chocolate taste without making the candies overly sweet. Standard chips work well; you don’t need a specialty chocolate for this batch. The shortening helps the melted coating flow more easily, so I wouldn’t replace it with butter, which has a different texture and water content.
From Firm Centers to a Smooth Chocolate Shell
Mix a Dough That Holds Together
Line a rimmed sheet pan with parchment paper before you start. Beat the creamy peanut butter and softened butter in a large bowl until the mixture looks smooth, then beat in the vanilla and salt. Add the powdered sugar in batches, mixing after each addition so it doesn’t puff out of the bowl. Stop when you have a firm dough that holds together when pressed.
Roll and Chill the Centers
Roll the mixture into 36 balls, about 1 inch each, and set them on the prepared pan. Aim for pieces that are close in size so they chill at the same rate and look consistent once coated. Refrigerate the centers for 30 minutes, until firm. If they still feel soft when you pick one up, give them the full chill rather than trying to dip them early.
Melt the Coating Gently
Combine the semisweet chocolate chips and vegetable shortening in a microwave-safe bowl. Microwave at 50% power in 30-second intervals, stirring after every interval. The mixture will look smoother as the chips soften and the warm chocolate is stirred through. Keep using short intervals until the coating is smooth, rather than leaving the bowl in the microwave for one long stretch.
Dip, Drain, and Let the Shell Set
Dip each chilled ball into the melted chocolate, turning it to coat, then let the excess drip back into the bowl. Return each candy to the parchment-lined pan as you finish it. Refrigerate the candies for 20 minutes, until the chocolate coating is firm. Give the last few pieces the same time to set as the first; a soft-looking coating needs longer before you move the candies.
Two Easy Ways to Change the Shape or Coating
Leave a Peanut Butter Top Showing
Instead of covering each chilled ball completely, dip it only partway into the chocolate. The candies use less coating per piece and have a more pronounced peanut butter bite, with a chocolate cap rather than a full shell. Keep the same centers and chocolate mixture; expect some coating to remain in the bowl.
Make Flat, Round Centers
Press each portion into a small, flat round instead of rolling it into a ball, then chill and dip it. The flatter shape gives you a different candy to serve and exposes more surface to the coating, so the chocolate-to-center balance will feel a little richer. Handle the chilled rounds gently while dipping so they keep their shape.
Storage and Reheating
- Refrigerator: Store the set candies in an airtight container for up to 1 week. The centers stay firm when chilled.
- Freezer: They freeze well for up to 2 months. Arrange them in a single layer until firm, then transfer them to an airtight container with parchment between layers to protect the coating.
- Reheating: These don’t need reheating. Let a chilled candy sit at room temperature for about 10 minutes before serving; don’t microwave it, since the chocolate shell softens before the center warms evenly.
Questions That Come Up When Making These Candies
Chocolate Peanut Butter Candies
Ingredients
Equipment
Method
- Line a rimmed sheet pan with parchment paper.
- Beat the peanut butter and softened butter in a large bowl until smooth, then beat in the vanilla and salt.
- Add the powdered sugar in batches and mix until a firm dough forms.
- Roll the mixture into 36 balls, about 1 inch each, and arrange them on the prepared pan.
- Refrigerate for 30 minutes, until firm.
- Combine the chocolate chips and shortening in a microwave-safe bowl and microwave at 50% power in 30-second intervals, stirring each time, until smooth.
- Dip each chilled ball into the melted chocolate, letting excess chocolate drip back into the bowl, and return it to the pan.
- Refrigerate the candies for 20 minutes, until the coating is firm, before serving.


