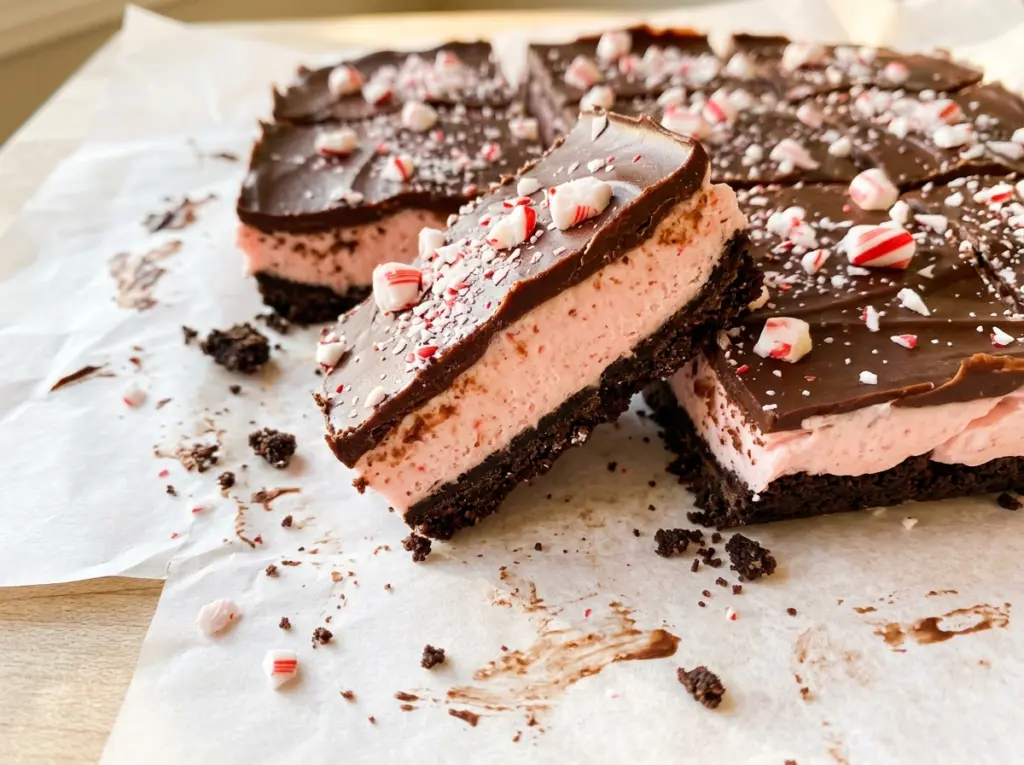
Cookie crumbs turn into a firm base when the melted butter coats them evenly, but they need a good press into the pan or the first bar will crumble as you lift it. I chill the crust before adding anything creamy, which gives these Christmas Morning No Bake Peppermint Bars a neat, sturdy bottom under their fluffy peppermint filling.
The filling gets its light texture from whipped cold cream folded into smooth cream cheese, rather than from cream cheese alone. The layers need separate chilling time: the filling firms before the chocolate goes on, and the finished pan rests until the topping is set. Cut through the chocolate with a warm, dry knife and you’ll get clean squares with a crisp chocolate top and a cool peppermint middle.
Kitchen Note
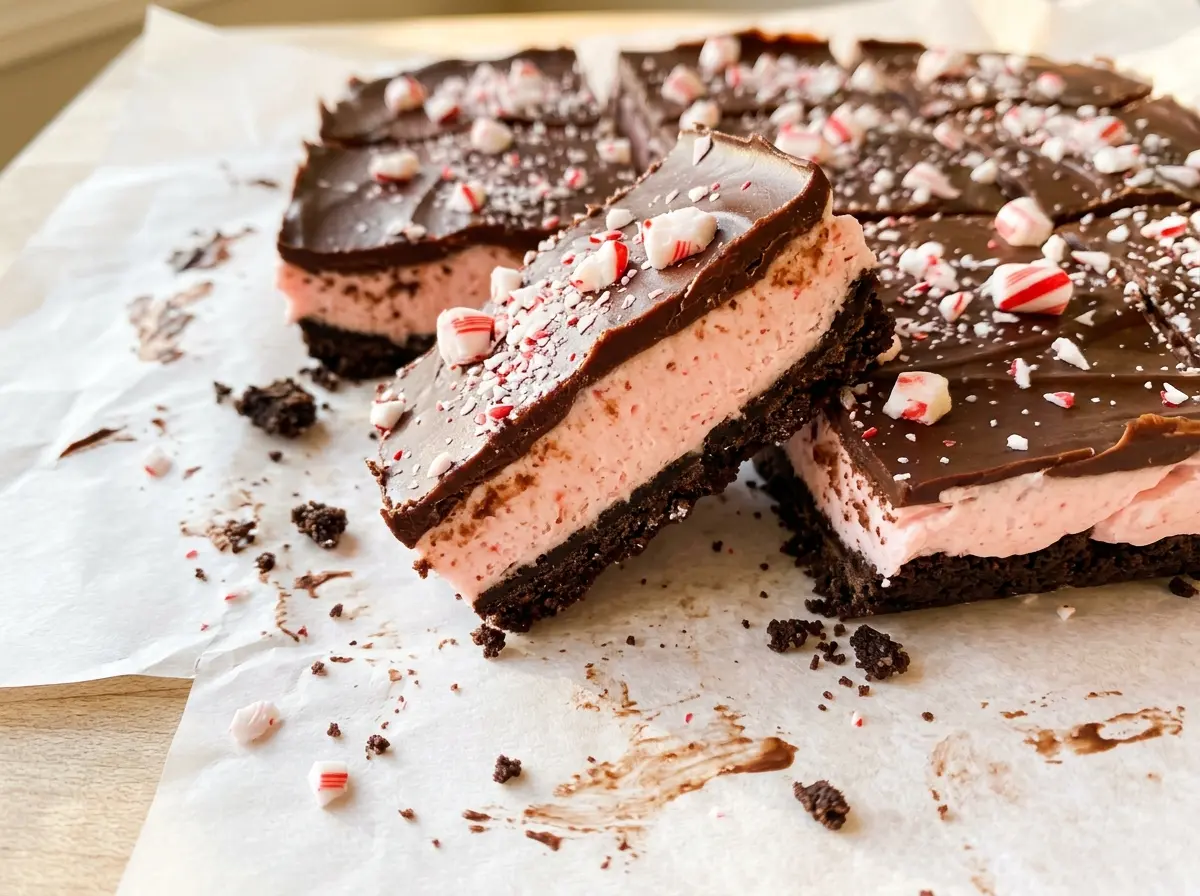
Use a warm, dry knife to cut the chilled bars, wiping it clean between cuts. A damp blade smears the chocolate instead of giving you tidy edges.
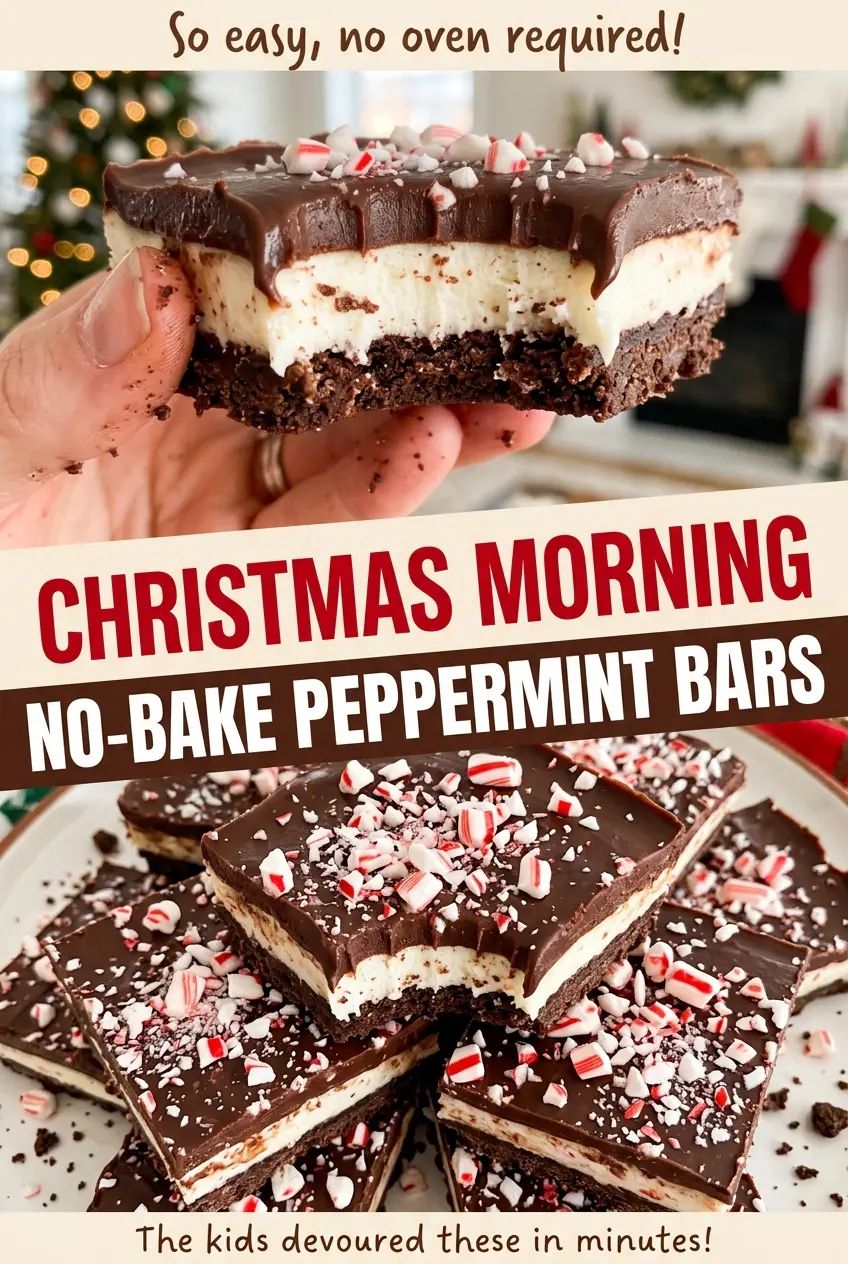
Save these peppermint bars for a make-ahead treat with a crisp chocolate top and a cool, airy center.
Why the Filling Needs Its Own Chill Before the Chocolate
These bars build in layers, and each one has a job to do before the next goes on. The crust gets a short rest first so the crumb base holds together instead of shifting when you spread the filling. Then the peppermint layer chills on its own for 30 minutes. That pause firms its surface and helps it support the chocolate topping rather than letting the two layers swirl together.
The chocolate should go on only after that filling has had time to settle. Once spread, it needs at least 4 hours in the refrigerator to become firm enough to lift and slice. The long final chill isn’t idle time; it gives the cream-based center and the chocolate cap time to set into distinct layers. If you cut early, the middle can press outward while the topping is still soft, and the bars won’t hold their square shape. Plan the chilling around serving time, not the other way around.
What the Cookies, Cream, and Peppermint Each Bring
- Chocolate sandwich cookies — The cookies provide both the chocolate flavor and the structure of the crust, so finely crushed crumbs are what make it press into a compact layer. Use a fresh, crisp package; stale cookies can make a less cohesive crumb. Gluten-free chocolate sandwich cookies work for a gluten-free crust, though the crumb texture may vary a little by brand.
- Cream cheese and heavy cream — Cream cheese gives the filling its tang and body, while whipped heavy cream lightens it. Let the cream cheese soften so it beats smooth, but keep the heavy cream cold so it whips properly. Lower-fat cream cheese won’t give quite the same rich, stable center, and half-and-half won’t whip into the needed peaks.
- Peppermint extract and crushed candies — Extract spreads peppermint flavor through the filling; the crushed candies add small, crisp bursts of mint. Use peppermint extract, not mint extract, which can taste more like spearmint. Choose finely crushed candy for the filling so the pieces fold through evenly, and save the coarser pieces for the top.
- Semisweet chocolate chips and butter — The chips make a sweet, familiar chocolate cap, and butter helps the melted chocolate spread smoothly over the filling. Standard chips are convenient here; a specialty chocolate isn’t necessary. If you prefer a more bittersweet finish, dark chocolate chips can replace the semisweet chips.
Build the Bars in Four Chilled Layers
Press a compact cookie base
Line an 8-inch square pan with parchment, leaving enough overhang to lift the bars out later. Stir the finely crushed chocolate sandwich cookies with the melted butter until the crumbs look evenly moistened, with no dry patches at the bottom of the bowl. Press the mixture firmly over the pan bottom; a flat-bottomed measuring cup helps compact the corners. Refrigerate the crust for 15 minutes before adding filling.
Whip air into the peppermint center
Beat the softened cream cheese with the powdered sugar, peppermint extract, and salt until the mixture looks smooth, not lumpy. In a separate bowl, whip the cold heavy cream until stiff peaks form; when you lift the beaters, the peaks should stand rather than flop over. Fold the whipped cream and finely crushed peppermint candies into the cream cheese mixture gently, keeping as much air as you can. Spread the filling evenly over the chilled crust, then refrigerate it for 30 minutes.
Spread the chocolate without disturbing the filling
Put the semisweet chocolate chips and butter in a microwave-safe bowl. Heat in 20-second bursts, stirring between each one, until the chocolate is smooth; short bursts help prevent scorching at the edges while the center is still solid. Let the bowl sit briefly if the chocolate feels hot, then spread it evenly over the chilled filling. Pressing hard with the spatula can drag the soft layer underneath, so use light strokes.
Chill until firm, then finish the top
Refrigerate the pan for at least 4 hours, until the chocolate topping is firm. Use the parchment overhang to lift the slab from the pan, then scatter the remaining crushed peppermint candies over the top. Cut into 16 bars with a warm, dry knife. If the center still feels soft when you lift the slab, return it to the refrigerator before slicing.
Easy Changes for a Different Peppermint Bar
Make the crust gluten-free
Replace the chocolate sandwich cookies with certified gluten-free chocolate sandwich cookies and crush them finely just as you would the regular cookies. Keep the melted butter and pressing method the same. The crust may have a slightly different crumb, but it still gives the filling a firm base.
Turn down the mint
Use 1/4 teaspoon peppermint extract instead of 1/2 teaspoon for a gentler mint note, keeping the crushed peppermint candies in the filling and on top. The bars will still taste distinctly pepperminty, but the extract won’t lead every bite.
Use a darker chocolate cap
Swap the semisweet chips for dark chocolate chips, keeping the butter and melting method unchanged. The topping will taste less sweet and more cocoa-forward against the mint filling; choose chips rather than a solid bar so the topping melts and spreads in the same practical way.
Make-Ahead and Storage
- Refrigerator: Keep the bars covered and chilled for up to 4 days. The peppermint candy topping gradually softens from moisture, though the bars remain good to eat.
- Freezer: Freeze the cut bars without the final candy garnish in an airtight container for up to 1 month. Thaw them in the refrigerator and scatter the garnish over the top before serving; the filling may be a little less airy after freezing.
- Serving: Serve cold, straight from the refrigerator. Don’t leave the cream-based bars sitting out for a long stretch; return any leftovers to the refrigerator after serving.
Questions That Come Up While Making These Bars
Christmas Morning No Bake Peppermint Bars
Ingredients
Equipment
Method
- Line an 8-inch square pan with parchment paper, leaving enough overhang to lift out the bars.
- Stir the cookie crumbs and melted butter together until evenly moistened.
- Press the mixture firmly into the bottom of the pan.
- Refrigerate for 15 minutes.
- Beat the cream cheese, powdered sugar, peppermint extract, and salt in a large bowl until smooth.
- In a separate bowl, whip the cold heavy cream to stiff peaks.
- Fold the whipped cream and 1/4 cup crushed peppermint candies into the cream cheese mixture.
- Spread the filling evenly over the chilled crust.
- Refrigerate for 30 minutes.
- Melt the chocolate chips and butter in a microwave-safe bowl in 20-second bursts, stirring between each, until smooth.
- Spread the chocolate mixture evenly over the filling.
- Refrigerate for at least 4 hours, until firm.
- Lift the bars from the pan using the parchment overhang.
- Scatter the remaining crushed peppermint candies over the top.
- Cut into 16 bars with a warm, dry knife.


