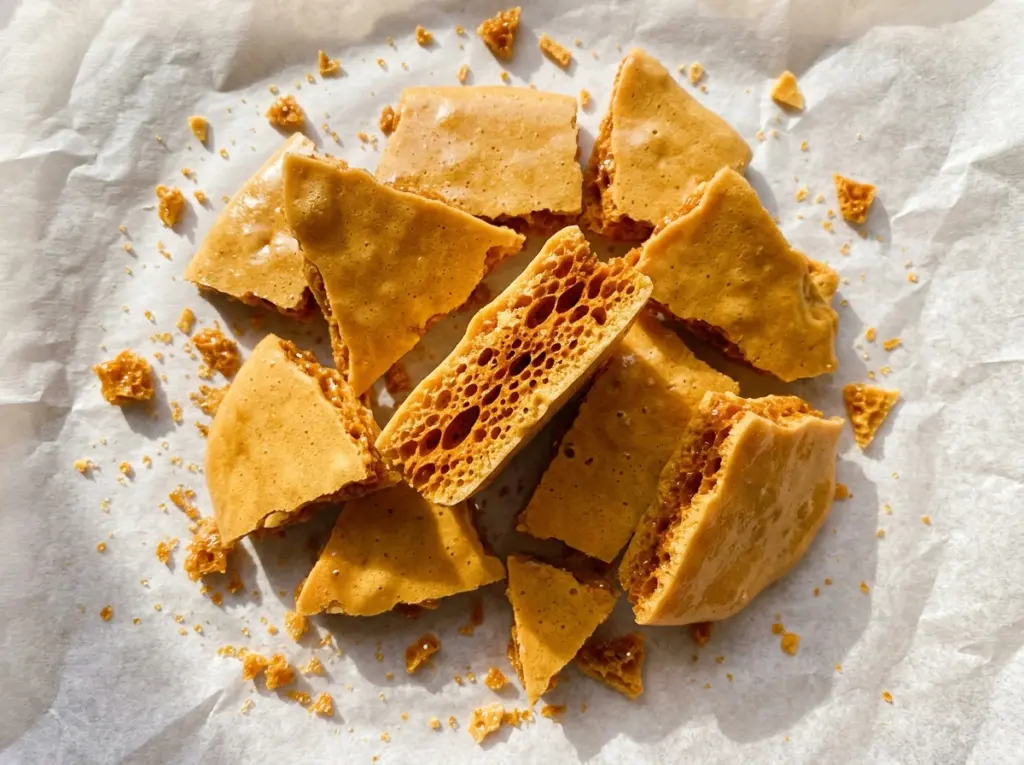
The syrup looks calm in the pan, then the baking soda goes in and the whole mixture swells into a cloud of foam. That sudden change is the fun part of making Easy Honeycomb Candy, but it also means there’s no time to search for a pan or measure anything once the syrup is ready. I learned to set everything out first and keep my eyes on the thermometer.
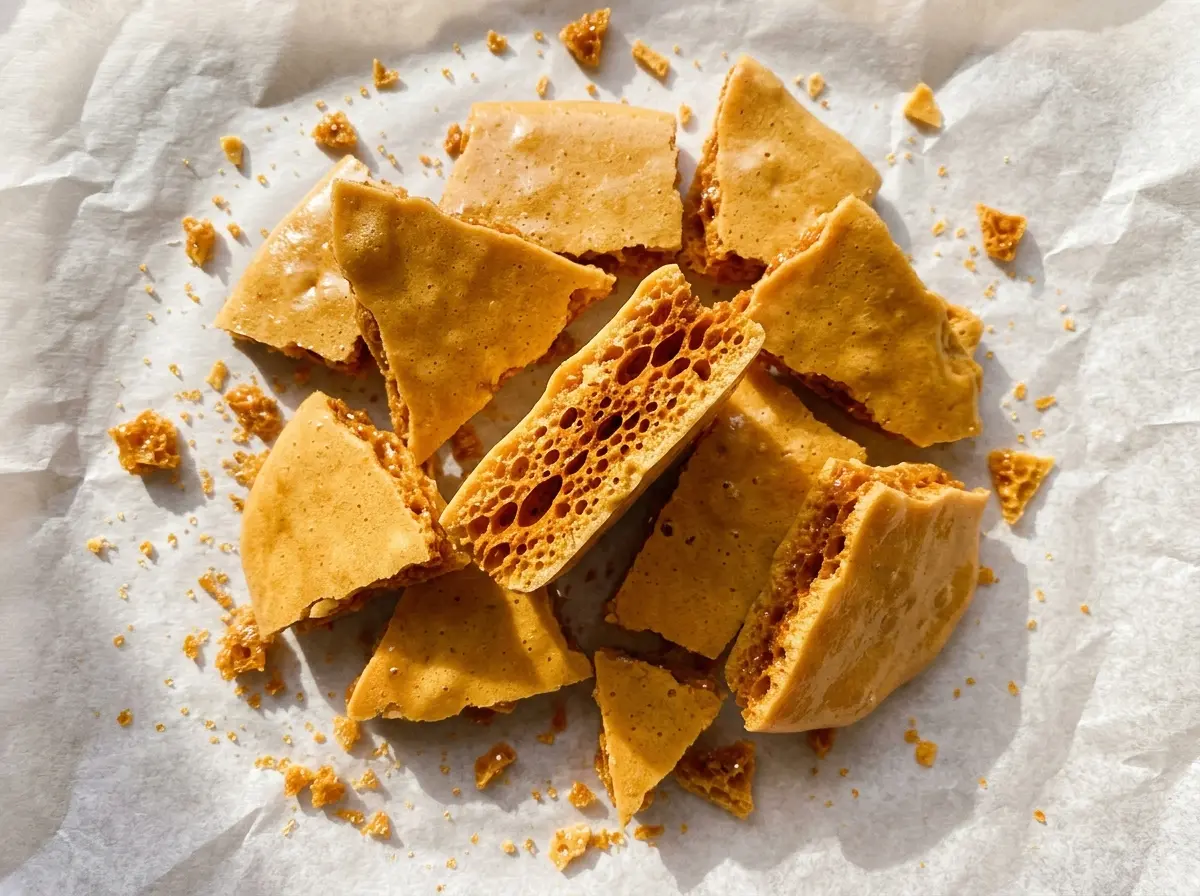
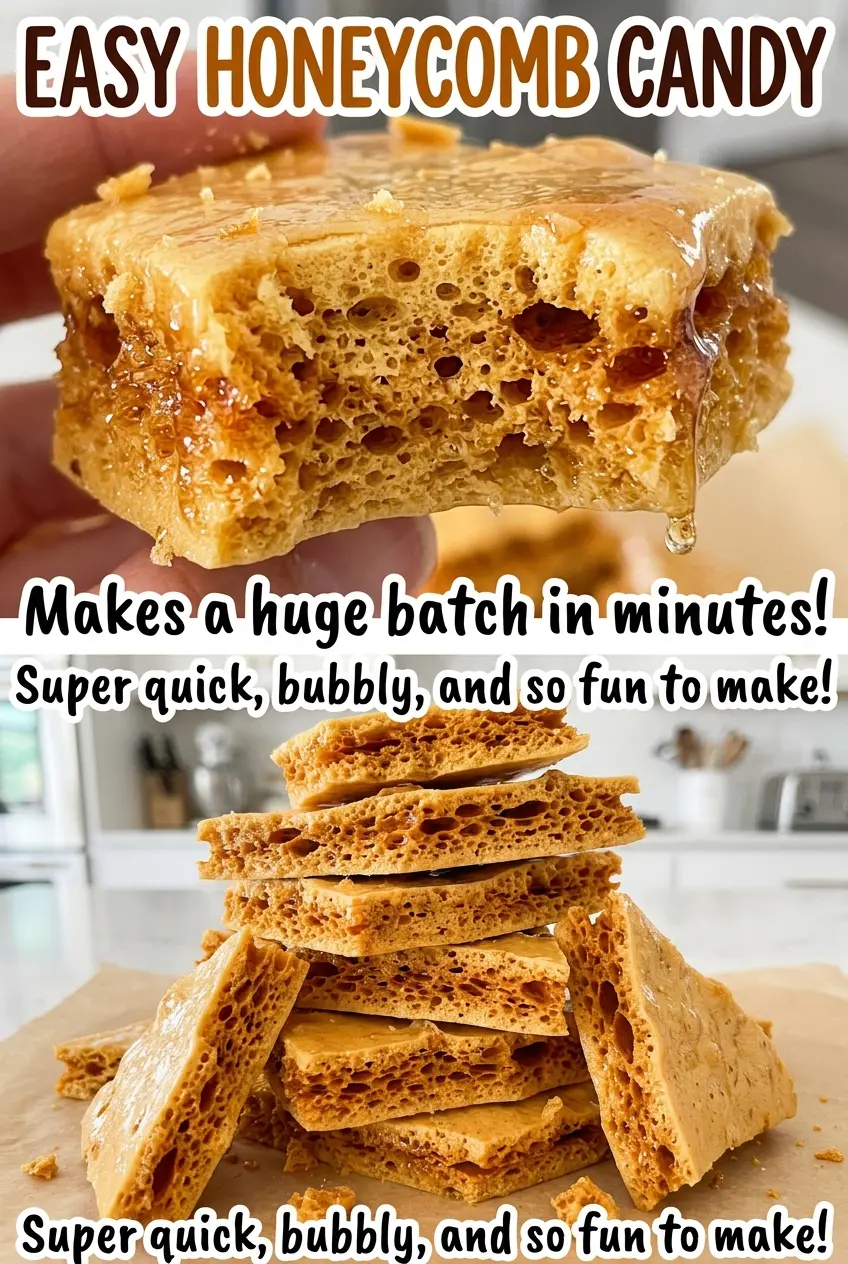
This candy gets its crisp, airy middle from a simple combination: hot sugar syrup and baking soda. The syrup needs to reach the right temperature before the soda goes in, and the foam needs a quick, gentle whisk to spread those bubbles throughout. Once it cools, you’ll have brittle golden candy that snaps into irregular, honeycomb-filled pieces.
Kitchen Note
I set the lined, lightly oiled pan right beside the stove before I start. Once the soda is whisked in, the foam is ready to pour, and there’s no good moment to step away and look for the pan.
Save Easy Honeycomb Candy for its crisp snap, airy middle, and golden honey flavor.
Why the Syrup Has to Reach 300°F Before the Baking Soda Goes In
Honeycomb needs a syrup that can set hard and crisp after it cools. While the sugar, honey, and water heat together, water gradually cooks away and the syrup becomes more concentrated. At 300°F, it’s hot enough to form a brittle candy rather than a soft or chewy one. A candy thermometer gives you a clear target; the syrup’s color alone isn’t a dependable way to judge it.
Stirring has a place at the beginning, while the sugar dissolves. After the mixture boils, leave it alone as it climbs to temperature. More stirring can encourage sugar crystals to form, which may leave the finished candy grainy instead of glassy. If the syrup hasn’t reached its target when you add the baking soda, the candy may not firm up with that clean snap. If it cooks beyond the target, the sugar can darken and taste scorched, so keep an eye on the thermometer as the syrup gets close.
What Sugar, Honey, and Baking Soda Each Bring to Honeycomb
- Granulated sugar — It builds the firm candy structure. Regular white granulated sugar is the dependable choice here; brown sugar brings extra moisture and a deeper flavor that changes the set.
- Honey — Honey gives the candy its gentle floral sweetness and helps keep the syrup from behaving like plain cooked sugar. Use a honey you enjoy tasting, but there’s no need for an expensive specialty jar. Its character comes through more strongly when the honey itself has a bold flavor.
- Baking soda — This is what creates the signature bubbles. Use baking soda, not baking powder; they aren’t interchangeable, and baking powder won’t create the same airy structure.
- Neutral oil — A thin coat on the parchment helps the cooled candy lift away cleanly. Vegetable oil works well because it won’t compete with the honey’s flavor.
- Water — It helps the sugar dissolve evenly at the start. It cooks off as the syrup heats, so it doesn’t leave the finished candy wet.
From Smooth Syrup to Crisp, Bubbly Pieces
Prepare the Pan Before Heating the Sugar
Line a 9×13-inch baking pan with parchment, then brush the parchment lightly with neutral oil. Keep the paper flat against the bottom so the syrup has a stable surface to land on. Set the pan close to the stove, along with the measured baking soda and a whisk. The candy mixture is extremely hot, so having the landing spot ready makes the final pour much calmer.
Dissolve the Sugar, Then Stop Stirring
Combine the sugar, honey, and water in a 3-quart heavy-bottomed saucepan over medium heat. Stir just until the sugar dissolves and the mixture comes to a boil, which takes about 3 to 5 minutes. Then stop stirring and let the syrup cook until a candy thermometer reads 300°F, about 5 to 10 minutes. A heavy-bottomed pan helps the syrup heat more evenly, and the thermometer—not a guess based on color—is your cue to move on.
Whisk the Soda Into the Foaming Syrup
Take the pan off the heat before adding the baking soda. Whisk just until it’s evenly incorporated and the mixture looks very foamy, about 5 seconds. The syrup will expand quickly, and it’s hot enough to burn badly, so keep your hands and face clear of the rising foam. Don’t keep whisking after the soda is mixed through; the next move is to pour.
Leave the Candy Alone While It Sets
Immediately pour the foam into the prepared pan, letting it settle where it lands instead of spreading it with a spatula. The mixture will look light and full of bubbles, then gradually stop moving as it cools. Leave it undisturbed at room temperature until completely firm, about 1 hour. Lift the set candy from the pan and break it into pieces.
Two Honeycomb Variations That Keep the Airy Crunch
Vegan Honeycomb With Golden Syrup
Replace the honey with the same volume of golden syrup and use granulated sugar that’s suitable for a vegan diet. The candy still sets into a brittle, bubbly sheet, but the taste is less floral and more like caramel. Golden syrup is a more reliable fit here than a thin liquid sweetener.
A Deeper, More Robust Honey Flavor
Use a darker, more assertive honey in place of a mild one, keeping the amount the same. Its stronger flavor comes through against the cooked sugar and gives the finished candy a less delicate, more pronounced honey taste. The syrup still needs to reach the same temperature before the baking soda goes in.
Storage and Reheating
- Room temperature: Keep completely cooled pieces in an airtight container in a dry spot for up to 1 week. Humid air can soften the crisp shell.
- Refrigerator: Skip it; condensation when the candy warms back up can make the surface sticky.
- Freezer: Freezing isn’t a good fit because moisture during thawing can take away the crisp texture.
- Reheating: Not needed. Honeycomb is best stored and eaten as a crisp candy, rather than warmed again.
Questions That Come Up While Making Honeycomb Candy
Easy Honeycomb Candy
Ingredients
Equipment
Method
- Line a 9x13-inch baking pan with parchment paper and lightly brush the parchment with the oil.
- Combine the sugar, honey, and water in a 3-quart heavy-bottomed saucepan over medium heat, stirring just until the sugar dissolves and the mixture comes to a boil, 3 to 5 minutes.
- Cook without stirring until the syrup reaches 300°F on a candy thermometer, about 5 to 10 minutes.
- Remove the pan from the heat, add the baking soda, and whisk just until evenly incorporated and very foamy, about 5 seconds; take care, as the mixture is extremely hot.
- Immediately pour the mixture into the prepared pan without spreading it.
- Let the candy cool undisturbed at room temperature until completely firm, about 1 hour.
- Lift the candy from the pan and break it into pieces.


