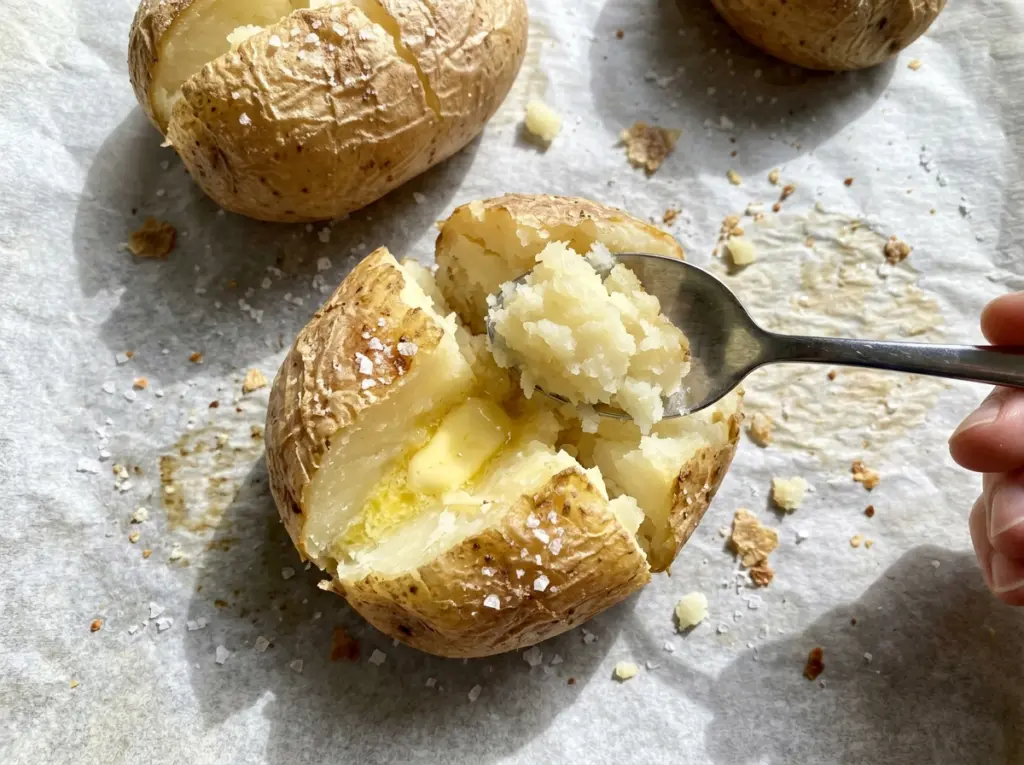
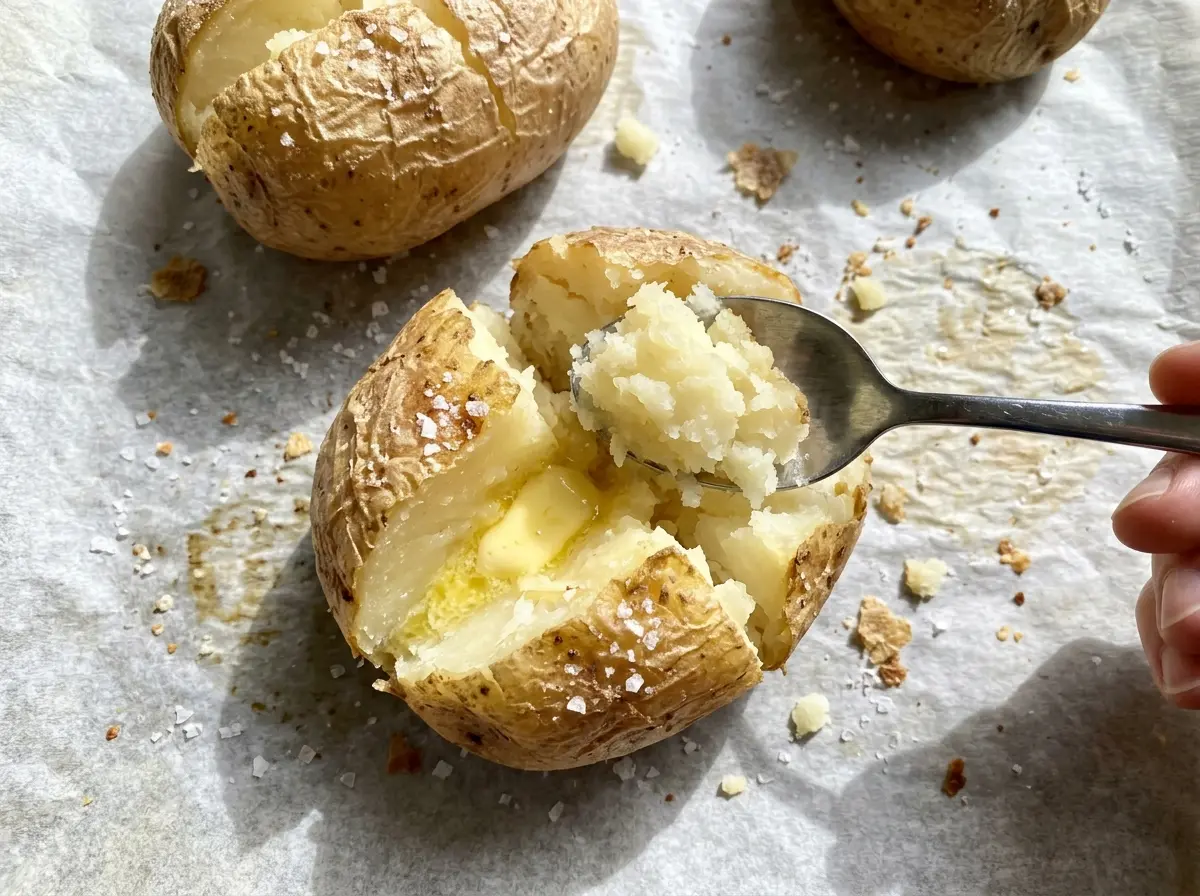
The skin should crackle a little when your fork breaks through, while the inside stays soft enough to fluff without effort. Getting both in one potato is what makes a jacket potato worth baking, and the small details matter more than a complicated ingredient list. For these fluffy crispy jacket potatoes, I use russets, dry their skins well, and bake them on a wire rack so hot air can move around each one.
The potatoes go into the oven whole, which keeps the centers tender while the skins dry and crisp. A quick slit down the top lets you open each one and fluff the middle just before serving. I like this approach because it keeps the prep simple and lets the potato itself do the work: a crisp, lightly salted jacket around a soft, steamy center.
Kitchen Note
I count the fork pricks instead of poking at random: each potato gets six to eight. It’s a small bit of prep, but doing it evenly is easier than trying to remember whether you’ve covered the whole potato.
Save these fluffy crispy jacket potatoes for a simple, satisfying bake with crisp skins and soft centers.
Why These Potatoes Need the Skewer Test, Not Just a Timer
A bake time is a useful window, not a promise that every potato will be ready at the same minute. These russets weigh between 8 and 10 ounces each, and even potatoes that look alike can differ enough in size and shape to finish at different times. That’s why the bake runs from 50 to 70 minutes. Starting to check near the shorter end gives you a chance to catch a ready potato without guessing based on the clock alone.
The skewer tells you what the center is doing. When it slides easily into the middle, the potato is tender all the way through; if it meets a firm spot, the center needs more time. Check each potato rather than assuming the one nearest the oven door speaks for the whole tray. Once they’re tender, open them and fluff the insides while they’re still hot. The skin stays crispest when it isn’t left to steam under a cover.
That balance is the point of the method: the rack exposes the skins to the oven’s heat while the whole potato protects the inside from drying out. A longer bake won’t improve a potato that’s already tender, so use the texture inside as your finish line.
Why Russets, Olive Oil, and Kosher Salt Suit a Jacket Potato

- Russet potatoes — Their starchy, fluffy interior is a good match for a baked potato you’ll split and fluff with a fork. Choose medium potatoes in the stated size range so they’re likely to finish in the same general window. The outside should be clean and firm; there’s no need to seek out specialty or unusually large russets.
- Olive oil — A thin coating helps the salt stick and gives the skins a little richness as they bake. A standard olive oil works here; you don’t need a premium bottle for a recipe where the oil coats the potato rather than carrying a sauce. I stick with olive oil for the flavor and the straightforward coating it gives the skins.
- Kosher salt — The salt seasons the outside, so it’s worth rubbing it over the whole potato rather than leaving one side bare. Kosher salt is the salt used here; its larger crystals are easy to distribute by hand. There’s no need to add anything else to the ingredient list to get a well-seasoned jacket.
- Clean, dry skins — This is less about buying a particular potato and more about the prep. Scrub away any dirt, then dry the surface thoroughly before adding oil. Water left on the skin works against the dry, crisp finish you want.
From Clean Potato to Crisp Jacket: The Four Stages
Scrub, Dry, and Prick Each Potato
Scrub the russets clean under running water, then dry them thoroughly with a clean towel. Pay attention to creases and any damp patches; the surface should feel dry before the oil goes on. Prick each potato six to eight times with a fork. Set up the oven and rack while you prep, so the potatoes can go into the oven as soon as they’re seasoned.
Coat the Skins and Set Up the Rack
Rub olive oil over every side of each potato, then rub on the kosher salt so it’s distributed around the skin. Set a wire rack over a rimmed baking sheet and arrange the potatoes directly on the rack. The baking sheet catches drips, while the rack keeps the potatoes lifted rather than sitting in any oil that runs off. Leave a little space between them so they aren’t crowded together.
Bake Until the Center Gives Easily
Heat the oven to 425°F and bake the potatoes for 50 to 70 minutes. Look for skins that feel crisp, then test the center of each one with a skewer. It should slide easily into the middle; if it catches, return that potato to the oven and check it again after more baking. The potatoes don’t have to come out together if one reaches that tender texture before another.
Slit the Tops and Fluff the Insides
Cut a lengthwise slit in each hot potato, taking care as steam escapes from the opening. Use a fork to fluff the insides before serving, drawing some of the soft center up toward the slit. Keep the skin intact enough to hold the potato together. Fluffing at the table instead of serving the center packed tightly gives the inside a lighter texture.
Two Ways to Adapt the Jacket Without Losing Its Point
Open-face, fully split potatoes
For a more open presentation, cut each baked potato lengthwise all the way through instead of leaving the two sides joined at the base. Fluff the center in each half with a fork. You get more exposed fluffy potato in every portion, though the halves won’t hold together like a whole jacket.
Naturally gluten-free and dairy-free
The potatoes, olive oil, and kosher salt in this preparation contain no wheat or dairy, so the basic dish needs no replacement ingredients for a gluten-free or dairy-free table. The potato and its crisp skin stay at the center of the dish. If you’re serving someone with a serious allergy, check that the ingredients you use are suitable for their needs.
Storage and Reheating
- Refrigerator: Refrigerate leftovers within 2 hours and use them within 3 to 4 days. The skin softens as the potato sits, while the inside stays tender.
- Freezer: Baked potatoes can be frozen, but thawing tends to leave the inside less fluffy and the skin less crisp. Cool them, wrap individually, and freeze in an airtight container for up to 2 months for best quality.
- Reheating: Warm refrigerated potatoes in a 350°F oven until hot all the way through; check that the center reaches 165°F. The microwave is quicker, but it softens the skin, so avoid covering the potato if crisp skin is your priority.
Questions That Come Up While Baking Jacket Potatoes
Fluffy Crispy Jacket Potatoes
Ingredients
Equipment
Method
- Preheat the oven to 425°F.
- Set a wire rack over a rimmed baking sheet.
- Scrub the potatoes clean.
- Dry the potatoes thoroughly.
- Prick each potato 6 to 8 times with a fork.
- Rub the potatoes all over with the olive oil and kosher salt.
- Place the potatoes directly on the wire rack.
- Bake for 50 to 70 minutes, until the skins are crisp and a skewer slides easily into the center of each potato.
- Cut a lengthwise slit in each potato.
- Fluff the insides with a fork before serving.


