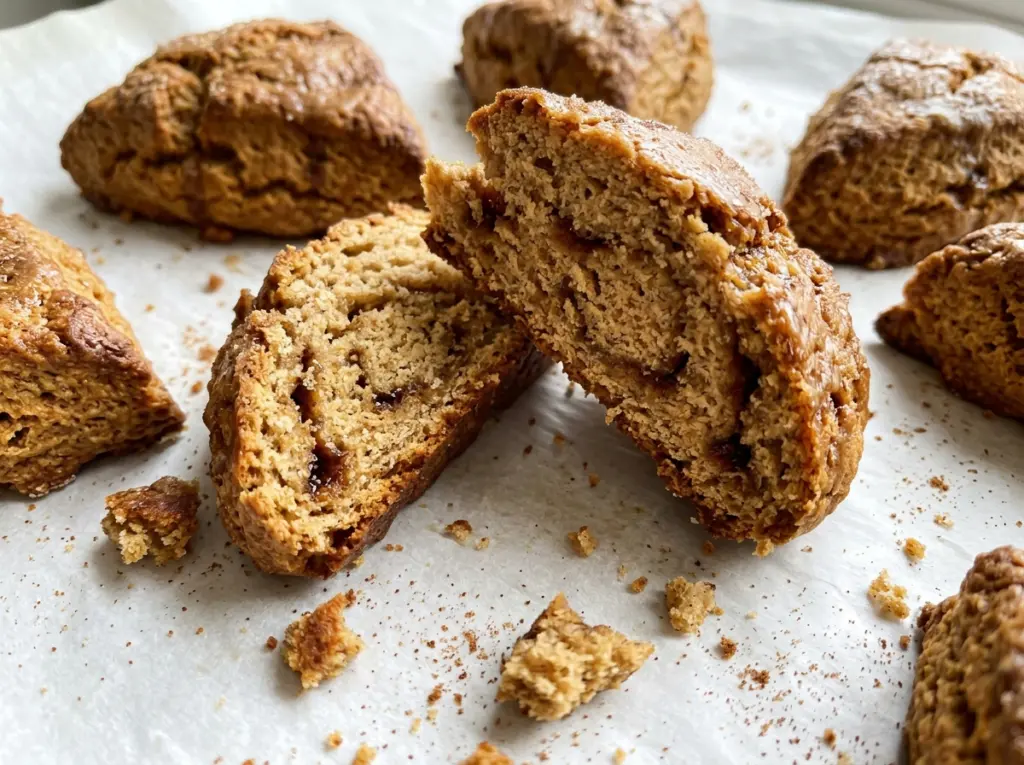
When the dough first comes together, it looks too shaggy to make neat wedges. That’s the moment to stop stirring, not to keep working until it looks smooth. A light hand keeps these gingerbread scones tender instead of heavy, and the molasses gives the crumb a deep, warm gingerbread flavor.
I make the dough with cold butter cut into pea-size pieces, then bring it together gently on the counter. The wedges get a short chill before baking, which gives me time to tidy up while the oven heats and the dough firms. They come out risen, warmly spiced, and just right with browned bottoms and a tender center.
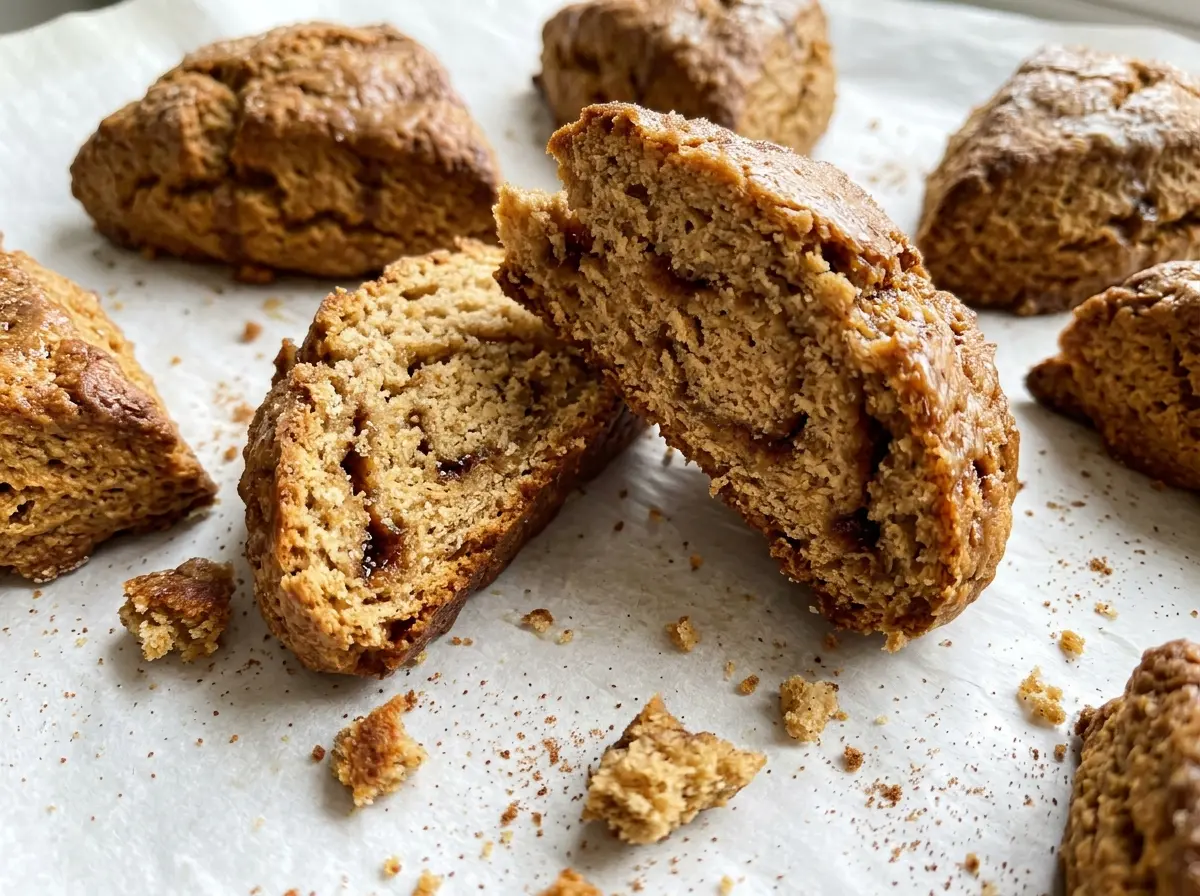
Kitchen Note
Give the cut wedges the full 15 minutes in the refrigerator before baking. The dough feels firmer and is less likely to lose its shape when it goes into the oven.
Save these gingerbread scones for a bake with tender centers, crisp edges, and just the right warmth from the spices.
Why These Gingerbread Scones Need a Shaggy Dough, Not a Smooth One
Scone dough isn’t supposed to look like a finished bread dough. Once the egg, molasses, and cream meet the flour, stir only until the mixture starts clumping into a shaggy mass. A few rough-looking patches are fine; chasing a smooth surface at this stage means more mixing, and more mixing develops gluten that can make the baked scones tough.
The butter matters for the same reason. Cutting cold pieces into the dry ingredients leaves small pockets of fat through the dough, rather than blending everything into a paste. In the oven, those pieces help create a tender, layered bite. If the butter gets soft while you work, the dough can feel greasy and harder to handle, so move steadily and use your fingertips or a pastry cutter. The goal is a dough that holds together when gently pressed, not one that feels elastic or perfectly uniform.
What Molasses, Cold Butter, and Cream Bring to Gingerbread Scones

- All-purpose flour — It gives the wedges enough structure to rise while staying tender. Spoon it lightly into the measuring cup and level the top rather than packing it down; too much flour can leave the dough dry. For a gluten-free batch, use a cup-for-cup baking blend in place of the flour, including the portion reserved for shaping, and handle the dough gently because the wedges will be more delicate.
- Cold unsalted butter — Cold pieces are easier to keep distinct in the flour, which helps the baked crumb stay tender. Unsalted butter lets the measured salt season the dough consistently. A dairy-free baking stick is the practical swap; choose one meant for baking and keep it cold.
- Unsulphured molasses — This brings the recognizable gingerbread depth, color, and moisture. Choose a regular, mild unsulphured molasses rather than blackstrap, whose sharper bitterness can overwhelm the spices. There isn’t a flavor-neutral syrup swap; honey or maple syrup would make a noticeably different, lighter-tasting scone.
- Ground ginger, cinnamon, cloves, and nutmeg — Together they make the spice taste rounded rather than one-note. The ginger should lead, with the other spices supporting it, so use spices that still smell fragrant when you open the jar. Whisk them through the flour well before adding the wet ingredients to avoid concentrated pockets of clove or nutmeg.
- Heavy cream and egg — The egg helps bind the shaggy dough, while cream adds richness and also brushes over the tops for browning. If you need a dairy-free version, use thick unsweetened oat cream for both the dough and the topping. Thin oat milk doesn’t provide the same richness, and the tops may brown less.
From Pea-Size Butter to Browned Bottoms: The Stages That Matter
Whisk the Spiced Flour and Cut in the Butter
Heat the oven to 400°F and line a baking sheet with parchment paper. Set aside 1 tablespoon of the flour for shaping, then whisk the remaining flour with the brown sugar, baking powder, ginger, cinnamon, cloves, nutmeg, and salt. Cut in the cold butter with a pastry cutter or your fingertips until the pieces are about pea-size. If the butter starts smearing into the flour, pause briefly and work with a lighter touch.
Stir Until the Wet Ingredients Make a Shaggy Dough
In a small bowl, whisk together the egg, molasses, and 1/4 cup heavy cream. Stir that mixture into the flour just until a shaggy dough forms. Scrape the bottom of the bowl as you stir so the liquid reaches the dry flour, but don’t keep mixing to make the dough smooth. It should look rough and clump together when you press it.
Pat, Cut, and Chill the Wedges
Dust your work surface with the reserved flour and turn out the dough. Gently bring it together, then pat it into a 7-inch round about 3/4 inch thick; pressing it out keeps the dough tender. Cut the round into 8 wedges and place them on the parchment-lined baking sheet. Chill the wedges for 15 minutes before brushing their tops with the remaining tablespoon of heavy cream.
Bake Until Risen and Let Them Set
Bake at 400°F for 18 to 22 minutes, until the scones have risen and look set, with browned bottoms. Start checking at the lower end of the baking window, since ovens can vary. The tops should no longer look wet, and the bottoms should have color without becoming dark. Let the scones cool on the baking sheet for 10 minutes before serving so the tender wedges have a chance to settle.
Two Useful Swaps for Gingerbread Scones
Make Them Gluten-Free
Replace the all-purpose flour with the same volume of a cup-for-cup gluten-free baking blend, using that blend for the reserved shaping flour too. Choose a blend formulated for baking, then bring the dough together gently; gluten-free wedges can be more fragile when you move them. The spice and molasses still come through, though the crumb may be a little more tender and less structured.
Make a Dairy-Free Batch
Use cold dairy-free baking sticks instead of butter and thick, unsweetened oat cream wherever the heavy cream is used, including for brushing the tops. Keep the baking stick cold and cut it into small pieces just as you would dairy butter. The scones will still hold together, with a slightly different richness depending on the brand of plant-based cream.
Storage and Reheating
- Refrigerator: Keep baked scones airtight for up to 3 days. The refrigerator can dry the crumb, so let them come to room temperature or warm them before serving.
- Freezer: Freeze completely cooled scones in an airtight container or freezer bag for up to 2 months. Thaw at room temperature while still wrapped to help keep them from drying out.
- Reheating: Warm in a 300°F oven for about 5 to 8 minutes. Avoid microwaving for too long; it can make the crumb tough once the scones cool.
Questions That Come Up While Baking Gingerbread Scones
Gingerbread Scones
Ingredients
Equipment
Method
- Heat the oven to 400°F.
- Line a baking sheet with parchment paper.
- In a large bowl, reserve 1 tablespoon of the flour for shaping.
- Whisk the remaining flour with the brown sugar, baking powder, ginger, cinnamon, cloves, nutmeg, and salt.
- Cut the cold butter into the flour mixture with a pastry cutter or your fingertips until the pieces are pea-size.
- In a small bowl, whisk the egg, molasses, and 1/4 cup heavy cream.
- Stir the egg mixture into the flour mixture just until a shaggy dough forms.
- Turn the dough onto a work surface dusted with the reserved flour.
- Gently bring the dough together.
- Pat the dough into a 7-inch round about 3/4 inch thick.
- Cut the dough into 8 wedges.
- Place the wedges on the prepared baking sheet.
- Chill the wedges for 15 minutes.
- Brush the tops with the remaining 1 tablespoon heavy cream.
- Bake for 18 to 22 minutes, until risen and set with browned bottoms.
- Let the scones cool on the baking sheet for 10 minutes before serving.


