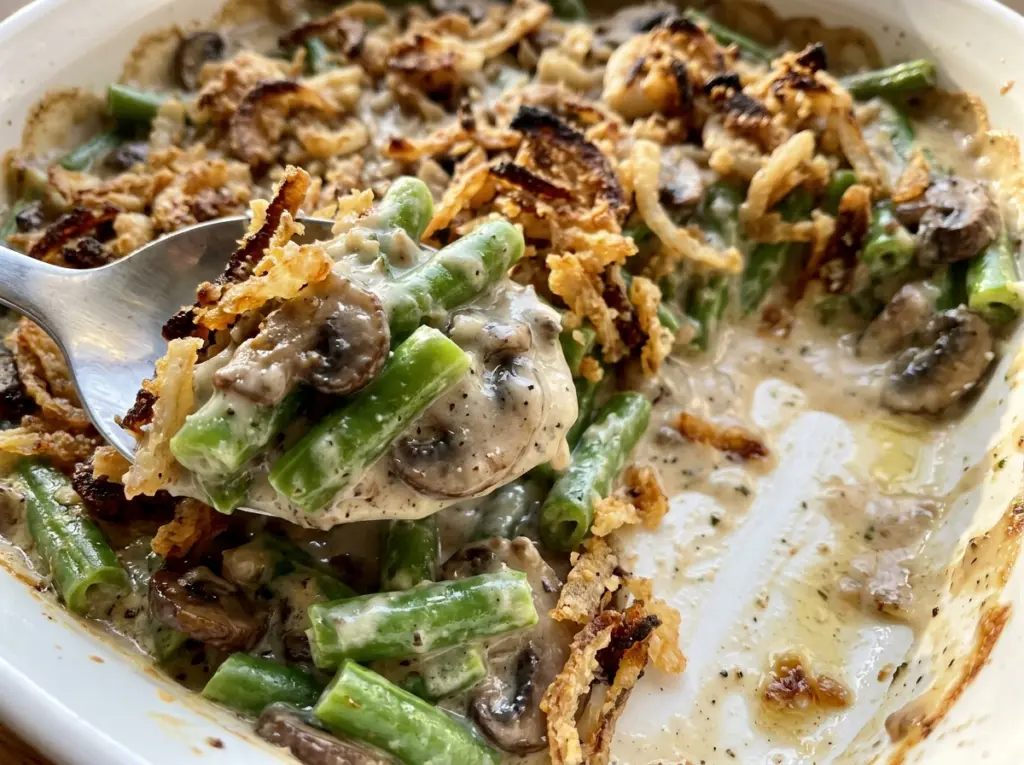
The onions are the part of green bean casserole that can go from pale to too dark while you’re watching the sauce. I fry them separately, then add them near the end of baking, so they stay crisp instead of sinking into the casserole. That timing is what makes this gluten free green bean casserole feel like the familiar holiday side, with a crunchy top and tender beans underneath.
I also cook the mushrooms and sauce on the stove before anything goes into the oven. The mushrooms have time to release their moisture, and the gluten-free flour thickens the broth and milk into a sauce that coats the beans instead of pooling around them. A quick blanch keeps the fresh green beans from needing the whole bake to soften. The result is creamy in the middle, with mushrooms in every spoonful and golden onions across the top.
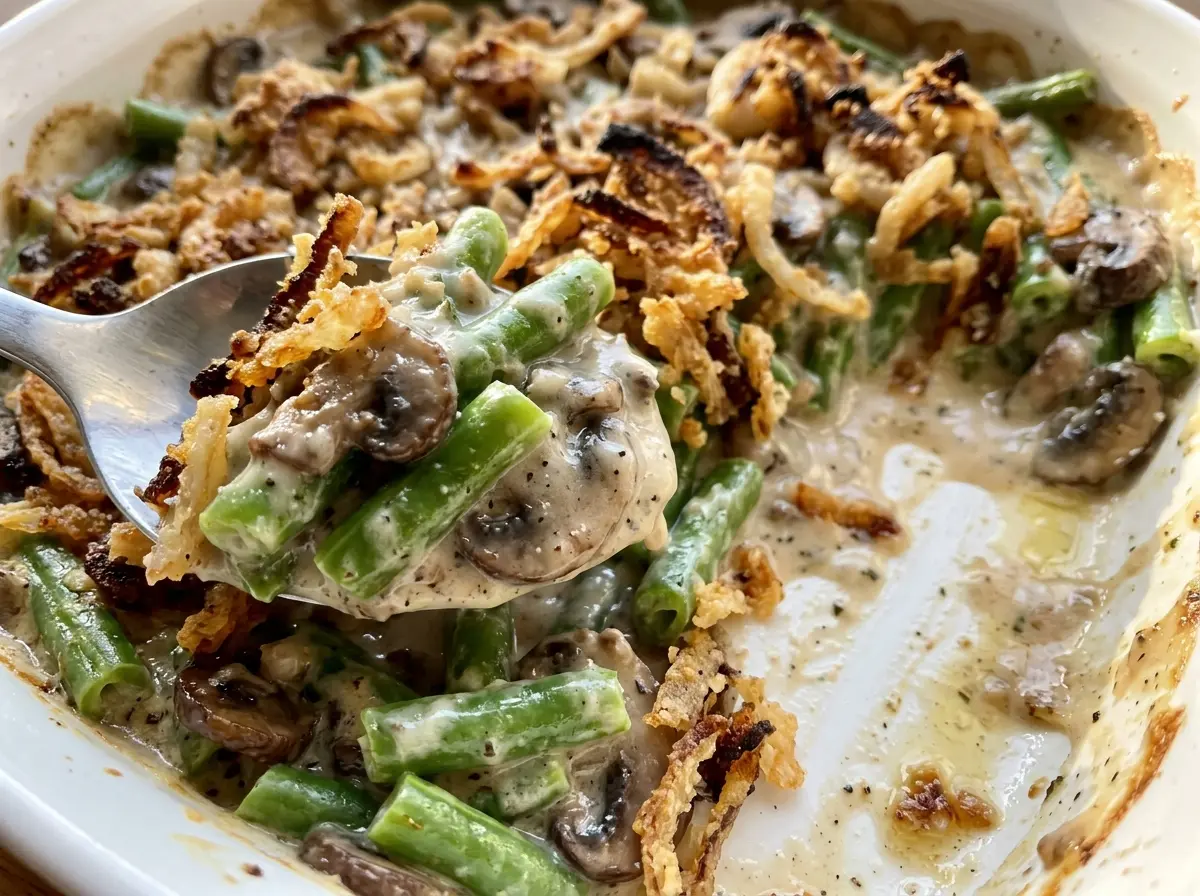
Kitchen Note
Drain the fried onions on a wire rack, not a flat plate. Air can move around them while they cool, so the bottoms stay crisp instead of steaming against the surface.
Save this gluten free green bean casserole for a crunchy onion topping, tender fresh beans, and a creamy mushroom sauce without wheat flour.
Why the Crispy Onions Go on After the First Bake
Homemade fried onions need a shorter, gentler finish than the green beans and sauce. If they sit on top from the start, they spend the full bake in the oven and can turn overly dark before the casserole is bubbling. Adding them after the first 20 minutes gives the sauce time to heat through, then lets the topping get hot and crisp without taking the brunt of the bake.
That two-part timing also gives you a useful visual cue: the casserole should be bubbling around the edges before the onions go on. Scatter the onions evenly, then bake just until the topping is crisp and hot. If you’re used to adding a crunchy topping at the beginning, this small change is worth keeping; the onions taste freshly fried rather than soft and buried in sauce. Let the dish rest briefly before serving so the sauce settles around the beans instead of running straight into the serving spoon.
Why This Casserole Uses Two Different Gluten-Free Flours

- Rice flour — This coats the onion slices before frying and helps them turn crisp and golden. Separate the slices into rings so the coating reaches the surfaces instead of clumping between layers.
- Gluten-free all-purpose flour — This thickens the mushroom sauce. Use a blend intended for general baking and cooking; a single starch may thicken differently and won’t give quite the same spoon-coating texture.
- Fresh green beans — Their firm texture holds up to blanching and baking. Trim the ends and cut the beans into similar pieces so they cook at about the same rate.
- Cremini mushrooms — These bring an earthy, savory base to the sauce. Choose firm mushrooms without damp, dark patches; cremini and white button mushrooms both work, though button mushrooms taste a little milder.
- Whole milk and unsalted butter — Together, they give the sauce its creamy body and round out the mushrooms. Whole milk makes a fuller sauce than a lower-fat milk, while unsalted butter lets the salt level stay controlled.
- Gluten-free chicken broth — Broth adds savory depth and loosens the roux into a pourable sauce. If you need a meat-free casserole, gluten-free vegetable broth is a direct swap, with a slightly less chicken-forward flavor.
How to Fry the Onions and Build a Sauce That Coats the Beans
Fry the onions in small batches
Toss the thin onion slices with rice flour and part of the salt, separating them into individual rings and shaking off the excess coating. Heat the oil in a heavy 3-quart saucepan to 350°F. Fry small batches for 2 to 3 minutes, turning each batch once, until the onions are crisp and golden; crowded onions won’t fry as evenly. Move them to a wire rack and season with the remaining salt.
Blanch the green beans briefly
Bring a large pot of water to a boil, add the trimmed green beans, and cook for 4 minutes. Drain them, then rinse under cold water to stop the cooking. They should look bright green and feel slightly tender but still firm, since they’ll soften more in the oven. Drain them well before adding them to the sauce.
Cook the mushrooms before adding the flour
Melt the butter in a large skillet over medium heat, then add the sliced mushrooms. Cook for 6 to 8 minutes, stirring occasionally, until they’ve softened and their liquid has evaporated. Stir in the garlic for 30 seconds, then sprinkle in the gluten-free flour and stir constantly for 1 minute. Keeping the flour moving helps it blend with the butter and mushrooms rather than settling in dry patches.
Whisk, bake, and finish with the onions
Gradually whisk in the chicken broth and milk, then cook for 4 to 6 minutes, stirring, until the sauce thickens enough to coat a spoon. Stir in the remaining salt and the black pepper, then fold in the drained beans. Transfer everything to a greased 9×13-inch baking dish and bake at 375°F for 20 minutes, until the edges bubble. Add the fried onions and bake for 8 to 10 minutes more, until the topping is hot and crisp; rest the casserole for 5 minutes before serving.
Two Practical Swaps for This Gluten-Free Green Bean Casserole
Make it vegetarian with vegetable broth
Replace the gluten-free chicken broth with gluten-free vegetable broth in the same amount. The sauce stays creamy and savory, though it loses the deeper poultry note; check that the broth you choose is labeled gluten-free.
Use white button mushrooms
Swap in sliced white button mushrooms for the cremini mushrooms. Cook them until softened and their liquid has evaporated just as you would the cremini; the sauce will have a gentler, less earthy mushroom flavor.
Storage and Reheating
- Refrigerator: Refrigerate leftovers within 2 hours and eat them within 3 to 4 days. The onions soften as they sit against the creamy sauce.
- Freezer: Freeze leftovers in an airtight container for up to 2 months. The sauce may look a little less smooth after thawing, and the onion topping won’t stay crisp.
- Reheating: Cover and warm in a 350°F oven until the center reaches 165°F. Add a splash of milk if the sauce seems tight; reheating uncovered can dry the beans before the middle is hot.
Questions That Come Up While Making This Casserole
Gluten Free Green Bean Casserole
Ingredients
Equipment
Method
- Toss the onion slices with the rice flour and 1/2 teaspoon of the salt, separating the slices into rings and shaking off excess flour.
- Heat the oil in a heavy 3-quart saucepan to 350°F.
- Fry the onions in small batches for 2 to 3 minutes per batch, turning once, until crisp and golden.
- Drain the onions on a wire rack and season with the remaining 1/2 teaspoon salt.
- Heat the oven to 375°F.
- Grease a 9x13-inch baking dish.
- Bring a large pot of water to a boil, add the green beans, and cook for 4 minutes.
- Drain the green beans and rinse under cold water.
- Melt the butter in a large skillet over medium heat, add the mushrooms, and cook for 6 to 8 minutes, stirring occasionally, until softened and their liquid has evaporated.
- Stir in the garlic and cook for 30 seconds.
- Sprinkle in the gluten-free flour and cook for 1 minute, stirring constantly.
- Gradually whisk in the chicken broth and milk, then cook for 4 to 6 minutes, stirring, until the sauce thickens enough to coat a spoon.
- Stir in the remaining 1 teaspoon salt and the black pepper.
- Stir the green beans into the sauce and transfer the mixture to the prepared baking dish.
- Bake for 20 minutes, until bubbling around the edges.
- Scatter the crispy onions over the casserole and bake for 8 to 10 minutes, until the topping is hot and crisp.
- Let the casserole rest for 5 minutes before serving.


