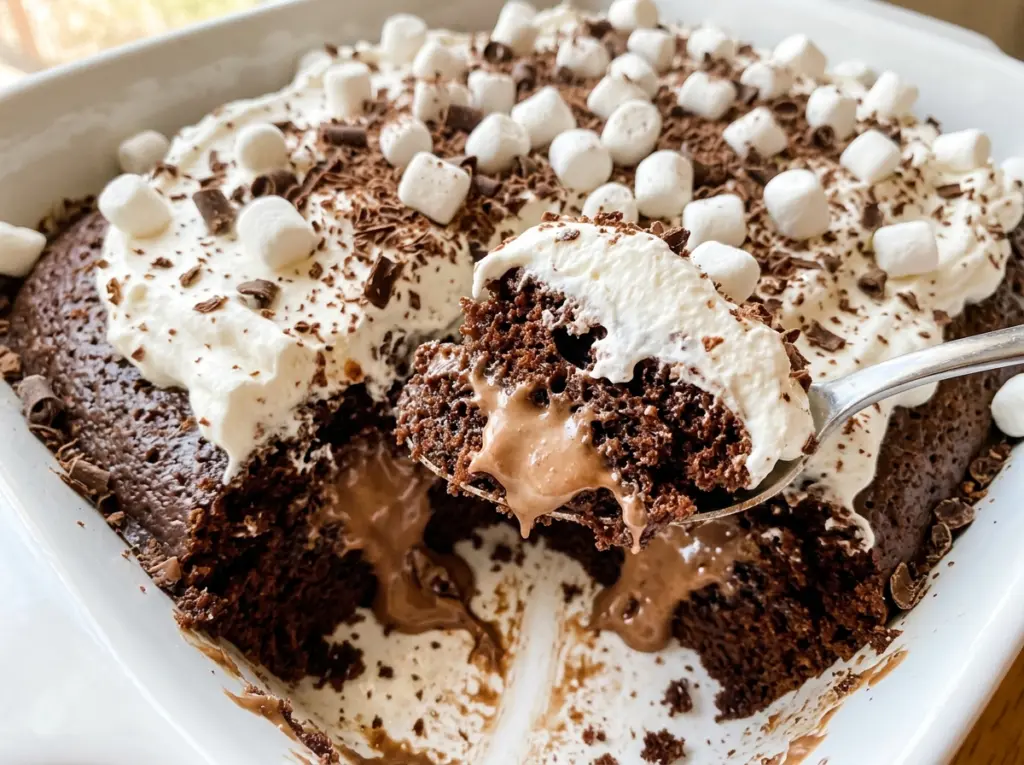
The boiling water turns the cake batter much thinner than most people expect, and it’s easy to wonder if something went wrong. It hasn’t. Once baked, the chocolate cake is soft enough to soak up a warm filling made with hot cocoa mix and melted chocolate, which gives this Hot Chocolate Poke Cake its familiar cocoa-shop flavor in every slice.
I like that the filling goes onto the cake while it’s still warm, before the whole pan gets chilled. The warmth helps the chocolate mixture flow into the holes, and the long chill gives the cake time to set beneath its whipped cream topping. Mini marshmallows finish the top with the soft, sweet texture that makes this taste like hot chocolate turned into dessert.
Kitchen Note
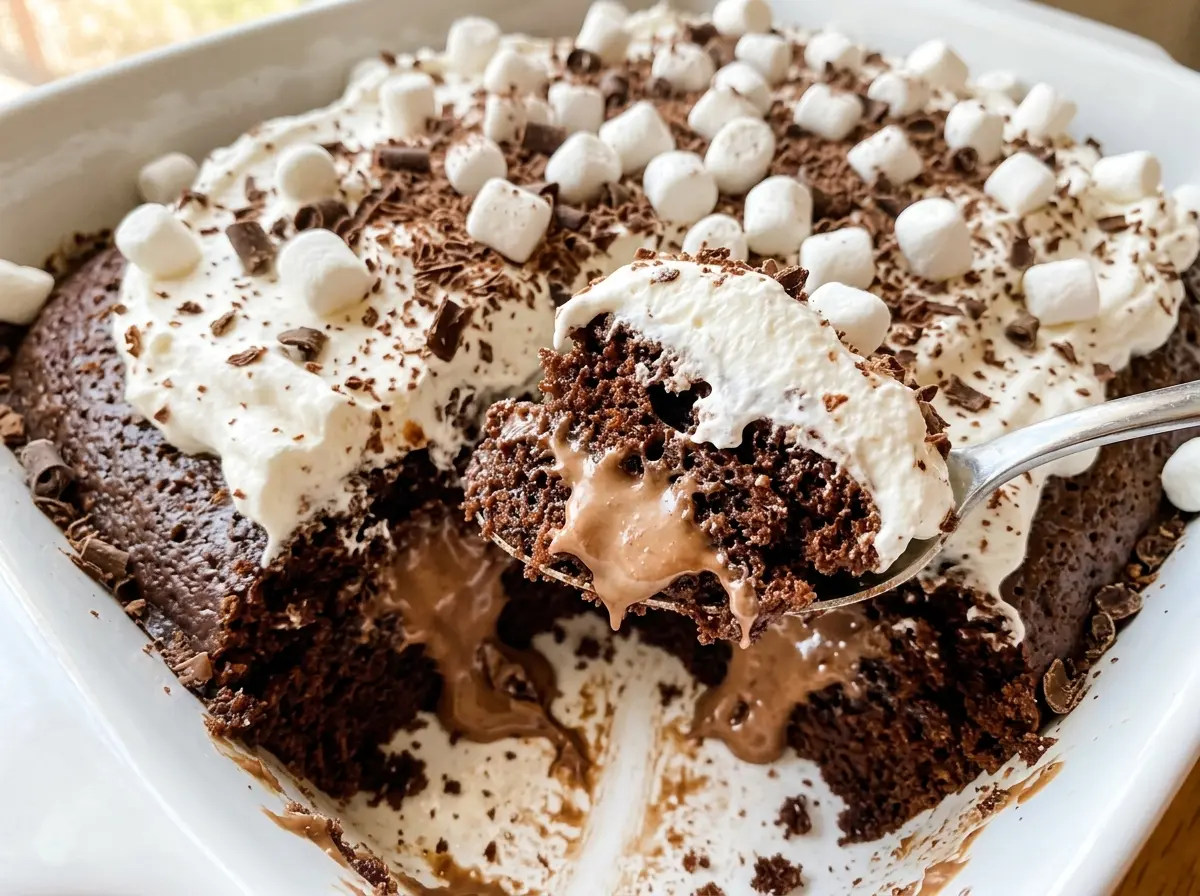
Use the handle of a wooden spoon for the holes; it makes a wider opening than a skewer, so the filling has room to sink into the cake. Poke while the cake is warm, when the crumb is soft enough to make clean holes without crumbling.
Save Hot Chocolate Poke Cake for a make-ahead chocolate dessert with a cocoa-soaked center, whipped cream, and mini marshmallows.
Why This Chocolate Cake Batter Should Look Almost Too Thin
After the boiling water goes in, the batter will be loose and pourable. That’s expected, not a sign that you need more flour. Hot water disperses the cocoa through the batter and helps create a soft cake; adding extra flour to thicken it would throw off the balance and leave the crumb heavier.
Whisk the dry ingredients together first so the baking powder, baking soda, and salt are spread through the flour and cocoa. Then whisk in the eggs, buttermilk, oil, and vanilla until smooth before slowly stirring in the boiling water. The batter should pour easily into the pan without looking lumpy. Trust that texture and let the oven do its work; the cake will set as it bakes.
What Gives the Filling Its Hot Chocolate Flavor
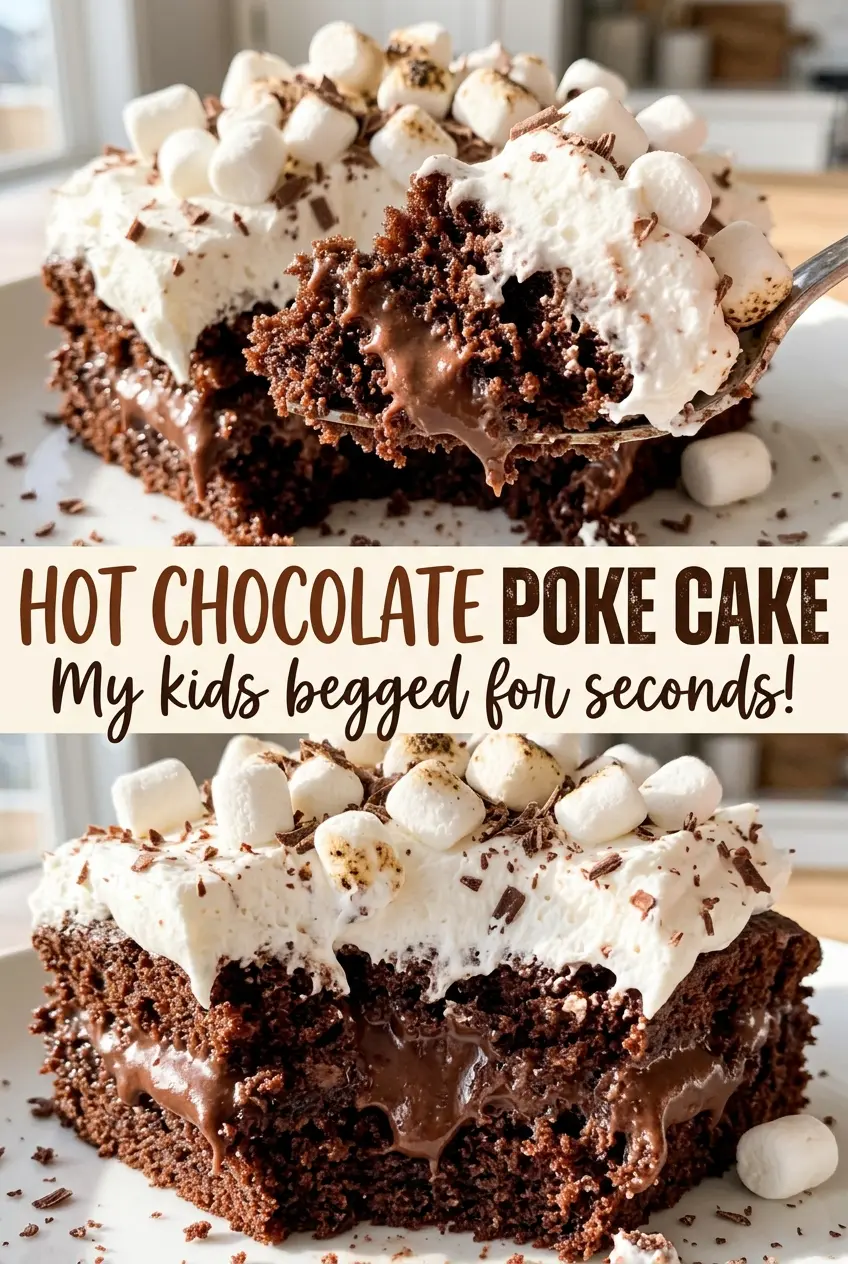
- Unsweetened cocoa powder — This supplies the cake’s deep chocolate base without adding extra sugar. Use a cocoa powder you like the taste of, since it’s a major part of the cake; sweetened cocoa mix isn’t a direct substitute because it also changes the sweetness.
- Buttermilk — Its tang balances the chocolate, and its acidity works with the baking soda. If you don’t have buttermilk, replace it one-for-one with milk soured with lemon juice or white vinegar, and let it stand until it looks slightly thickened.
- Hot cocoa mix — The packets bring the sweet, milky cocoa flavor that plain cocoa powder can’t reproduce on its own. Choose a mix you enjoy drinking; replacing it with unsweetened cocoa without adjusting the rest of the filling would make the result much less sweet.
- Semisweet chocolate chips — These melt into the warm milk and cocoa mix to make the filling smooth and more chocolate-forward. Chopped semisweet chocolate works in the same amount if that’s what you have; small, evenly chopped pieces melt readily.
- Cold heavy cream — It whips into a topping that holds its shape against the chilled cake. Heavy whipping cream works too, but half-and-half won’t whip into the same stable peaks.
- Mini marshmallows — Their small size spreads across the whipped cream without weighing down each slice. If you only have regular marshmallows, cut them into small pieces for a similar topping.
Build the Cake, Then Let the Filling Settle In
Whisk the Batter Until Smooth
Heat the oven to 350°F and grease a 9×13-inch baking dish with the softened butter. Whisk the flour, sugar, cocoa, baking powder, baking soda, and salt in a large bowl, then add the eggs, buttermilk, oil, and vanilla. Whisk until smooth, then gradually stir in the boiling water. The batter will be thin, so pour it straight into the prepared dish rather than trying to thicken it.
Bake Until the Center Has a Few Moist Crumbs
Bake for 30 to 35 minutes. Start checking the center with a toothpick toward the shorter end of the baking time; it should come out with a few moist crumbs, not wet batter. If the toothpick comes out completely clean, the cake may have baked longer than it needs. Let the cake cool in its dish for 10 minutes before filling it.
Make the Holes and Melt the Cocoa Filling
Use the handle of a wooden spoon to poke holes about 1 inch apart across the warm cake. In a medium saucepan, whisk the milk and hot cocoa mix over medium heat until steaming and dissolved; don’t let it boil. Take the pan off the heat, add the chocolate chips, and let them stand for 2 minutes. Whisk until the filling is smooth and glossy.
Pour, Chill, and Add the Cream
Slowly pour the warm filling evenly over the cake, aiming it into the holes rather than flooding one spot. Let the cake stand for 30 minutes, then refrigerate it until completely chilled, at least 2 hours. Beat the cold heavy cream with the powdered sugar until medium-stiff peaks form, then spread it over the chilled cake. Scatter the mini marshmallows on top and keep the cake refrigerated until serving.
Three Easy Ways to Change the Cocoa Cake
Make It Gluten-Free
Replace the all-purpose flour with a cup-for-cup gluten-free baking blend that includes xanthan gum. The cake may have a slightly more tender or crumbly texture, so let it cool and chill fully before slicing.
Use Bittersweet Chocolate in the Filling
Swap the semisweet chips for the same amount of bittersweet chips. The cocoa filling will taste darker and less sweet, while the hot cocoa mix still gives it that familiar hot chocolate character.
Give the Filling a Peppermint Note
Use peppermint hot cocoa mix in place of the plain packets, choosing packets of the same size. It shifts the filling toward a mint-chocolate flavor without changing the cake or the way you make the topping.
Storage and Serving
- Refrigerator: Cover the cake and refrigerate leftovers for up to 3 days. The whipped cream may soften as it sits.
- Freezer: Freezing the fully topped cake isn’t recommended; the whipped cream and marshmallows can lose their texture when thawed.
- Serving: Serve the cake chilled, straight from the refrigerator. Keep leftovers refrigerated rather than leaving the cream-topped cake out.
Questions That Come Up When Making Hot Chocolate Poke Cake
Hot Chocolate Poke Cake
Ingredients
Equipment
Method
- Heat the oven to 350°F.
- Grease a 9x13-inch baking dish with the softened butter.
- Whisk the flour, granulated sugar, cocoa powder, baking powder, baking soda, and salt in a large bowl.
- Add the eggs, buttermilk, vegetable oil, and vanilla extract, and whisk until smooth.
- Gradually stir in the boiling water; the batter will be thin.
- Pour the batter into the prepared dish and bake for 30 to 35 minutes, until a toothpick inserted in the center comes out with a few moist crumbs.
- Cool the cake in the dish for 10 minutes.
- Use the handle of a wooden spoon to poke holes about 1 inch apart across the warm cake.
- Heat the milk and hot cocoa mix in a medium saucepan over medium heat, whisking until steaming and dissolved; do not let it boil.
- Remove the pan from the heat and add the chocolate chips.
- Let the mixture stand for 2 minutes, then whisk until smooth.
- Slowly pour the hot chocolate mixture evenly over the cake, aiming it into the holes.
- Let the cake stand for 30 minutes.
- Refrigerate the cake until completely chilled, at least 2 hours.
- Beat the cold heavy cream and powdered sugar in a large bowl until medium-stiff peaks form.
- Spread the whipped cream over the chilled cake.
- Scatter the mini marshmallows on top.
- Keep the cake refrigerated until serving.
- Refrigerate leftovers.


