
The fork can slide through the ends of a microwave potato while the middle is still stubbornly firm. That uneven cooking is the part that trips people up, especially when the outside already looks soft. For one russet, turning it partway through and checking the center by feel makes a microwave baked potato a dependable lunch or quick side without heating the oven.
I use a russet because its fluffy interior is exactly what I want once it’s split open. A little olive oil and kosher salt coat the skin, and piercing the potato gives steam a way to escape as it heats. The microwave does the cooking, but the fork test—not a guess based on the clock—tells you when the center is ready.
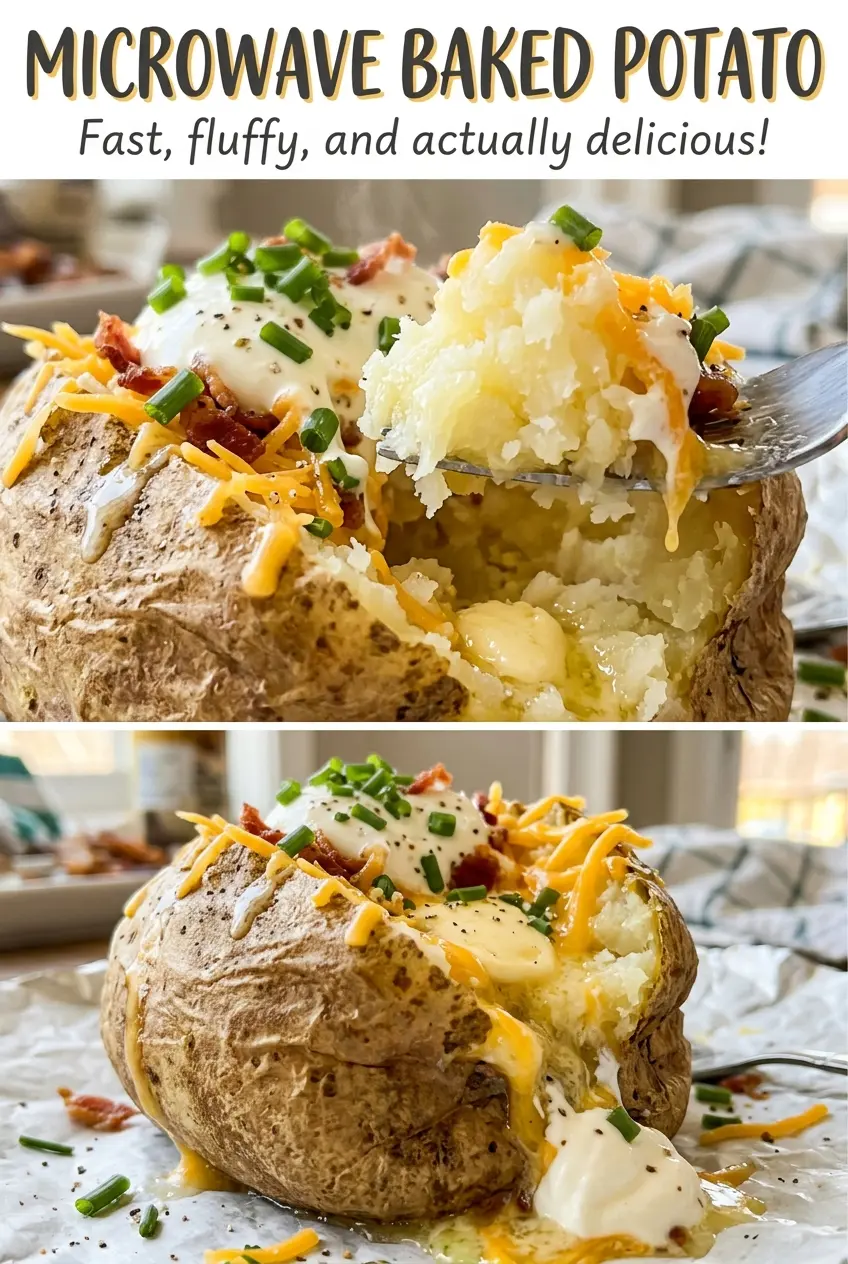
After a short rest, the potato opens easily and the inside loosens into soft, steamy flakes. The skin stays tender rather than turning crisp, and the whole potato is ready to fluff and eat.

Kitchen Note
Give the potato the full 2-minute rest before you split it. The middle is still steaming when it comes out, and resting lets that heat settle so the center is easier to fluff without rushing.
Save this microwave baked potato for a fluffy center and a simple, salted skin—ready without turning on the oven.
Why a Potato Can Be Soft at the Ends and Firm in the Middle
A microwave doesn’t warm every part of a potato at the same pace. The ends may soften before the thick center has had enough time, so judging doneness by the outside can leave you with a disappointing bite. Turning the potato halfway through moves the part that was facing down to the top and gives the whole potato a more even chance to cook.
Potato size matters, too. The specified russet weighs 10 to 12 ounces, but even potatoes in that range can finish at slightly different times. Rather than extending the first cooking stretch and hoping for the best, start with the set cooking time, turn the potato, then use the fork to check the thickest part. If the fork meets resistance, short additional bursts are easier to control than one long guess. You’re looking for the fork to slide easily into the center, not just break through the skin.
Piercing the potato all over before it goes into the microwave is another small step with a practical purpose: it gives steam a route out as the inside heats. Those fork marks don’t need to be deep or dramatic; make several around the potato rather than concentrating them in one spot.
Why a Russet and a Light Oil Rub Suit This Potato
- Russet potato — Russets have the starchy, fluffy interior that pulls apart easily with a fork after cooking. Choose one in the stated 10- to 12-ounce range, with unbroken skin and no soft spots. A waxier potato won’t give you quite the same light, fluffy center, so I stick with russet here.
- Olive oil — A thin coating helps the kosher salt cling to the skin and gives it a little richness. There’s no need for a special or expensive bottle; the oil is a supporting touch, not the main flavor. Rub it over the outside rather than pouring it onto the plate.
- Kosher salt — The salt seasons the skin, where it can be tasted in each bite alongside the plain potato inside. Kosher salt is what this version uses, so keep the measured amount in mind if you choose a different type: fine salt packs more tightly and can taste saltier in the same volume.
From a Clean Russet to a Fork-Tender Center
Scrub, Dry, and Pierce the Potato
Scrub the russet clean under running water, then dry it before adding the oil. A dry surface is easier to coat evenly, and any grit left on the skin will remain there when you eat it. Pierce the potato several times all over with a fork, spacing the holes around the surface. Don’t skip the ends; the goal is to pierce it around, not just on one side.
Coat the Skin Without Overdoing It
Rub the potato with the olive oil, then season it with the kosher salt. Use your hands to spread the oil over the skin so it gets a light, even coating instead of pooling underneath. Set the potato on a microwave-safe plate. The plate catches any moisture released during cooking and gives you a stable surface for turning it.
Turn, Check, and Finish in Short Bursts
Microwave on HIGH for 5 minutes, then turn the potato over and microwave for 3 to 5 minutes more. Check the thickest part with a fork; if it doesn’t slide easily into the center, continue in 1-minute intervals. The cooking time can vary with the potato and microwave, so trust the fork rather than stopping just because the timer has run out. When it’s tender, let it rest for 2 minutes, split it open, and fluff the inside with a fork.
Small Ways to Adjust the Potato Without Adding Toppings
Choose the potato size for your appetite
Stay within the 10- to 12-ounce range, choosing a potato near the lower end for a smaller portion or closer to the upper end for a more substantial one. The larger potato may need an additional 1-minute interval after the listed cooking time, so let the fork test decide when the center is ready.
Make the inside lightly fluffed or more open
After splitting the potato, use the fork to loosen just the surface for a compact center, or work through the inside more thoroughly for a looser, airier texture. Both approaches use the same cooked russet and keep the seasoned skin intact; the difference is how much you separate the soft flakes before serving.
A naturally dairy-free and gluten-free option
The potato, olive oil, and kosher salt in this version contain no dairy or wheat ingredients, so there’s no replacement needed to keep the potato dairy-free and gluten-free. Keeping the ingredient list as written also preserves the simple, savory skin and fluffy russet center.
Storage and Reheating
- Refrigerator: Refrigerate leftovers in a covered container within 2 hours and use within 3 to 4 days. The skin softens, and the center becomes denser as it chills.
- Freezer: Freezing isn’t my first choice for a whole baked russet; the thawed interior can turn mealy and watery.
- Reheating: Split the leftover potato and microwave it until steaming hot throughout, checking the center as well as the edges. Reheat only what you plan to eat, since repeated heating dries out the fluffy interior.
Questions That Come Up While Microwaving a Russet
Microwave Baked Potato
Ingredients
Equipment
Method
- Scrub the potato clean, dry it, and pierce it several times all over with a fork.
- Rub the potato with the olive oil and kosher salt.
- Place the potato on a microwave-safe plate and microwave on HIGH for 5 minutes; turn it over and microwave for 3 to 5 minutes more, checking with a fork and adding 1-minute intervals as needed until the fork slides easily into the center.
- Let the potato rest for 2 minutes.
- Split it open and fluff the inside with a fork.


