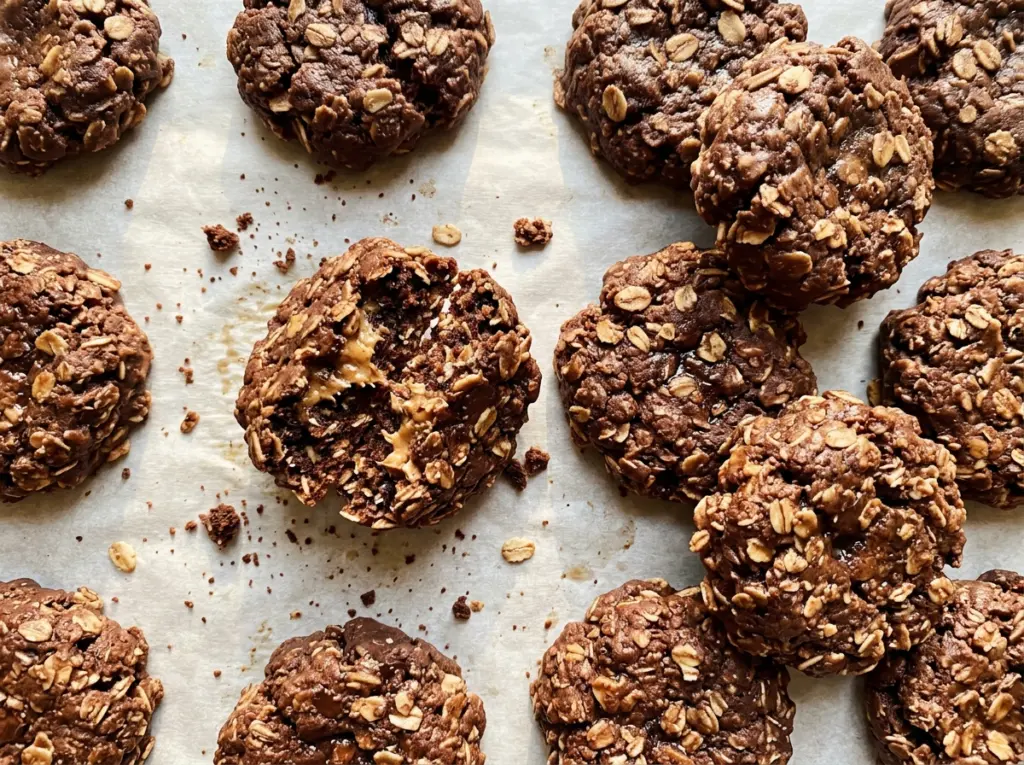
At first, the saucepan holds a thin cocoa mixture; once the peanut butter and oats go in, it turns thick enough to mound on a spoon. I like watching that change happen before the cookies ever reach the refrigerator. These no bake chocolate cookies come out soft and chewy, with cocoa up front and peanut butter rounding out the sweetness.
There’s no dough to roll or oven to preheat, but the stovetop mixture needs a little attention. Quick-cooking oats absorb the chocolate mixture evenly, and creamy peanut butter helps hold everything together. The finished cookies are meant to be tender, not crisp, with enough oat texture to give each bite some chew. A little patience at the stove and a cool-down in the refrigerator give them their familiar, soft-set texture.
Kitchen Note
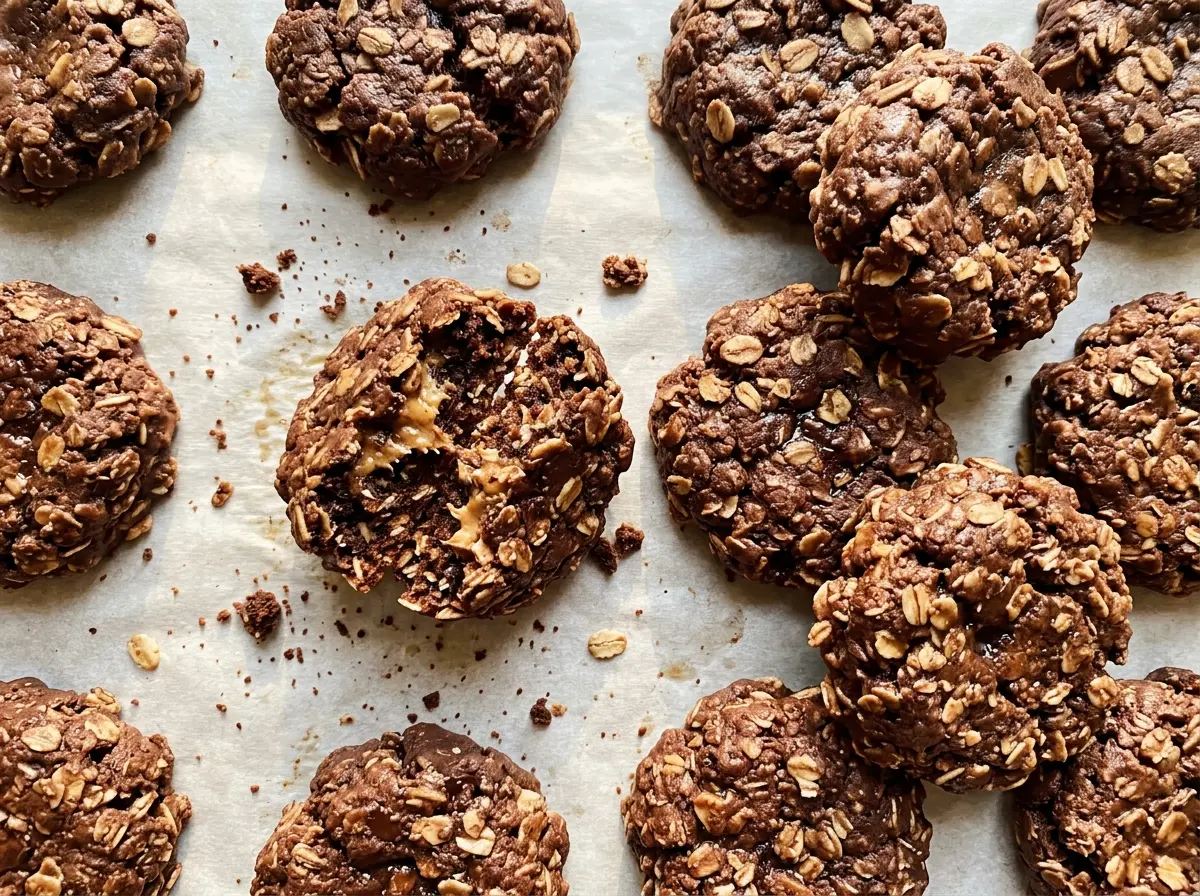
Scoop the mixture while it’s still warm and easy to portion. Once it cools in the saucepan, it firms up and gets much harder to shape neatly.
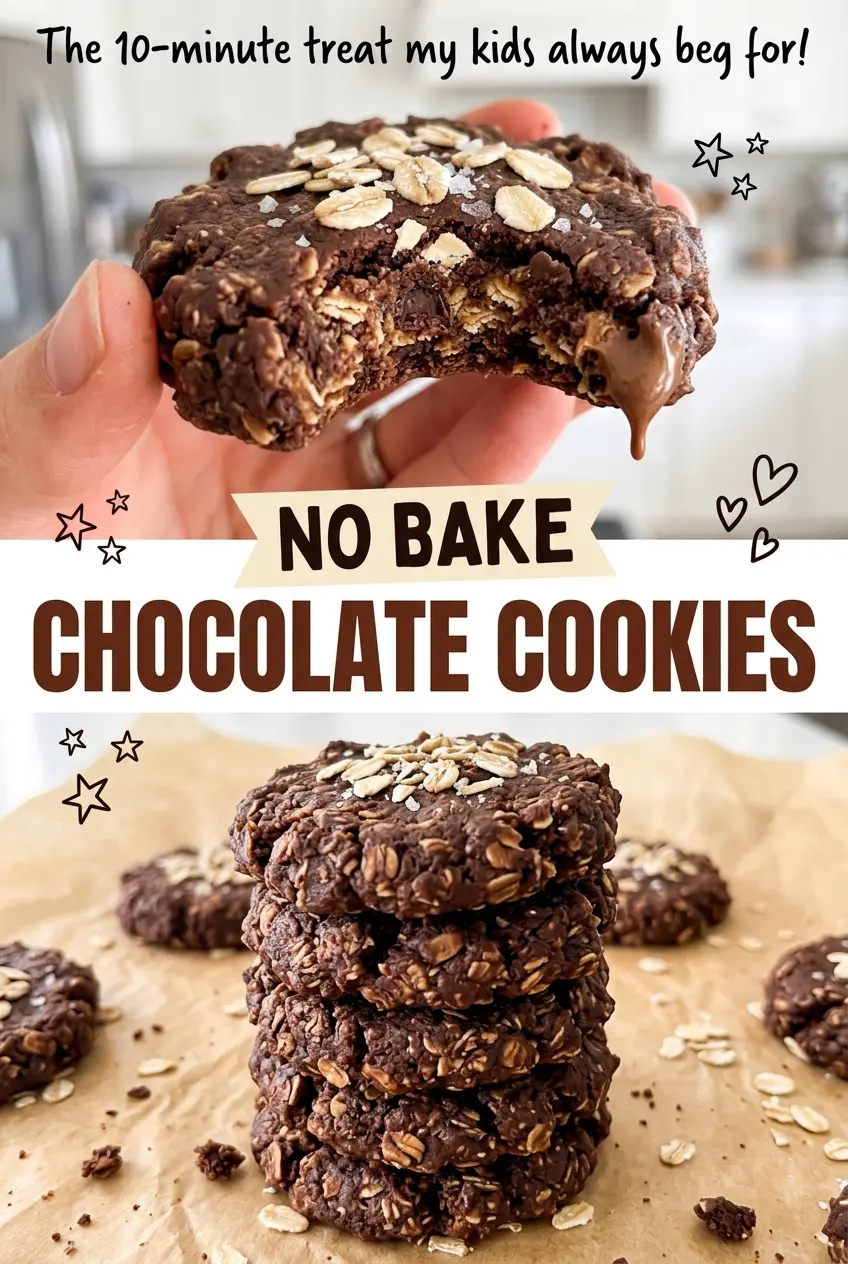
Save these no bake chocolate cookies for a chewy cocoa-and-peanut-butter treat that sets in the refrigerator.
Why the One-Minute Boil Decides Whether These Cookies Set
These cookies don’t bake in the oven, so the stovetop mixture has to do the structural work. As the butter, sugar, milk, and cocoa come to a boil, some moisture cooks off and the sugar mixture thickens. That balance is what lets the cookies firm up after chilling while staying tender inside.
Starting the timer at the first little bubbles along the edge is an easy way to end up with cookies that stay sticky. Wait until the mixture is at a full rolling boil, with bubbles breaking across the surface, then keep it boiling for the full minute. Cutting that stage short leaves more moisture in the mixture; boiling too long drives off too much and can leave the cookies dry or crumbly. Stir constantly during the timed boil so the mixture heats evenly and doesn’t scorch on the bottom of the saucepan.
A candy thermometer isn’t needed here. Watch the pan instead: the boil should be active and continuous, not a few bubbles that disappear when you stir. Once the minute is up, take the saucepan off the heat before stirring in the peanut butter and vanilla.
Why Quick-Cooking Oats and Creamy Peanut Butter Belong in This Batch
- Quick-cooking oats — Their smaller, thinner flakes coat evenly and help the cookies hold together without a long bake. Old-fashioned oats make a coarser, chewier cookie and don’t blend into the mixture in quite the same way. For a gluten-free batch, choose quick oats specifically labeled gluten-free.
- Creamy peanut butter — Smooth peanut butter spreads through the mixture and helps bind the oats. A conventional creamy peanut butter is the dependable choice; natural varieties that separate can make the mixture oily or uneven. Smooth almond butter is the closest swap, with a milder, slightly different nutty taste.
- Unsweetened cocoa powder — This brings the chocolate flavor without adding extra sweetness. Use unsweetened cocoa rather than hot cocoa mix, which contains sugar and other ingredients that change the balance. Dutch-process cocoa works in the same amount and gives a rounder, less sharp cocoa flavor.
- Granulated sugar — The sugar is part of the mixture that sets as the cookies cool, so it isn’t a good place for a liquid sweetener or a sugar substitute. Brown sugar changes the moisture and texture, and I stick with granulated for dependable results.
- Whole milk and unsalted butter — Together they give the cocoa mixture its richness and liquid for the oats to absorb. Two-percent milk works if that’s what you have, though the cookies will be a little less rich. If you use salted butter, leave out the added fine salt.
- Vanilla and fine salt — Vanilla softens the cocoa’s edge, while a small amount of salt keeps the sweetness from tasting flat. Fine salt disperses easily through the mixture; there’s no need to seek out a specialty variety.
From a Rolling Boil to Cookies That Hold Their Shape
Prepare the sheets and start the cocoa mixture
Line two baking sheets with parchment before you turn on the stove. Add the butter, sugar, whole milk, cocoa powder, and fine salt to a 3-quart saucepan. Heat over medium, stirring frequently so the cocoa blends in and the mixture heats evenly. Keep an eye on the whole surface rather than just the edges as it approaches a boil.
Boil the mixture for one minute
When the mixture reaches a full rolling boil, stir constantly and boil for one minute. A full boil keeps bubbling across the surface even as you stir; a few scattered bubbles aren’t the cue to start timing. If the mixture is only simmering, keep heating until the boil is steady. Remove the saucepan from the heat as soon as the minute is up.
Blend in the peanut butter, vanilla, and oats
Stir in the peanut butter and vanilla until the mixture looks smooth. Fold in the quick-cooking oats until no dry flakes remain and each one is coated in the chocolate mixture. Scrape along the bottom and sides of the pan as you fold so you don’t leave an uncoated pocket behind. The mixture should look thick and evenly speckled with oats.
Portion and chill until firm
Drop rounded tablespoonfuls onto the prepared baking sheets. Keep the portions similar in size so they firm up at about the same rate. Refrigerate the cookies for 20 to 30 minutes, until they feel firm and set when gently touched. They’ll still have a soft, chewy texture rather than the crisp snap of a baked cookie.
Two Useful Swaps for No Bake Chocolate Cookies
Use smooth almond butter instead
Replace the creamy peanut butter with the same amount of smooth almond butter. The cookies still bind and set, but the nut flavor is gentler and less familiar than the peanut-butter version. Choose a well-stirred, creamy almond butter so it mixes smoothly into the warm cocoa base.
Make them gluten-free with certified oats
Use quick-cooking oats labeled gluten-free in place of regular quick-cooking oats. The texture and method stay the same, so you don’t need to adjust the other ingredients. Check that the package identifies them as gluten-free rather than relying on the type of oat alone.
Storage and Reheating
- Refrigerator: Store the set cookies in an airtight container for up to 1 week. They’ll be firmer straight from the refrigerator.
- Freezer: Freeze in an airtight container with parchment between layers for up to 2 months. Thaw in the refrigerator or at room temperature before serving.
- Reheating: No reheating is needed. Let a chilled cookie sit at room temperature briefly if you prefer a softer bite; warming them can make the mixture soft and sticky.
Questions That Come Up With No Bake Chocolate Cookies
No Bake Chocolate Cookies
Ingredients
Equipment
Method
- Line two baking sheets with parchment paper.
- Add the butter, sugar, milk, cocoa powder, and salt to a 3-quart saucepan and heat over medium, stirring frequently, until the mixture reaches a full rolling boil.
- Boil for 1 minute, stirring constantly.
- Remove the saucepan from the heat.
- Stir in the peanut butter and vanilla until smooth.
- Fold in the oats until evenly coated.
- Drop rounded tablespoonfuls of the mixture onto the prepared baking sheets.
- Refrigerate for 20 to 30 minutes, until the cookies are firm and set.


