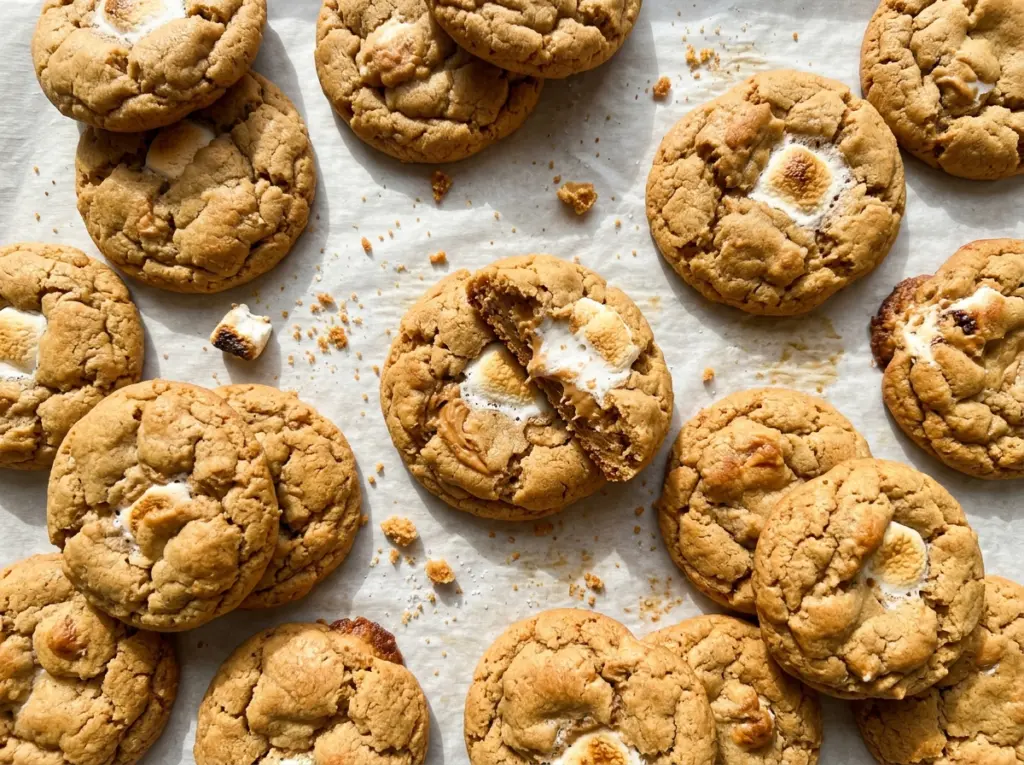
The fork leaves its crisscross marks in the soft dough, and the kitchen starts to smell like peanut butter before the cookies even reach the oven. I like this method because the cookies bake most of the way before the marshmallows go on; they finish with soft centers, set edges, and a little pocket of marshmallow right in the middle.
These peanut butter marshmallow cookies use creamy peanut butter and a mix of granulated and brown sugars for a tender, pleasantly chewy cookie. The dough comes together quickly, but one small timing choice makes the topping easier to manage: the mini marshmallows go on after the first bake, not at the beginning. That gives the cookies time to take shape before the marshmallows soften on top. You’ll get 24 cookies, with enough space between them to bake evenly on two sheets.
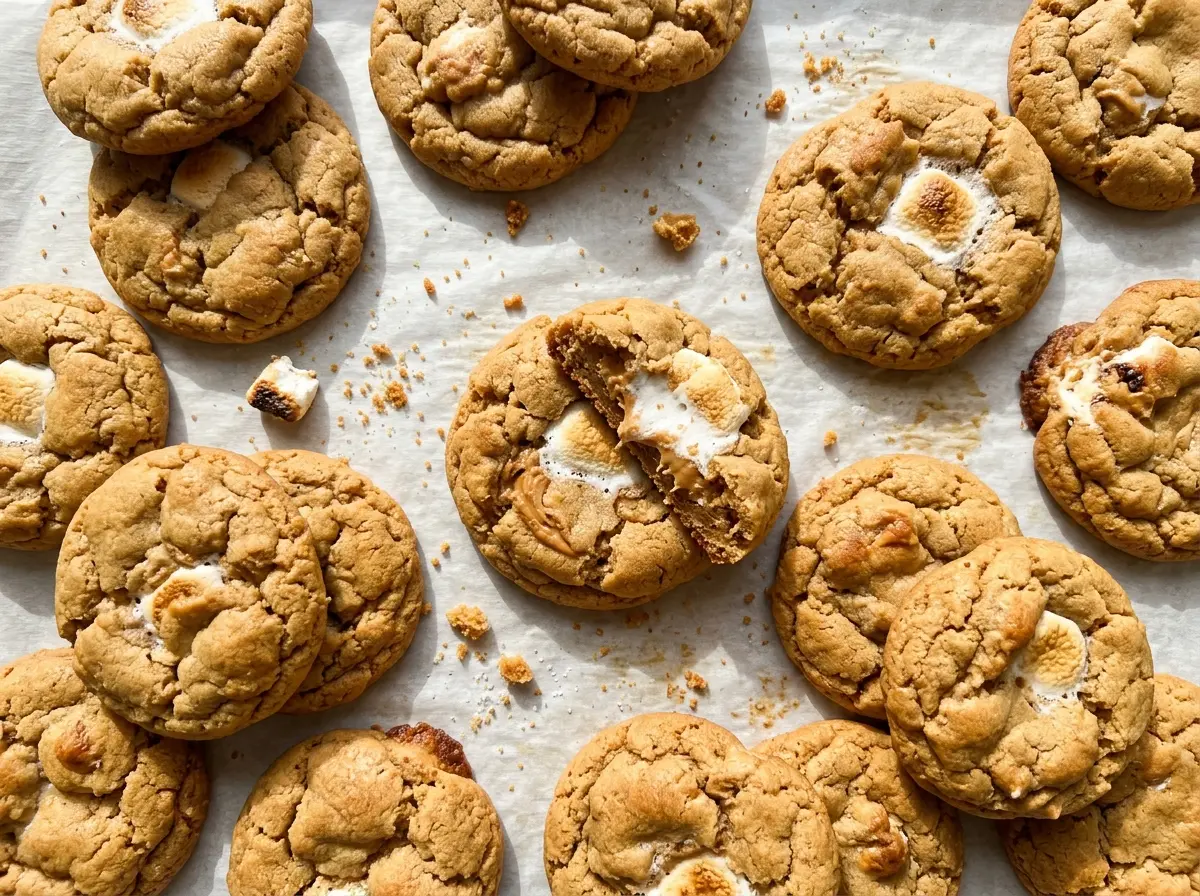
Kitchen Note
Once the flour goes in, keep the mixer on low and stop as soon as it’s incorporated. A few tiny flecks are better than beating the dough until it turns dense.
Save these peanut butter marshmallow cookies for a bake with soft centers, fork-marked tops, and a sweet marshmallow center.
Why the Marshmallows Go on After the First Bake
Mini marshmallows need only a short time in the oven to soften. If they bake for the full cookie bake, they have more time to melt and spread across the top instead of staying in a neat little center. Giving the dough eight minutes first lets the cookie edges begin to set before the topping is added. The marshmallows then warm during the final few minutes while the cookies finish baking.
That timing also makes placement easier. When the sheets come out for the topping, the cookies have started to hold their shape, so you can press two minis into each center without flattening the dough. Return the pans to the oven and watch the edges rather than waiting for the centers to look firm; the cookies continue to settle as they cool. The topping should look softened, not deeply browned, and the edges should be set when the pans come out.
It’s a small adjustment, but it keeps the topping where you want it and gives each cookie a clear peanut butter base with marshmallow in the middle. That balance is what makes these different from a plain peanut butter cookie with marshmallows stirred through the dough.
What the Peanut Butter, Sugars, and Marshmallows Each Bring
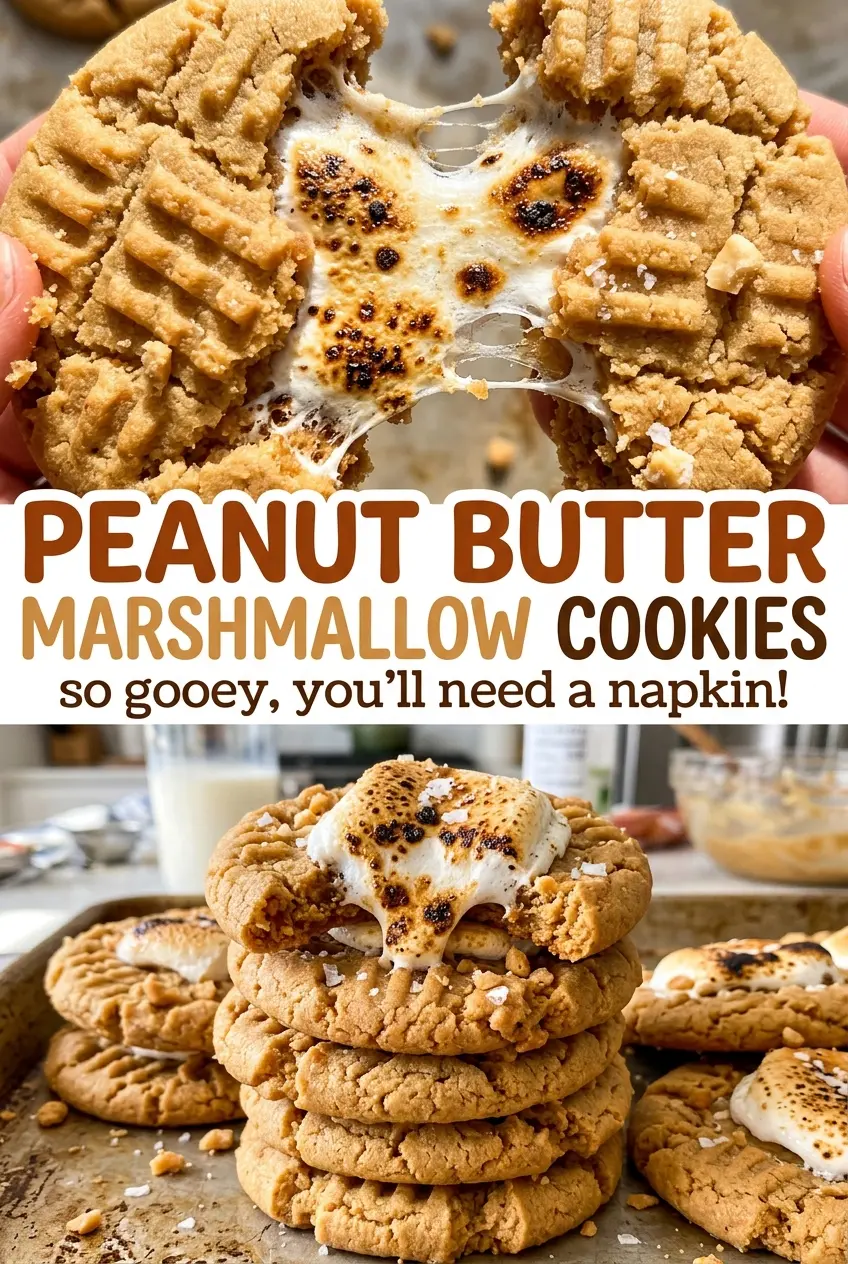
- Creamy peanut butter — It gives the dough its main flavor and a smooth texture that mixes evenly with the butter and sugars. Use a creamy peanut butter that’s well-stirred and not separated; a crunchy version works too, but you’ll notice peanut pieces in the finished cookies.
- Unsalted butter — Softened butter creams smoothly with the peanut butter and sugars. Let it soften until it gives slightly when pressed, rather than melting it; melted butter changes how the dough handles. Unsalted butter also leaves the measured salt in control.
- Granulated and light brown sugars — The two sugars give the cookies a balance of sweetness and tenderness. Pack the brown sugar into its measuring cup so the amount is consistent. Dark brown sugar can stand in at the same volume, with a deeper molasses note and a slightly darker cookie.
- All-purpose flour — It gives the dough enough structure to hold the marshmallows on top. Spoon flour into the measuring cup and level it rather than scooping straight from the bag, which can pack in extra flour and make the cookies dry.
- Mini marshmallows — Their small size fits neatly in each cookie’s center and softens quickly during the final bake. Larger marshmallows are awkward to press onto the cookies whole; cut them into smaller pieces if that’s what you have.
- Egg and vanilla — The egg brings the dough together, while vanilla rounds out the peanut butter flavor. Use a large egg as listed, and add the vanilla with it so it distributes through the creamed mixture.
Mixing and Baking the Cookies Without Overworking the Dough
Whisk the Dry Ingredients, Then Cream the Butter
Heat the oven to 350°F and line two large baking sheets with parchment paper. Whisk the flour, baking soda, and salt in a medium bowl so the leavener is dispersed before it reaches the dough. In a large bowl, beat the softened butter, peanut butter, granulated sugar, and brown sugar until creamy, about 2 minutes. Beat in the egg and vanilla; if the mixture looks a little soft, keep going until it’s evenly combined rather than trying to fix it with extra flour.
Bring the Dough Together and Mark Each Cookie
Add the flour mixture on low speed and mix just until combined. Scoop the dough into 24 portions of about 1 tablespoon each, arranging 12 on each prepared sheet with about 2 inches between them. Flatten each portion with a fork in a crisscross pattern; press gently and evenly so the dough spreads without sticking to the fork. If the dough clings, lift the fork carefully rather than twisting it through the dough and distorting the marks.
Bake, Add the Topping, and Cool on the Pan
Bake for 8 minutes, then take the sheets out and press two mini marshmallows into the center of each cookie. Return the sheets to the oven for 2 to 3 minutes, stopping when the edges look set. Don’t wait for the centers to feel firm; they’re delicate while hot and continue to settle as they cool. Leave the cookies on the baking sheets for 5 minutes, then transfer them to a wire rack to cool completely.
Three Small Changes for a Different Peanut Butter Cookie
Use Crunchy Peanut Butter for More Texture
Swap the creamy peanut butter for the same amount of crunchy peanut butter. The cookie keeps its peanut butter character, but the bits of peanut give the centers a little more bite and make the dough slightly less smooth to scoop.
Choose Dark Brown Sugar for a Deeper Note
Use dark brown sugar in place of the light brown sugar, keeping the amount the same. Its stronger molasses flavor gives the cookies a richer background and a darker color without changing the basic method.
Make the Marshmallow Finish Less Sweet
Press one mini marshmallow into each cookie instead of two. You’ll get a smaller, more restrained sweet center, while the peanut butter flavor stays front and center; keep the same bake sequence and check that the edges are set.
Storage and Reheating
- Refrigerator: Store cooled cookies in an airtight container for up to 5 days. The marshmallow topping will become firmer and a little chewier when chilled.
- Freezer: Freeze fully cooled cookies in a sealed freezer-safe container for up to 2 months, with parchment between layers to keep the tops from sticking. Thaw at room temperature before serving.
- Reheating: For a warm cookie, microwave one for about 5 seconds, then add a few seconds only if needed. Longer heating can make the marshmallow overly soft and sticky.
Questions That Come Up When Baking Peanut Butter Marshmallow Cookies
Peanut Butter Marshmallow Cookies
Ingredients
Equipment
Method
- Heat the oven to 350°F.
- Line two large baking sheets with parchment paper.
- Whisk the flour, baking soda, and salt together in a medium bowl.
- Beat the butter, peanut butter, granulated sugar, and brown sugar in a large bowl until creamy, about 2 minutes.
- Beat in the egg and vanilla.
- Mix in the flour mixture on low speed just until combined.
- Scoop the dough into 24 portions of about 1 tablespoon each.
- Arrange 12 portions on each baking sheet, spaced about 2 inches apart.
- Flatten each portion with a fork in a crisscross pattern.
- Bake for 8 minutes.
- Remove the sheets from the oven and press 2 mini marshmallows into the center of each cookie.
- Return the sheets to the oven and bake for 2 to 3 minutes, until the edges are set.
- Cool the cookies on the baking sheets for 5 minutes.
- Transfer them to a wire rack to cool completely.


