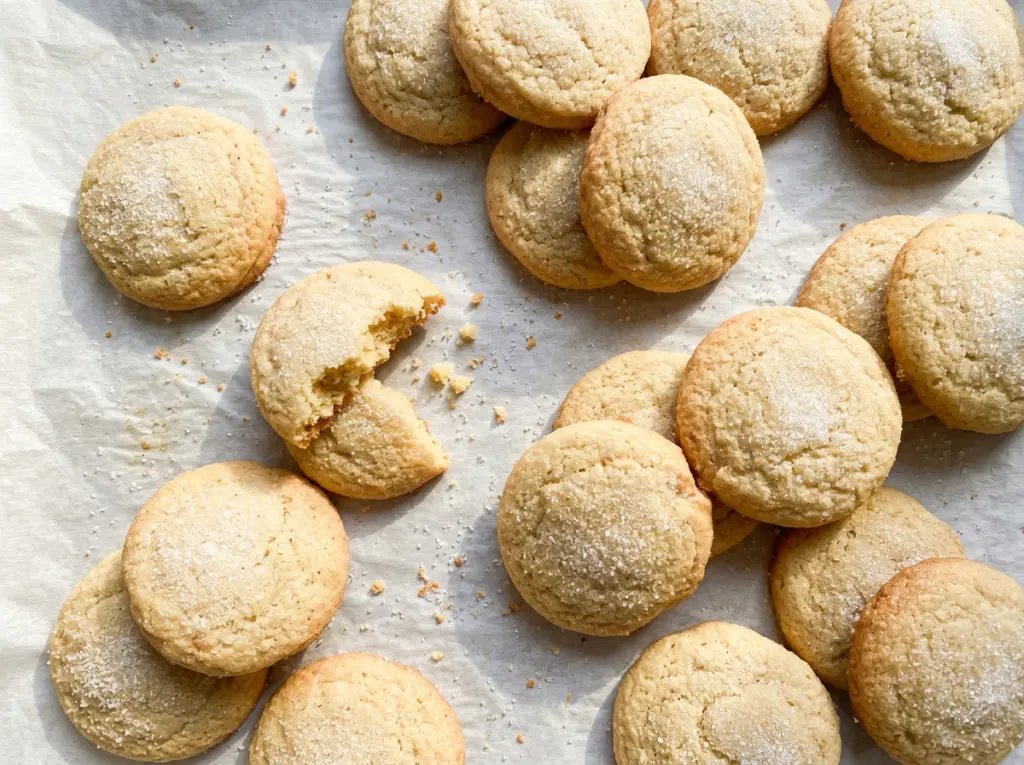
The first roll is where cutout cookies can turn into a frustrating pile of ragged edges. I get a much cleaner result with these vegan sugar cookies when the dough is cold and rolled between parchment; it lifts away without needing extra flour worked into it. The baked cookies stay tender, with edges that just start to turn golden instead of taking on a deep brown color.
Stick-style vegan butter gives the dough a dependable structure, and a short chill makes it easier to roll and cut. I mix the flour in gently, then stop as soon as a soft dough forms. That keeps the cookies delicate rather than tough, and the simple vanilla flavor lets the shapes stand out. This batch makes 24 cookies, ready for crisp outlines and soft, lightly sweet centers.
Kitchen Note
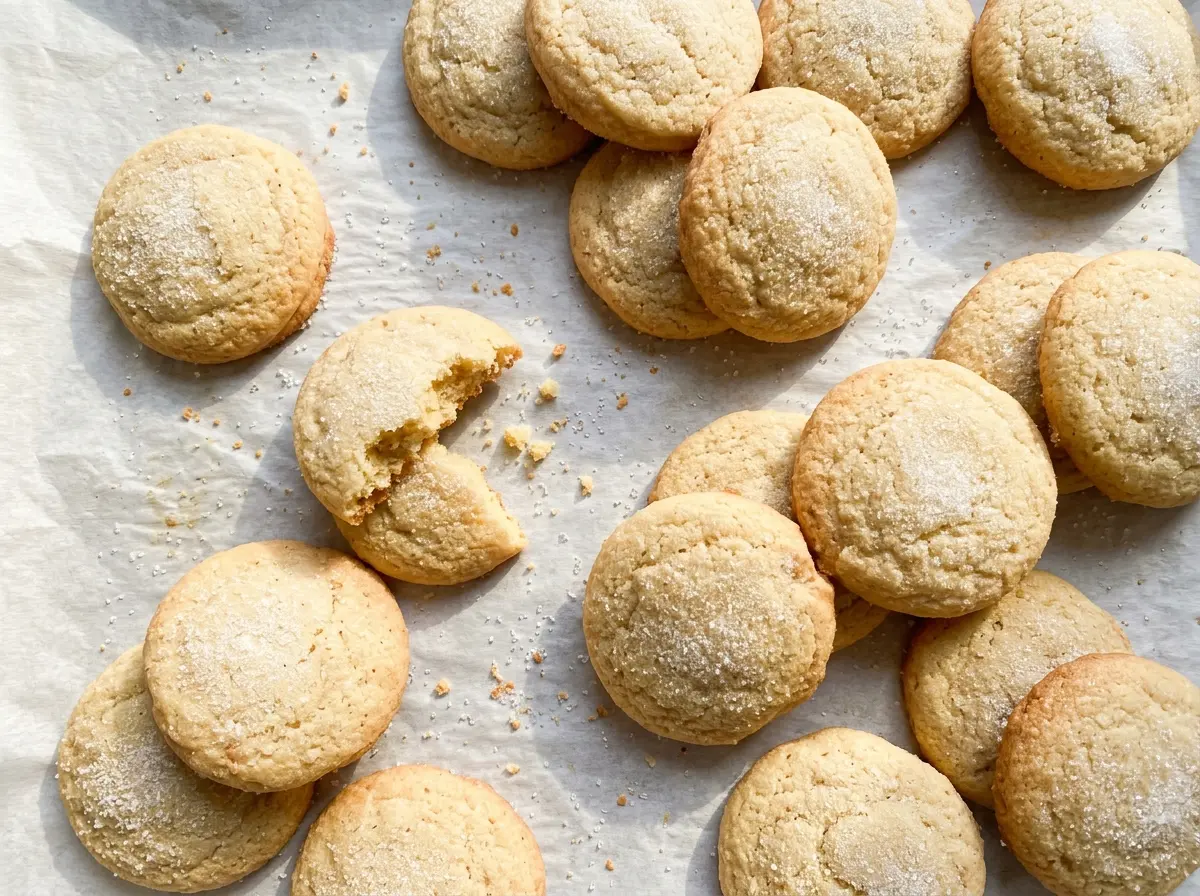
Roll the dough between two sheets of parchment instead of dusting the counter with flour. It keeps the dough from sticking without changing its texture, and you can lift the top sheet away before cutting the shapes.
Save these vegan sugar cookies for a batch of clean-edged cutouts with tender centers and a simple vanilla finish.
Why the dough is divided into disks before it chills
A wrapped ball of dough takes longer to firm up in the middle than a flat disk. Dividing the dough first gives you two manageable pieces that chill more evenly, so one stays cold while you roll the other. That matters with vegan butter because it softens as it warms, and warm dough is harder to cut into sharp shapes.
Shape each half into a disk before wrapping it, rather than chilling the dough in a bowl and trying to flatten it later. The flatter shape also means you can roll a portion without handling the whole batch. Keep the second disk refrigerated while you work; it will be ready when the first round of cutouts is in the oven. The dough needs at least an hour in the refrigerator before rolling.
Why stick-style vegan butter matters more than the milk
- Stick-style vegan butter — It gives the dough a firmer, more predictable base than soft tub spreads, which often contain more water and can make dough too loose to cut cleanly. Choose a stick made for baking; a familiar brand is useful, but you don’t need a premium one.
- All-purpose flour — It provides the structure that lets the cutouts hold their outlines. Regular all-purpose flour works well here, so there’s no need to reach for a specialty brand. Whisk it with the baking powder and salt so the leavener is distributed through the dough.
- Granulated sugar — The fine crystals cream into the vegan butter and give these cookies their familiar lightly crisp edges. If you need the cookies to be vegan down to the sugar, choose granulated sugar made without animal-derived refining aids.
- Baking powder — This gives the cookies a little lift without turning them into puffy, cake-like rounds. Check that it is fresh if it has been sitting in the pantry for a long time; old leavener can leave the cookies flatter and denser.
- Vanilla extract — Vanilla carries the main flavor, so use one you like. Pure vanilla brings a rounder aroma, while imitation vanilla is perfectly practical in a baked cookie.
- Unsweetened non-dairy milk — A small amount helps bring the dough together without adding extra sweetness. Use an unsweetened milk with a neutral taste; sweetened or strongly flavored varieties can shift the finished cookie.
From creamy butter to clean-edged cutouts
Cream the butter and sugar until smooth
Beat the softened vegan butter and granulated sugar with an electric mixer on medium speed for about 2 minutes. The mixture should look creamy rather than lumpy, with the sugar worked through the butter. Beat in the vanilla and non-dairy milk until combined. If the butter is still cold and firm, it won’t cream evenly, so let it soften before you begin.
Bring the dough together without overmixing
Whisk the flour, baking powder, and salt in a medium bowl, then add that mixture to the butter in two additions. Keep the mixer on low and stop as soon as a soft dough forms; continuing to beat after the flour disappears can make the cookies tougher. Scrape down the bowl if dry flour is hiding at the bottom. Divide the dough in half, shape each piece into a disk, wrap, and refrigerate for at least 1 hour.
Roll each disk and cut the shapes
Heat the oven to 350°F and line a large baking sheet with parchment paper. Roll one disk between sheets of parchment until it is 1/4 inch thick, then cut the shapes and transfer them to the lined sheet with about 1 inch between cookies. Gather and reroll the scraps as needed, then repeat with the remaining dough. If the dough becomes sticky as you handle it, pause and let it firm up in the refrigerator rather than mixing extra flour into it.
Bake just until the edges start to color
Bake the cookies in batches for 8 to 10 minutes. Look for cookies that are set, with the edges just beginning to turn golden; they shouldn’t be deeply browned. Let them sit on the baking sheet for 5 minutes before moving them to a wire rack. They are delicate while hot, so give them that short rest before transferring them to cool completely.
Three practical ways to adapt these vegan cutouts
Make a half batch for a smaller bake
Divide every ingredient quantity in half for about 12 cookies. Keep the same mixing, chilling, rolling, and baking method; the smaller amount is handy when you want a few cutouts without storing a full batch.
Use a cup-for-cup gluten-free flour blend
Replace the all-purpose flour with an equal amount of a gluten-free baking blend designed to substitute cup for cup, ideally one that includes xanthan gum. The dough may feel a little more delicate when you lift the cutouts, so work between parchment and handle the shapes gently. The flavor stays close to the original, though the texture may be slightly less tender.
Trade vanilla for almond extract
Use 1/2 teaspoon almond extract in place of the vanilla for a more pronounced bakery-style almond note. Almond extract is potent, so keep the smaller amount; the cookies will taste less classic vanilla and more warmly nutty.
Storage and Reheating
- Room temperature: Keep completely cooled cookies in an airtight container for up to 5 days.
- Refrigerator: Store airtight for up to 1 week; the cookies may become firmer and lose some of their crisp edge.
- Freezer: They freeze well for up to 2 months in an airtight container, with parchment between layers to protect the shapes.
- Reheating: They don’t need reheating. Thaw frozen cookies at room temperature; microwaving can soften them.
Questions that come up while making vegan sugar cookies
Vegan Sugar Cookies
Ingredients
Equipment
Method
- Whisk together the flour, baking powder, and salt in a medium bowl.
- Beat the vegan butter and sugar with an electric mixer on medium speed until creamy, about 2 minutes.
- Beat in the vanilla and non-dairy milk.
- Add the flour mixture to the butter mixture in two additions, mixing on low just until a soft dough forms.
- Divide the dough in half and shape each half into a disk.
- Wrap the dough disks and refrigerate for at least 1 hour.
- Heat the oven to 350°F.
- Line a large baking sheet with parchment paper.
- Roll one dough disk between sheets of parchment to 1/4-inch thickness and cut into shapes.
- Transfer the cookies to the baking sheet, spacing them about 1 inch apart.
- Gather and reroll the scraps as needed, then repeat with the remaining dough.
- Bake in batches for 8 to 10 minutes, until the cookies are set and the edges are just beginning to turn golden.
- Let the cookies cool on the baking sheet for 5 minutes.
- Transfer the cookies to a wire rack to cool completely.


