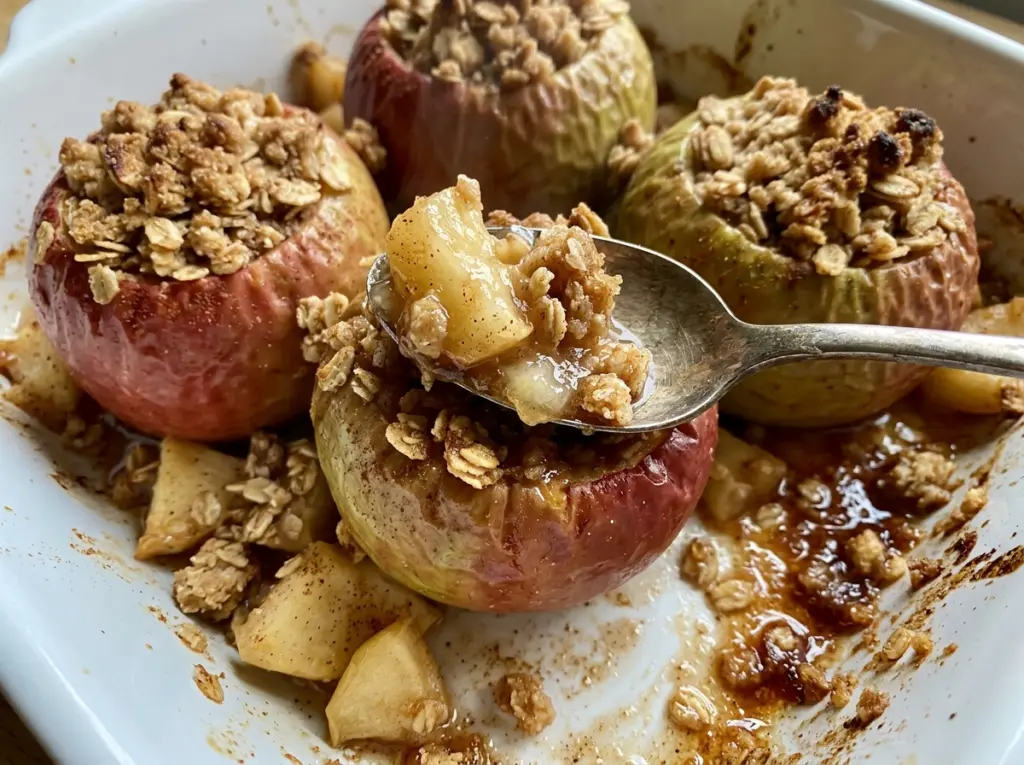
The topping turns golden before the apples do, and that little timing mismatch is the detail to watch with stuffed apples. I bake these apple crisp stuffed apples in a dish with water around them, which gives the fruit time to soften while the oat crumble browns on top. The first time I made them, I kept checking the topping and nearly pulled the pan too early; a knife slipping easily into the apple is the better doneness cue.
The filling is a simple crisp topping: oats, flour, brown sugar, cinnamon, salt, and cold butter rubbed together until you have coarse crumbs. Keeping the butter cold helps those crumbs stay distinct instead of turning into a paste, and mounding them in each cavity gives every apple a generous, crisp top. Let them rest after baking, and you’ll have tender fruit with a buttery oat crumble in every bite.
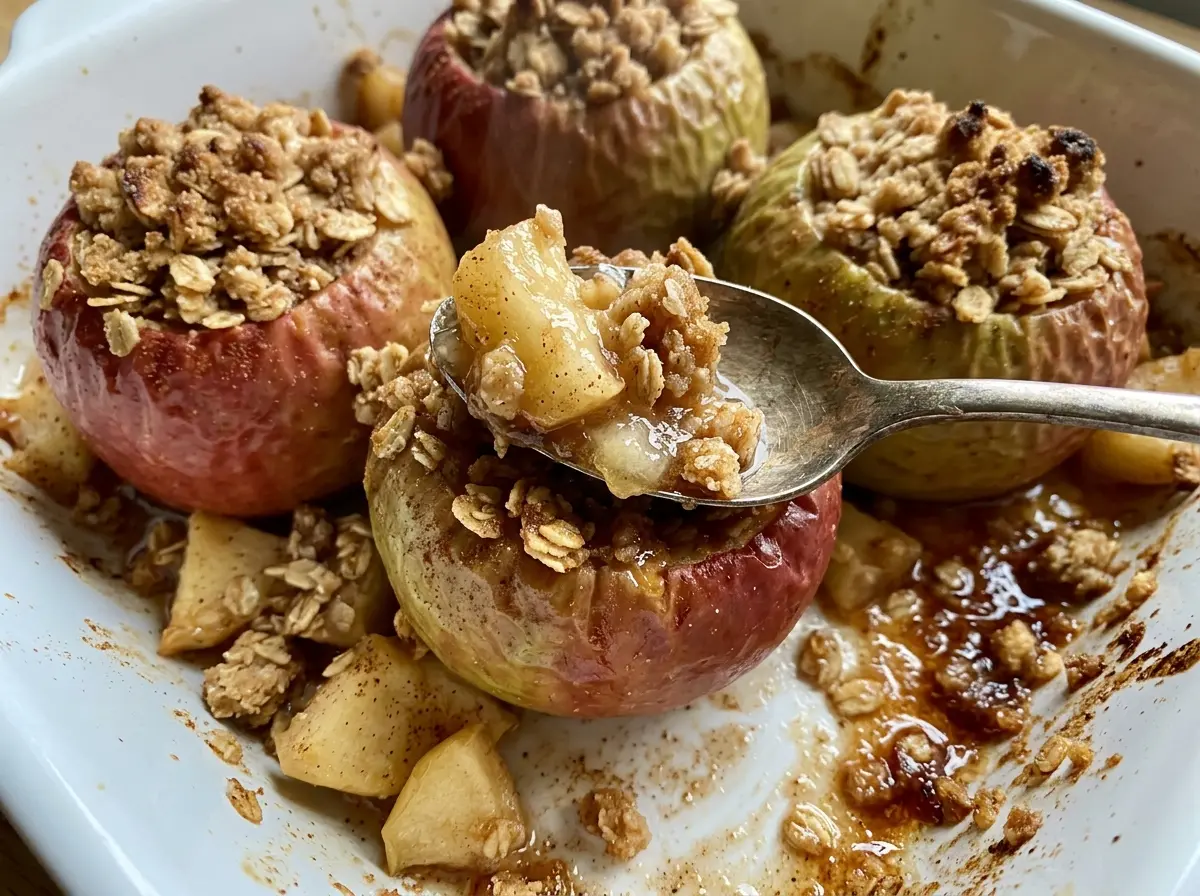
Kitchen Note
Stop coring before you reach the bottom of each apple. A closed base keeps the cavity in place for the crumble and helps the apple hold together as it bakes.
Save these Apple Crisp Stuffed Apples for a cozy dessert with tender baked fruit and a crisp brown-sugar oat topping.
Why the Water Belongs Around the Apples, Not in the Crumble
The water goes into the baking dish around the apples, not into the oat topping. That placement matters: the fruit bakes in a little moisture at the bottom of the pan while the crumble stays exposed to the oven’s heat. Pouring water over the topping would dampen the oats and work against the coarse, golden texture you want.
As the apples bake, the water helps keep the dish from drying out while the fruit softens. The topping still needs to brown, so the apples bake uncovered. If the crumble gets golden while a knife still meets firm resistance in the fruit, tent the dish loosely with foil and give the apples more time. That way you can keep the topping from darkening without cutting the bake short. You’re looking for two different cues: a golden top and apples tender enough for a knife to slip in easily.
What the Apple and Oat Choices Bring to Each Bite

- Baking apples — Choose firm medium apples that can stand upright and hold their shape through the long bake. Honeycrisp brings a sweeter apple flavor; Granny Smith adds a tart edge. Either is a good fit, and a grocery-store bag of firm apples works well.
- Old-fashioned rolled oats — These create the visible, chewy-crisp pieces in the topping. A standard store brand is fine; the thicker flakes give the crumble more texture than quick oats.
- All-purpose flour and brown sugar — Flour helps bind the crumble, while packed light brown sugar adds sweetness and a soft caramel note. Regular all-purpose flour and fresh brown sugar are all you need; break up any hard sugar clumps before mixing.
- Cold unsalted butter — Small cold pieces are easier to rub into the dry mixture while keeping the crumbs coarse. Unsalted butter lets the measured kosher salt do its job without making the topping overly salty.
- Cinnamon and kosher salt — Cinnamon gives the topping its familiar warm spice, and salt sharpens the sweetness. Fresh, fragrant cinnamon is worth using, but there’s no need for a specialty brand.
Core, Crumble, and Bake Without Losing the Apple Shape
Make a Cavity That Holds Its Filling
Heat the oven to 375°F. Core each apple from the top, making a cavity about 1 inch wide while leaving the bottom intact. Set the apples upright in a 9×13-inch baking dish, then pour the water around them. Keep the opening wide enough for the crumble but not so broad that the apple walls become fragile.
Rub the Butter Into Coarse Crumbs
Stir the oats, flour, brown sugar, cinnamon, and salt together in a medium bowl. Add the cold butter pieces and work them into the mixture with your fingertips. Stop when you have coarse crumbs rather than a smooth, doughy mass. Divide the topping among the apple cavities, mounding it as needed so each one gets a full cap of crumble.
Bake Until the Apples Give Easily
Bake uncovered for 40 to 50 minutes, checking for a golden topping and apples that feel tender when pierced with a knife. The fruit and topping don’t always reach their ideal texture at the same moment. If the topping browns before the apples are tender, tent the dish loosely with foil and continue baking until the knife slides into the fruit easily. Rest the apples for 10 minutes before serving so the filling settles and the fruit is easier to handle.
Small Changes for a Different Apple Crisp Stuffed Apple
Use Granny Smith for a tarter center
Choose Granny Smith apples instead of Honeycrisp when you want a brighter, less-sweet contrast with the brown sugar topping. They bring a distinctly tart bite while keeping the same stuffed-apple format.
Make the crumble gluten-free
Use certified gluten-free rolled oats and replace the all-purpose flour with the same amount of a gluten-free 1-to-1 baking flour. The topping may have a slightly different crumb, but it still gives the apples a crisp, sweet cap.
Leave out the cinnamon
Skip the cinnamon for a simpler brown-sugar-and-butter crumble that lets the apple taste come forward. The topping will still bind and brown; it just won’t have that warm spice note.
Storage and Reheating
- Refrigerator: Store cooled apples in an airtight container for 3 to 4 days. The fruit softens further, and the crumble loses some of its crispness.
- Freezer: Freeze cooled apples individually, wrapped tightly and placed in a freezer-safe container. They keep for about 2 months, though the fruit will be softer after thawing.
- Reheating: Warm an apple in the microwave in short bursts until heated through. The topping softens in the microwave, so avoid one long blast that can make the fruit collapse.
Questions That Come Up While Making Stuffed Apples
Apple Crisp Stuffed Apples
Ingredients
Equipment
Method
- Preheat the oven to 375°F.
- Core the apples from the top, making a cavity about 1 inch wide and leaving the bottoms intact.
- Set the apples upright in a 9x13-inch baking dish.
- Pour the water into the dish around the apples.
- In a medium bowl, stir together the oats, flour, brown sugar, cinnamon, and salt.
- Work the butter into the oat mixture with your fingertips until coarse crumbs form.
- Divide the topping among the apple cavities, mounding it as needed.
- Bake uncovered for 40 to 50 minutes, until the apples are tender when pierced with a knife and the topping is golden.
- Tent loosely with foil if the topping browns before the apples are tender.
- Let the apples rest for 10 minutes before serving.


