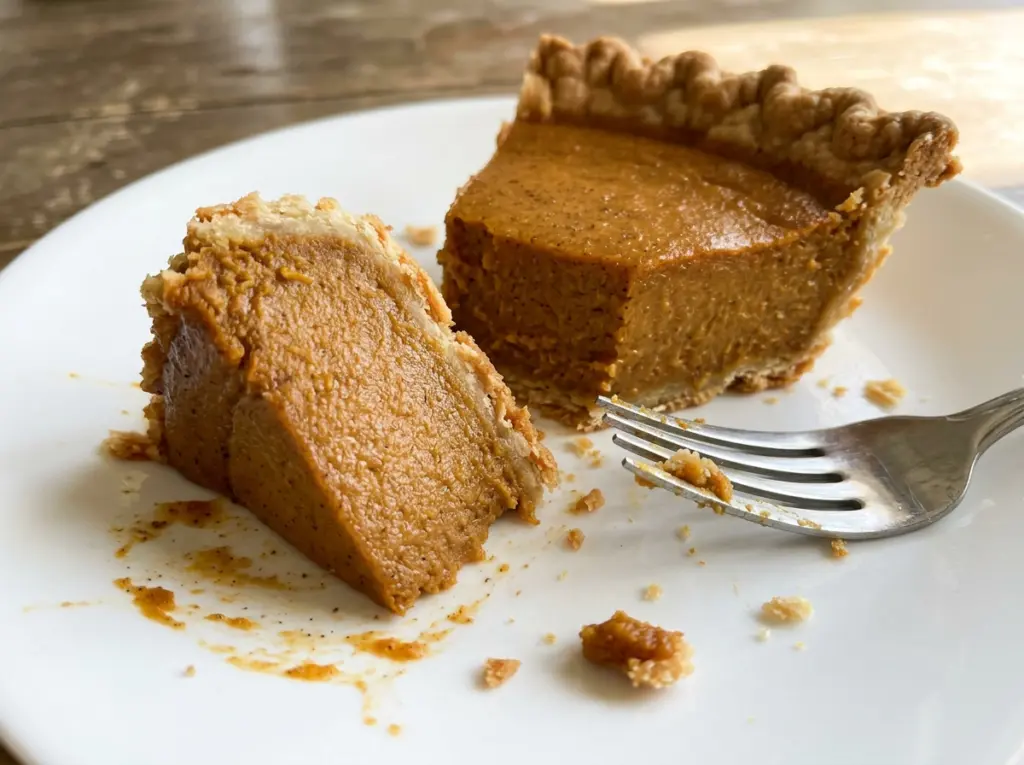
The first thing I notice when rolling a gluten-free crust is how different it feels from wheat dough: it can crack at the edges before it ever reaches the pie plate. That doesn’t mean it’s ruined. I roll this dough between parchment, then press any cracks together once it’s in the pan. This Gluten Free Dairy Free Pumpkin Pie gives you the familiar spiced pumpkin filling with a tender crust that doesn’t need butter or wheat flour.
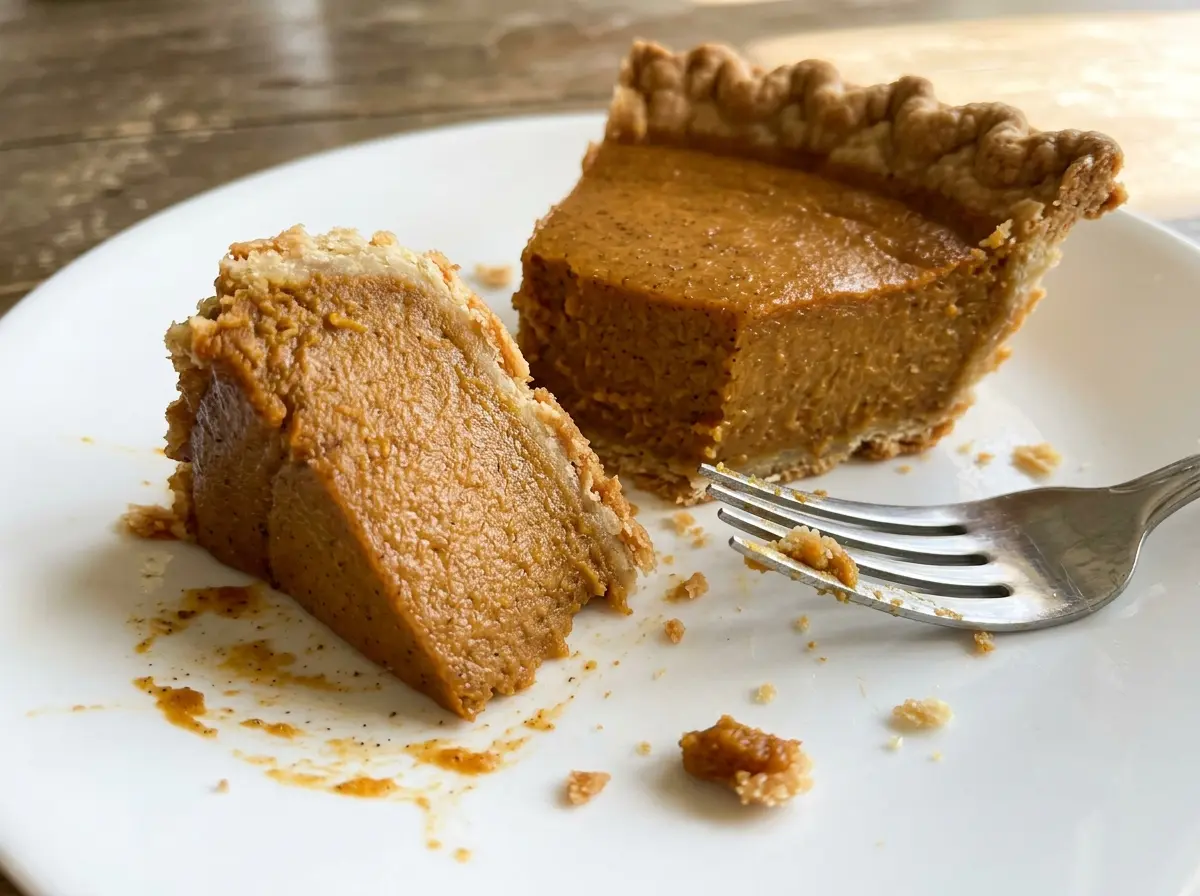
The filling gets its richness from canned full-fat coconut milk, and the eggs give it the structure to slice once it cools. A brief blind bake gives the crust a head start before the pumpkin mixture goes in. Take your time with that first stage, and you’ll have a pie with a set edge, a gently wobbly center, and a crust that holds together beneath the custard.
Kitchen Note
Start with 4 tablespoons of ice water and add the last tablespoon only if the dough still won’t hold together. Gluten-free dough can go from crumbly to sticky quickly, so add that final water gradually.
Save this Gluten Free Dairy Free Pumpkin Pie for a tender gluten-free crust and a smooth, warmly spiced filling.
Why This Gluten-Free Crust Gets Baked Before the Pumpkin Goes In
Pumpkin filling is wet, and a gluten-free crust doesn’t have the elastic structure that helps a wheat crust resist moisture. Putting the filling straight into raw dough leaves the bottom with a tougher job: it has to cook through while sitting under a heavy layer of custard. Giving the crust a short bake first helps it start setting before that filling is added.
The parchment and pie weights keep the pastry from puffing while it bakes. Dried beans work in place of pie weights, and you can save them for another blind bake. After the weights come out, the crust gets a few more minutes in the oven; that extra bake helps dry the surface without taking it all the way to a finished, browned crust. Don’t worry if the dough has a small crack after rolling. Press it closed in the pie plate before baking, and the filling will sit in a more even shell.
This head start matters especially here because the pie needs a long bake after you add the filling. A crust that goes into that stage already partly baked is better positioned to hold its shape under the pumpkin custard.
What Gives This Dairy-Free Pumpkin Filling Its Custardy Set

- Gluten-free 1-to-1 flour blend — Choose a blend that includes xanthan gum and is dairy-free. The xanthan helps the dough hold together; a single-ingredient flour such as almond flour won’t behave like this blend in the crust.
- Vegetable shortening — Keep it chilled so it stays in distinct pieces as you cut it into the flour. Those pea-size bits help make a tender pastry. Shortening also keeps the crust dairy-free without changing the recipe’s structure.
- Pure canned pumpkin — Pure pumpkin gives the filling its concentrated pumpkin flavor without bringing in extra sweetener or spices. Use plain pumpkin rather than a can of pumpkin pie filling, which is already seasoned and sweetened.
- Full-fat canned coconut milk — Well-stir the can before measuring so the thick cream and thinner liquid are evenly combined. Full-fat coconut milk brings more body to the filling than a thin coconut beverage; the canned kind is the right choice here.
- Eggs and warm spices — The eggs set the custard, while cinnamon, ginger, nutmeg, and cloves provide the familiar pumpkin-pie character. Freshly aromatic spices make a difference; if the jars smell faint, the pie will taste muted.
- Vanilla extract — It rounds out the pumpkin and spice mixture. Use the extract you keep for baking; there’s no need to buy a specialty variety for this pie.
From Crumbly Dough to a Smooth Pumpkin Custard
Bring the Shortening and Flour Together
Whisk the gluten-free flour blend and fine salt in a medium bowl, then cut in the chilled shortening with a pastry blender or fork. Stop when the mixture has coarse, pea-size pieces rather than a uniform sandy texture. Stir in 4 tablespoons of ice water until the dough begins to hold together, adding up to 1 more tablespoon only if needed. Shape it into a disk, wrap it, and refrigerate for 20 minutes.
Roll and Fit the Crust Without Forcing It
Roll the chilled dough between two sheets of parchment into a 12-inch circle. Peel away the top sheet and use the bottom parchment to help move the dough into an ungreased 9-inch pie plate. If the edge tears or a crack opens, press the dough back together with your fingers rather than stretching it thin. Once it fits the plate, preheat the oven to 375°F.
Blind-Bake the Shell
Line the crust with parchment and fill it with pie weights or dried beans. Bake for 15 minutes, then carefully lift out the parchment and weights and bake the crust for 5 minutes more. The shell should look dry rather than raw when it comes out. Let it cool in the pie plate for 10 minutes before adding the filling.
Whisk, Fill, and Bake in Two Stages
Whisk the pumpkin, sugar, cinnamon, ginger, nutmeg, cloves, eggs, well-stirred coconut milk, and vanilla in a large bowl until smooth. Pour the filling into the crust and cover the crust edge with foil. Bake at 425°F for 15 minutes, then reduce the oven to 350°F and bake for 35 to 45 minutes, removing the foil for the final 15 minutes. The edges should be set, the center should jiggle slightly, and the center should reach 160°F.
Let the Custard Finish Setting
Move the pie to a wire rack and cool it completely, about 3 hours, before slicing. Cutting while the center is still warm can leave you with a loose slice because the custard needs time to firm as it cools. Use a sharp knife and wipe the blade between cuts if you want clean edges through the filling and crust.
Two Spice Tweaks That Keep the Pie’s Pumpkin Flavor Front and Center
Leave Out the Cloves
For a softer, less pungent spice mix, omit the ground cloves and keep the cinnamon, ginger, and nutmeg unchanged. The filling will still taste warmly spiced, with cinnamon more clearly in front.
Make the Ginger More Noticeable
Trade the cinnamon and ginger amounts: use 1/2 teaspoon cinnamon and 1 1/2 teaspoons ground ginger. The pie keeps the same ingredients but has a sharper, more ginger-forward finish.
Storage and Reheating
- Refrigerator: Cover the cooled pie and refrigerate it for up to 4 days. The crust softens a little as it sits beneath the custard.
- Freezer: Freeze the fully cooled pie tightly wrapped for up to 1 month. Thaw it overnight in the refrigerator for the best texture.
- Reheating: This custard pie is best chilled or at room temperature, so reheating isn’t necessary. Avoid warming the whole pie; the filling can heat unevenly and soften before the center does.
Questions That Come Up When Baking This Pumpkin Pie
Gluten Free Dairy Free Pumpkin Pie
Ingredients
Equipment
Method
- Whisk the flour and salt in a medium bowl, then cut in the shortening with a pastry blender or fork until the mixture has coarse, pea-size pieces.
- Stir in 4 tablespoons ice water until the dough begins to hold together, adding up to 1 more tablespoon as needed; shape into a disk, wrap, and refrigerate for 20 minutes.
- Roll the dough between two sheets of parchment into a 12-inch circle, peel off the top sheet, and fit the dough into an ungreased 9-inch pie plate, pressing any cracks together.
- Preheat the oven to 375°F, line the crust with parchment, and fill with pie weights or dried beans.
- Bake for 15 minutes, remove the parchment and weights, then bake for 5 minutes more; cool the crust in the pie plate for 10 minutes.
- Whisk the pumpkin, sugar, cinnamon, ginger, nutmeg, cloves, eggs, coconut milk, and vanilla in a large bowl until smooth.
- Pour the filling into the crust and cover the crust edge with foil.
- Bake at 425°F for 15 minutes, then reduce the oven to 350°F and bake for 35 to 45 minutes, removing the foil for the final 15 minutes; the edges should be set, the center should jiggle slightly, and the center should reach 160°F.
- Cool the pie completely on a wire rack, about 3 hours, before slicing.


