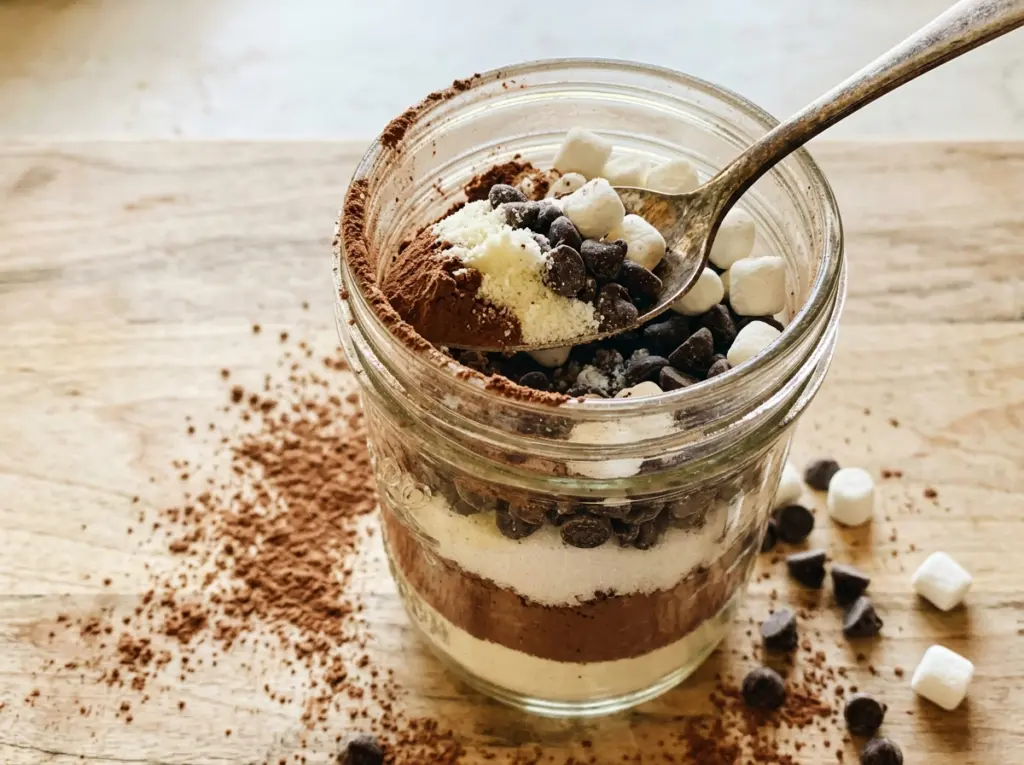
The cocoa powder leaves dark streaks through the bowl until the dry ingredients are whisked long enough to look like one even, light-brown mix. That’s the small detail that makes this homemade hot cocoa kit easy to use later: each scoop has cocoa, sugar, milk powder, and salt instead of a pocket of one ingredient. I like having the mix ready in a jar, with the marshmallows packed separately for topping.
This is a pantry-style kit, not a premade drink. For each mug, you heat water until it’s steaming, whisk in a measured portion of mix, and finish with mini marshmallows. The water stays out of the jar, so the dry ingredients are ready to portion whenever you want a cup. The result is a smooth, chocolatey mug with a soft marshmallow top.
Kitchen Note
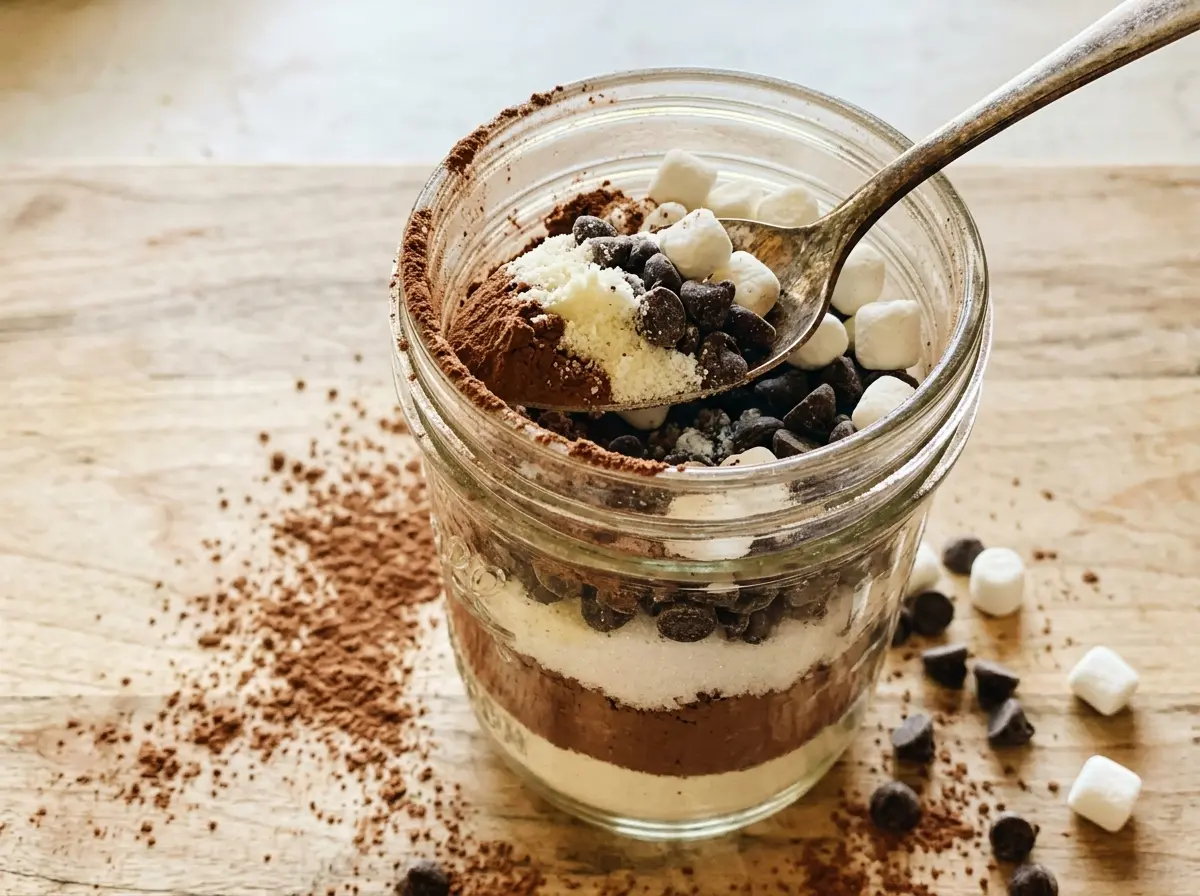
Use a dry measuring cup and keep moisture out of the mix. Even a damp utensil can make the milk and cocoa powders clump before you’ve made a mug.
Save this homemade hot cocoa kit for an easy mug of smooth cocoa with mini marshmallows ready on top.
Why Measuring the Mix Makes Every Mug Taste the Same
A jar of cocoa mix is convenient only if you can count on what comes out of it. Here, the serving portion is measured rather than guessed: one cup of water gets one quarter cup of mix. That keeps the cocoa, sugar, and milk powder in the same balance from the first mug to the last, instead of leaving you with a drink that swings between thin and overly sweet.
That ratio also explains why this is a kit rather than a jar of ready-to-drink cocoa. The dry mix stays together on the shelf, while hot water is added when you’re ready for a cup. Whisking the measured mix into steaming water gives the powders a chance to disperse; tipping dry mix into cold water and hoping it dissolves smoothly is more likely to leave stubborn bits. The finishing tablespoon of mini marshmallows is a separate topping, not part of the measured cocoa base.
Because the mix is portioned by volume, whisk the whole bowl evenly before packing it. Cocoa can settle in patches while you’re transferring it, and a well-combined mix means each scoop carries the same blend.
What Each Ingredient Brings to This Cocoa Mix
- Nonfat dry milk powder — This is what lets water turn the mix into a milky cocoa without adding liquid milk to the kit. Use plain, unflavored powder; flavored or sweetened milk powders would change the balance. A dairy-free powder isn’t a direct substitute here because different products bring different levels of fat and sweetness.
- Unsweetened cocoa powder — This supplies the chocolate flavor without bringing extra sugar. Choose a cocoa you enjoy drinking, since it’s the defining flavor; Dutch-process unsweetened cocoa also works, with a deeper, less sharp taste than natural cocoa.
- Granulated sugar — It sweetens the cocoa and blends easily with the other dry ingredients. Keep to granulated sugar for this mix rather than using a liquid sweetener, which would add moisture to a kit meant to stay dry.
- Fine salt — A small amount keeps the sweetness from tasting flat. Fine salt distributes more evenly through the powder than coarse crystals.
- Mini marshmallows — Their small size makes them easy to portion over a mug. Keep them as the topping rather than mixing them into the cocoa powder, so they stay distinct when the kit is used.
Whisk, Pack, Then Make Each Mug Smooth
Whisk the Dry Ingredients Until Even
Put the nonfat dry milk powder, granulated sugar, unsweetened cocoa powder, and fine salt in a large bowl. Whisk until the color looks consistent throughout, with no pale milk-powder patches or dark cocoa pockets. Break up any visible cocoa clumps with the whisk as you go. If you pack the mix before it’s evenly blended, separate scoops may not have the same balance.
Keep the Topping Separate From the Mix
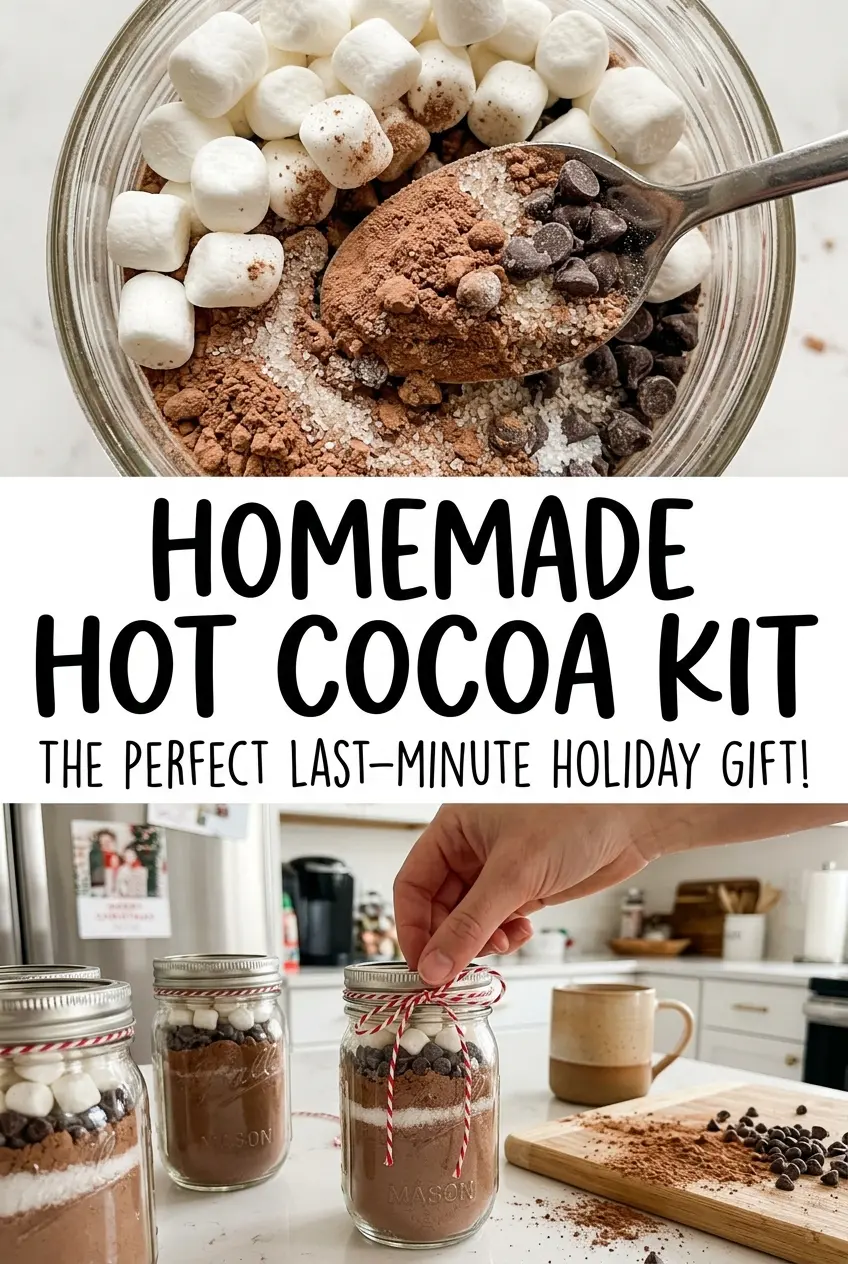
Transfer the blended cocoa mix to a 1 1/2-quart airtight jar. Put the mini marshmallows in a separate food-safe bag rather than combining them with the powder. Store both in a cool, dry place. Keeping the topping separate also makes it simple to portion it over each cup when serving.
Whisk Each Serving Into Steaming Water
For one serving, heat 1 cup of water in a small saucepan over medium heat until steaming; this takes about 2–4 minutes. Whisk in 1/4 cup of cocoa mix until the drink looks smooth and no dry streaks remain. Top with 1 tablespoon of mini marshmallows. Repeat with the remaining ingredients for up to 16 servings.
Two Useful Ways to Package or Customize the Kit
Make Individual Single-Serving Packets
For a grab-and-go format, portion the prepared mix into separate food-safe packets instead of keeping it all in one jar. Keep the mini marshmallows in their own bag, then use one packet with one cup of water when you make a mug. This takes a little more packing time but means you don’t need to measure from the main jar each time.
Leave Out the Marshmallow Topping
The cocoa mix works without the marshmallows, so you can package or serve it as a plain hot cocoa kit. The drink won’t have the soft, sweet topping, but the mix itself stays unchanged. Keep the serving portion the same so the cocoa still has its intended balance.
Make-Ahead and Serving
- Make ahead: Whisk and pack the dry mix before you need it; keep the marshmallows in their own food-safe bag.
- Storage: Store both components in a cool, dry place, with the mix in its airtight jar. Keep moisture away from the powders.
- Serving: Prepare each cup when you’re ready to serve it. The kit contains the cocoa mix and topping; add water separately for each mug.
Questions That Come Up When Making This Cocoa Kit
Homemade Hot Cocoa Kit
Ingredients
Equipment
Method
- Whisk the nonfat dry milk powder, granulated sugar, cocoa powder, and salt in a large bowl until evenly combined.
- Transfer the mix to a 1 1/2-quart airtight jar.
- Put the mini marshmallows in a separate food-safe bag and store both in a cool, dry place.
- For each serving, heat 1 cup water in a small saucepan over medium heat until steaming, about 2–4 minutes.
- Whisk in 1/4 cup mix until smooth.
- Top with 1 tablespoon mini marshmallows.
- Repeat with the remaining ingredients for up to 16 servings.


