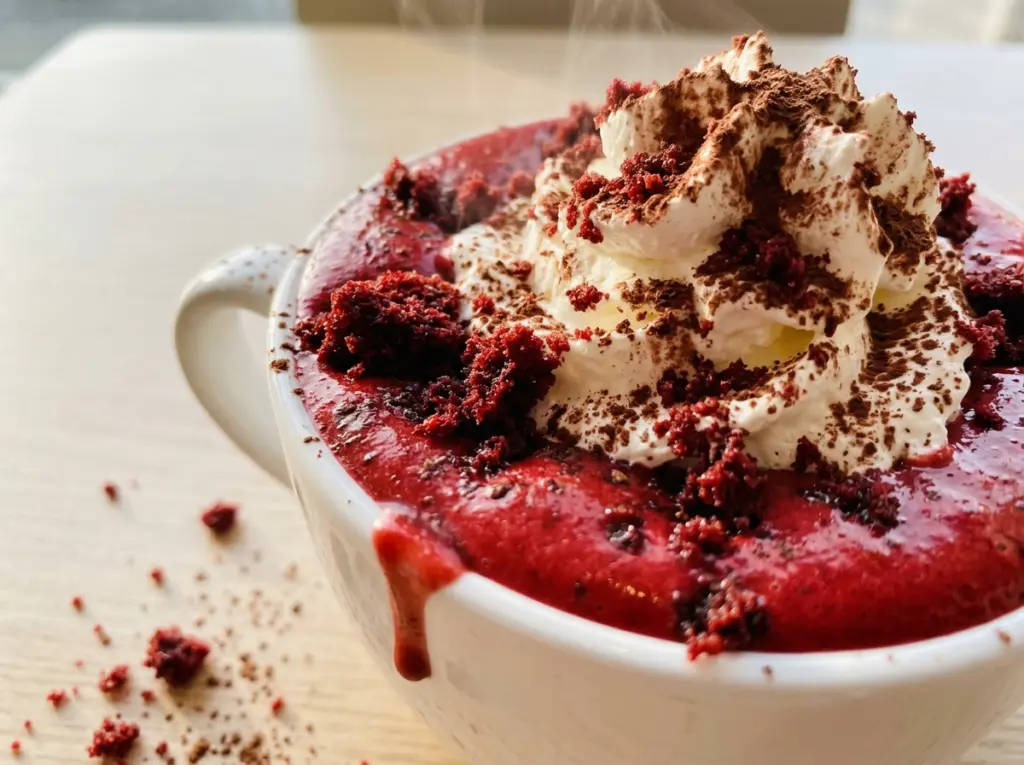
When cocoa powder first meets milk, it can sit in little dry islands instead of blending in. I whisk everything together in the saucepan before turning on the heat, while there’s still time to smooth out any stubborn bits. That small start gives this Red Velvet Hot Chocolate an even cocoa base instead of a mug with dusty specks at the bottom.
The drink gets its gentle chocolate flavor from unsweetened cocoa, while melted white chocolate makes the milk rich and silky. I like that the cocoa doesn’t take over: the finished drink still feels like red velvet, with a soft chocolate note and a warm red color in every mug.
Kitchen Note
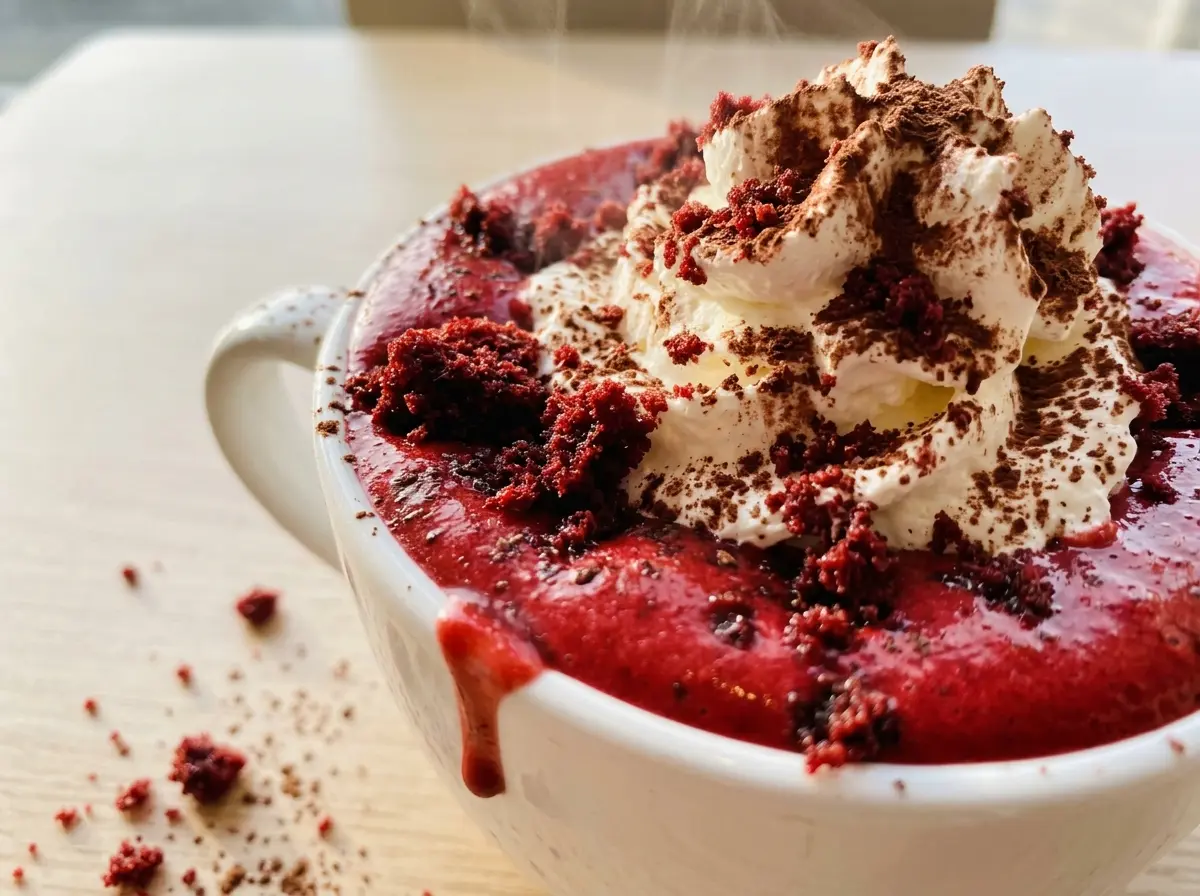
Chop the white chocolate into small, even pieces before it goes into the pan. Large chunks take longer to melt, so the smaller pieces disappear into the hot milk with less stirring.
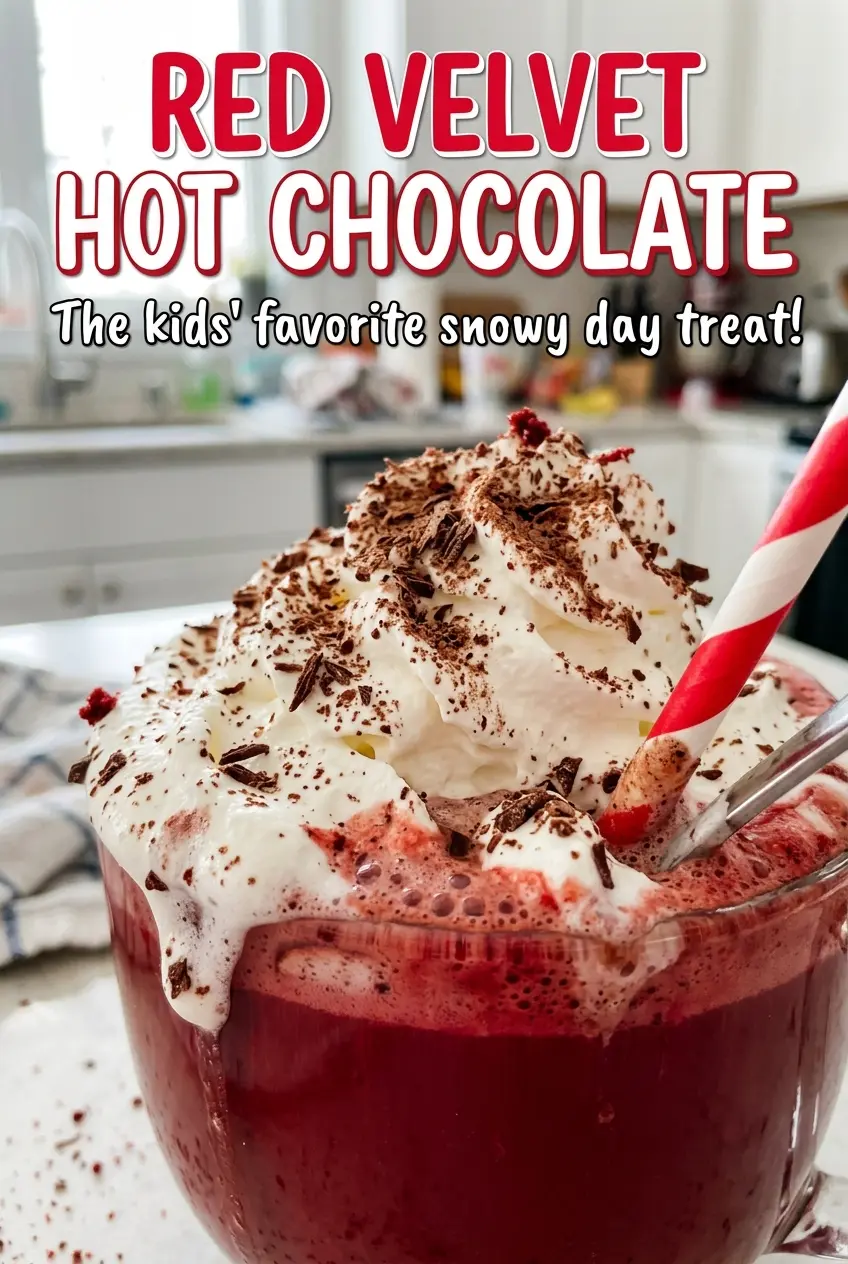
Save this Red Velvet Hot Chocolate for a cozy mug with smooth white chocolate and a rosy cocoa finish.
Why White Chocolate Gives the Red Color Room to Show
Red velvet has a chocolate note, but it isn’t meant to taste like a mug of dark hot cocoa. Unsweetened cocoa brings the familiar chocolate flavor here in a measured way; white chocolate adds sweetness and richness without bringing in another dark color. That lighter base gives the red coloring a clearer backdrop.
Adding more cocoa might sound like a shortcut to a stronger drink, but it pushes the flavor toward standard hot chocolate and makes the color look browner. The balance in this mug is deliberate: enough cocoa to taste, enough white chocolate to soften it, and red coloring for the signature look. Keep those parts in proportion and you get a drink that’s creamy and chocolatey without losing its red velvet character.
What Cocoa, White Chocolate, and Milk Each Bring to the Mug
- Whole milk — It gives the drink a fuller body than water or a low-fat milk would. A standard carton works well; there’s no need to seek out a specialty brand. If you use 2% milk instead, swap it cup-for-cup and expect a lighter, less creamy mug.
- Unsweetened cocoa powder — This brings the chocolate flavor without adding extra sugar. Natural and Dutch-process unsweetened cocoa both work in the same quantity, though Dutch-process tends to taste smoother and can make the drink look a little darker. Use cocoa that smells fresh; stale cocoa tastes flat even in a sweet drink.
- White chocolate — Chopped chocolate melts into the milk and contributes sweetness as well as a smooth finish. A regular baking bar is fine; a costly specialty bar isn’t necessary. For a deeper, less sweet chocolate variation, use bittersweet chocolate instead, knowing the drink will look browner and taste more like classic hot cocoa.
- Granulated sugar — It dissolves cleanly as the milk warms and rounds out the cocoa’s bitterness. Brown sugar brings a molasses note and a darker color, so it changes the drink rather than disappearing into it.
- Vanilla extract — Vanilla rounds out the chocolate and gives the drink a familiar dessert-like aroma. Pure extract has a softer aroma, but imitation vanilla works here too; if you’re out, you can leave it out and the drink will still come together.
- Red food coloring — This is what gives the drink its red velvet appearance. Coloring strength varies, so use the listed amount rather than adding a long pour by eye; too much can leave a noticeable dye taste.
How to Keep the Cocoa Smooth from First Whisk to Final Pour
Disperse the Cocoa Before Heating
Add the milk, cocoa powder, sugar, and kosher salt to a medium saucepan and whisk until the cocoa is evenly dispersed. Look for a uniform, cocoa-colored mixture without dry patches floating on top or clinging to the sides. Whisking at this stage is easier than trying to break up lumps once the milk is steaming. Keep the pan off the heat until the mixture looks even.
Warm the Milk Without Letting It Boil
Set the saucepan over medium heat and cook for 5 to 7 minutes, whisking often. The milk should be steaming, with wisps rising from the surface, but it shouldn’t bubble or boil. Frequent whisking keeps the cocoa moving through the milk and helps prevent scorching on the bottom of the pan. If you see bubbles breaking across the surface, take the pan off the burner briefly and lower the heat before continuing.
Melt the Chocolate and Finish the Color
Remove the saucepan from the heat, then stir in the chopped white chocolate until it’s melted and smooth. The finished base should look glossy, without pale chocolate pieces remaining. Whisk in the vanilla and red food coloring until the color is even from edge to edge. Divide the drink among four mugs and serve it hot.
Simple Swaps for a Less Sweet or Dairy-Free Mug
Make It Dairy-Free with Oat Milk
Replace the whole milk with unsweetened oat milk and the white chocolate with dairy-free white chocolate, using the same quantities. Oat milk gives the drink a pleasantly creamy body, though it won’t taste quite as rich as the whole-milk version. Stir patiently after adding the dairy-free chocolate, since different brands melt at different speeds.
Dial Back the Sweetness
Leave out the granulated sugar and keep the rest of the ingredients the same. White chocolate still sweetens the drink, but the cocoa comes through more clearly. This is the simplest adjustment if you prefer a less sweet mug without changing the chocolate or milk.
Make It More Cocoa-Forward
Replace the white chocolate with 6 ounces of chopped bittersweet chocolate. It melts into the warm milk, but the drink will be less sweet and have a deeper chocolate taste. The darker chocolate also mutes the red color, so think of this as a richer hot-cocoa variation rather than the classic red velvet version.
Storage and Reheating
- Refrigerator: Transfer leftovers to a covered container, refrigerate within 2 hours, and use within 3 to 4 days. The drink may thicken as it chills.
- Freezer: I don’t recommend freezing it. The milk and melted chocolate can separate when thawed, leaving the reheated drink grainy.
- Reheating: Warm it in a saucepan over low heat, whisking often until steaming. Avoid a hard boil, which can scorch the milk and leave the chocolate less smooth.
Questions That Come Up When the Pot Is on the Stove
Red Velvet Hot Chocolate
Ingredients
Method
- In a medium saucepan, whisk together the milk, cocoa powder, sugar, and salt until the cocoa is evenly dispersed.
- Set the saucepan over medium heat and cook, whisking often, for 5 to 7 minutes, until steaming but not boiling.
- Remove the saucepan from the heat and stir in the white chocolate until melted and smooth.
- Whisk in the vanilla and red food coloring.
- Divide among 4 mugs.
- Serve hot.


